I cannot take credit for this idea - all the credit goes to my niece Amy, who just so happens to have the Design Intervention blog. If you've seen her blog, you know she is one very talented young lady - if you HAVEN'T seen her blog be sure to check it out!! She actually helped me come up with a lot of ideas, and has had to answer countless questions from me about whether or not something looked right.
Anyway, on with the light. I was in the process of making over my master bedroom and bathroom when Amy was here visiting her Mom. I asked her to go shopping with me to help me find some things to decorate with - one of which were lights for my bathroom. Needless to say, Amy jumped at the chance to spend MY money instead of hers, and did a VERY GOOD job of it (spend my money that is!!!!). We went from place, to place, to place trying to find "just the right" light. I had already installed a small chandelier over my garden tub, so she was trying to find something that would coordinate with it. She was looking at details that I had not even paid attention to. Finally she looked at this one light, and said, "stay with me here, cuz I have a crazy idea." At that point I already knew it was probably something pretty cool, so I was all ears! She recommended that I wrap the steel bars with clear crystal pearls. GENIUS!!! That little touch would make it match the features of the chandelier beautifully.
Here is a picture of the chandelier (shown with close-up detail) over my tub.


So this is what I did to create my matching lighting. These are the lights I bought. You will see that the "metal portion" is just like that in the chandelier. Amy also recommended that I purchase different glass/light bulb covers as well to make them match a little better.


Next I purchased a spool of the clear crystal pearls. I placed a small dot of hot glue at the top of the bar and started wrapping the pearls around the bars. As I wrapped I continued to use hot glue to secure the pearls and keep them tight on the bar.


I continued wrapping and gluing until all three light bars were wrapped.

Added the lights covers...

and finally... installed them in the bathroom.
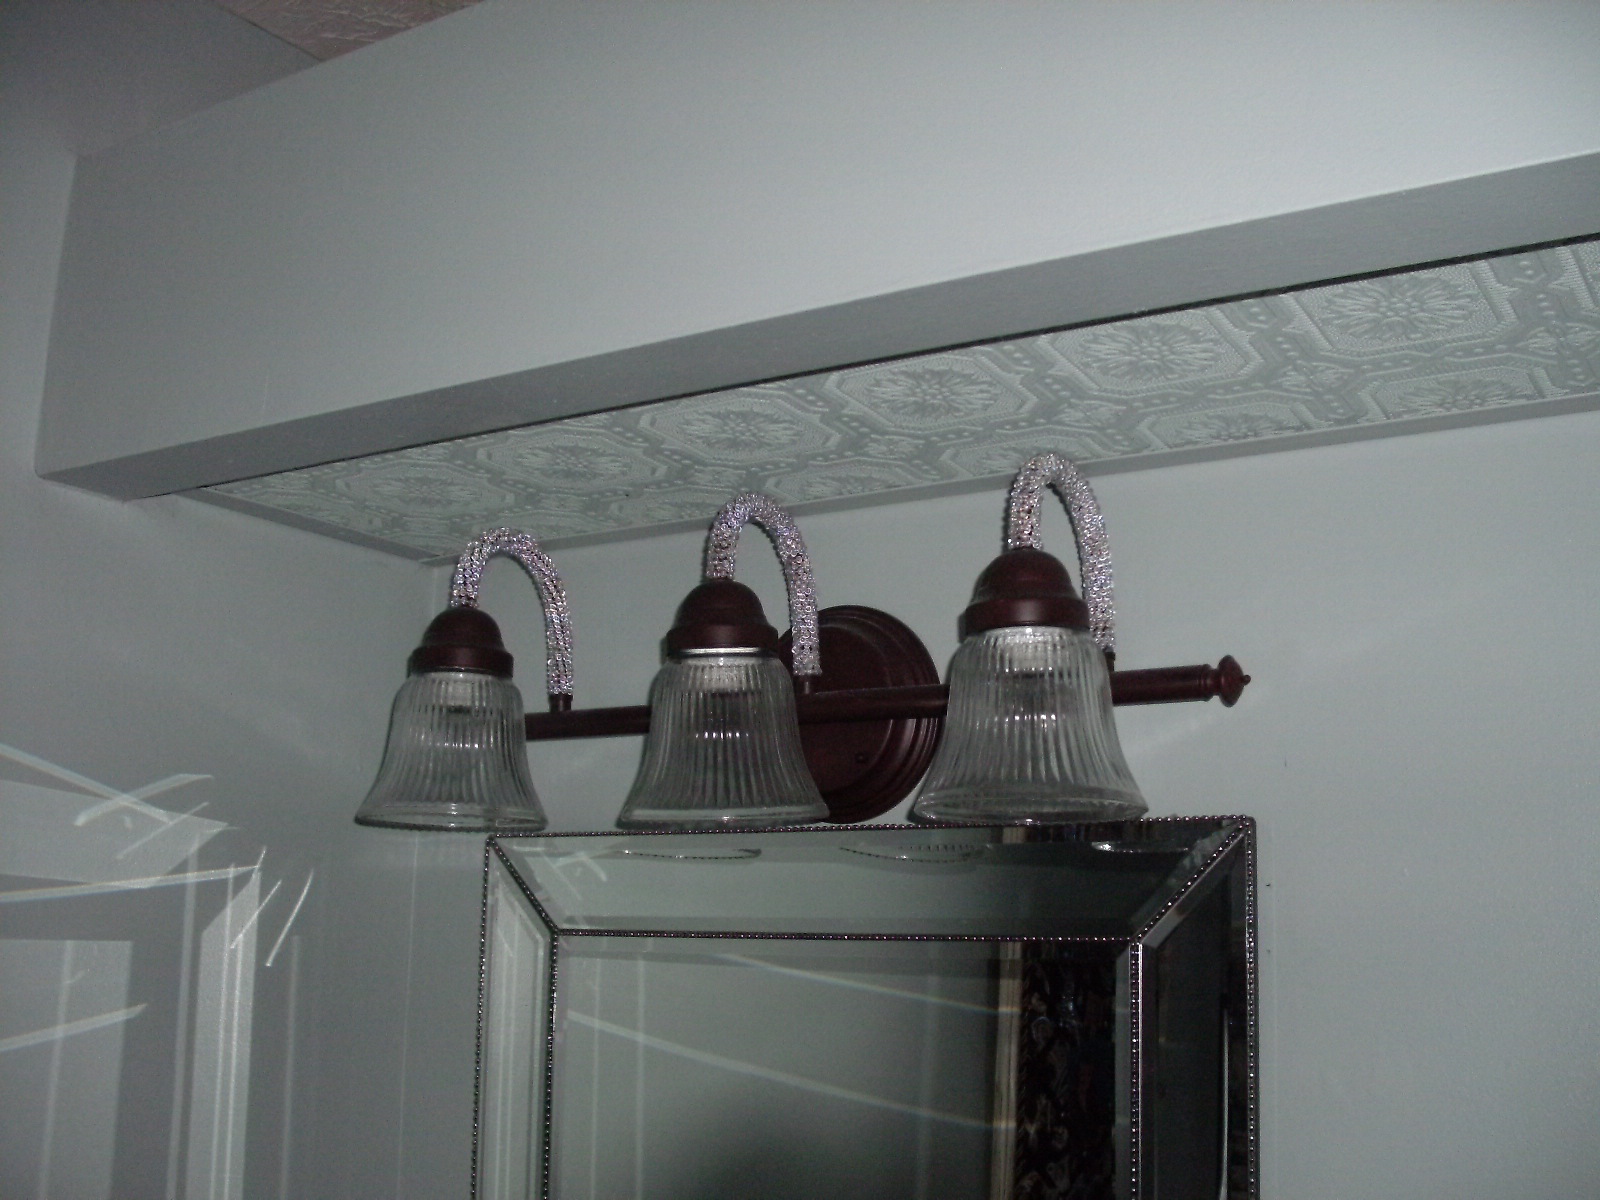

Like I said... GENIUS!!!! Aren't I lucky to have such a smart little niece? Thanks Amy, your idea worked out beautifully!!


Love them! They turned out just as well as I imagined! You have been busy! I love the photo book covers! By the way, that reminds me - - do you have some of the old family pictures on your computer that you could just send me the files - - I don't have any particular projects in mind, I just want to have some to place around the house :) Oh - - and I just made some books like yours with the covers ripped off! Great minds think alike!!
ReplyDeleteI adore that chandelier!!! Very nice! Great idea on getting the lights to match it!
ReplyDeleteHi Debbie...
ReplyDeleteMy friend, I am thoroughly enjoying your sweet blog! You have sooo many great ideas and tutorials...love it!!! I would have never thought to "bling" up that light fixture...but you're absolutely right about having it coordinate with that gorgeous chandelier! It turned out beautifully...it's perfect!!!
Warmest wishes,
Chari @Happy To Design
PS...I'm loving getting to peek into your beautiful home!!!