I usually try to post step-by-step directions on how to do a project, but since I didn't take the time to snap pictures, and since I DO want to show you what I made, I'm going to just give you a quick overview with some pictures.
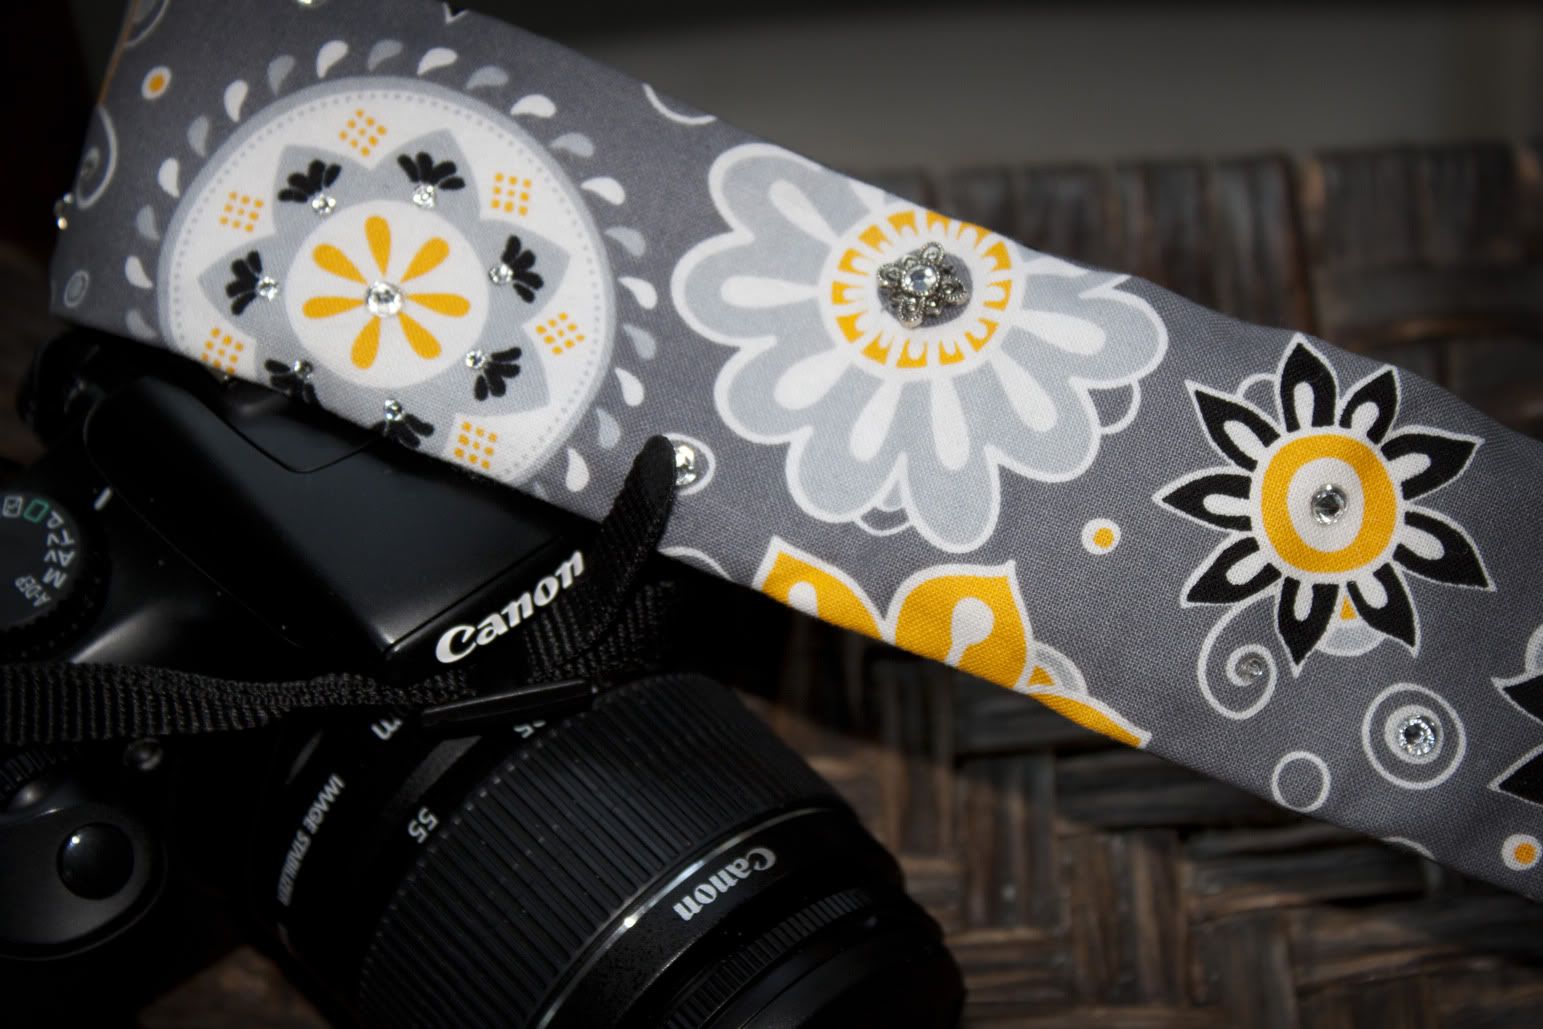
Several months ago I finally bit the bullet and decided to purchase a DSLR camera. I had no idea that I would soon find a new obsession. I'm trying to take time to learn everything about the camera, and am in the process of attending some classes. Where I will go with this knowledge I have no idea, but for now I'm just having some fun. This is my new baby... a Canon Rebel T3 EOS 1100D.
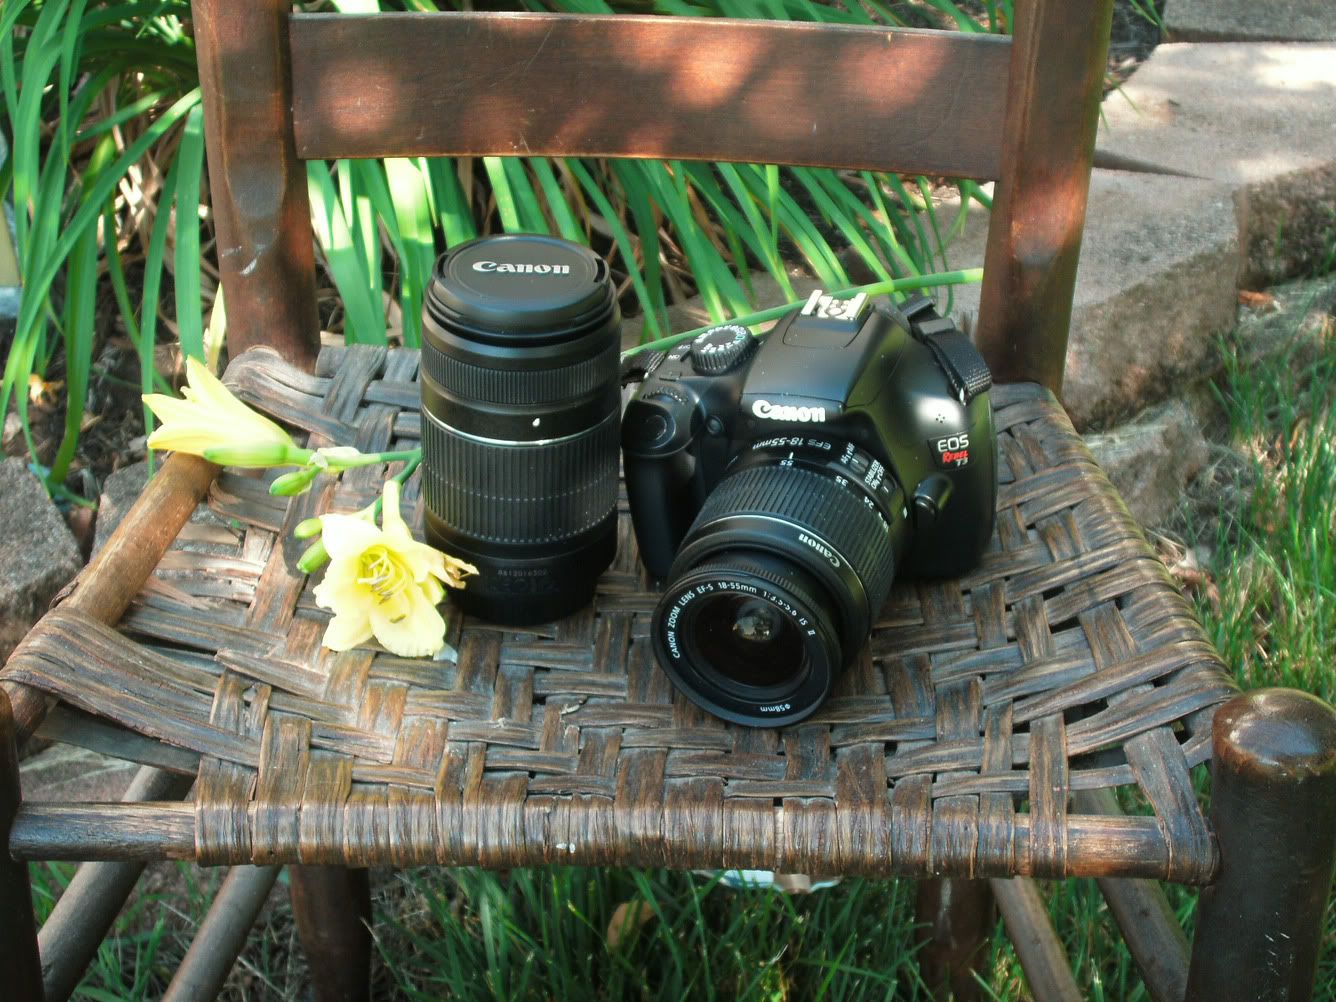
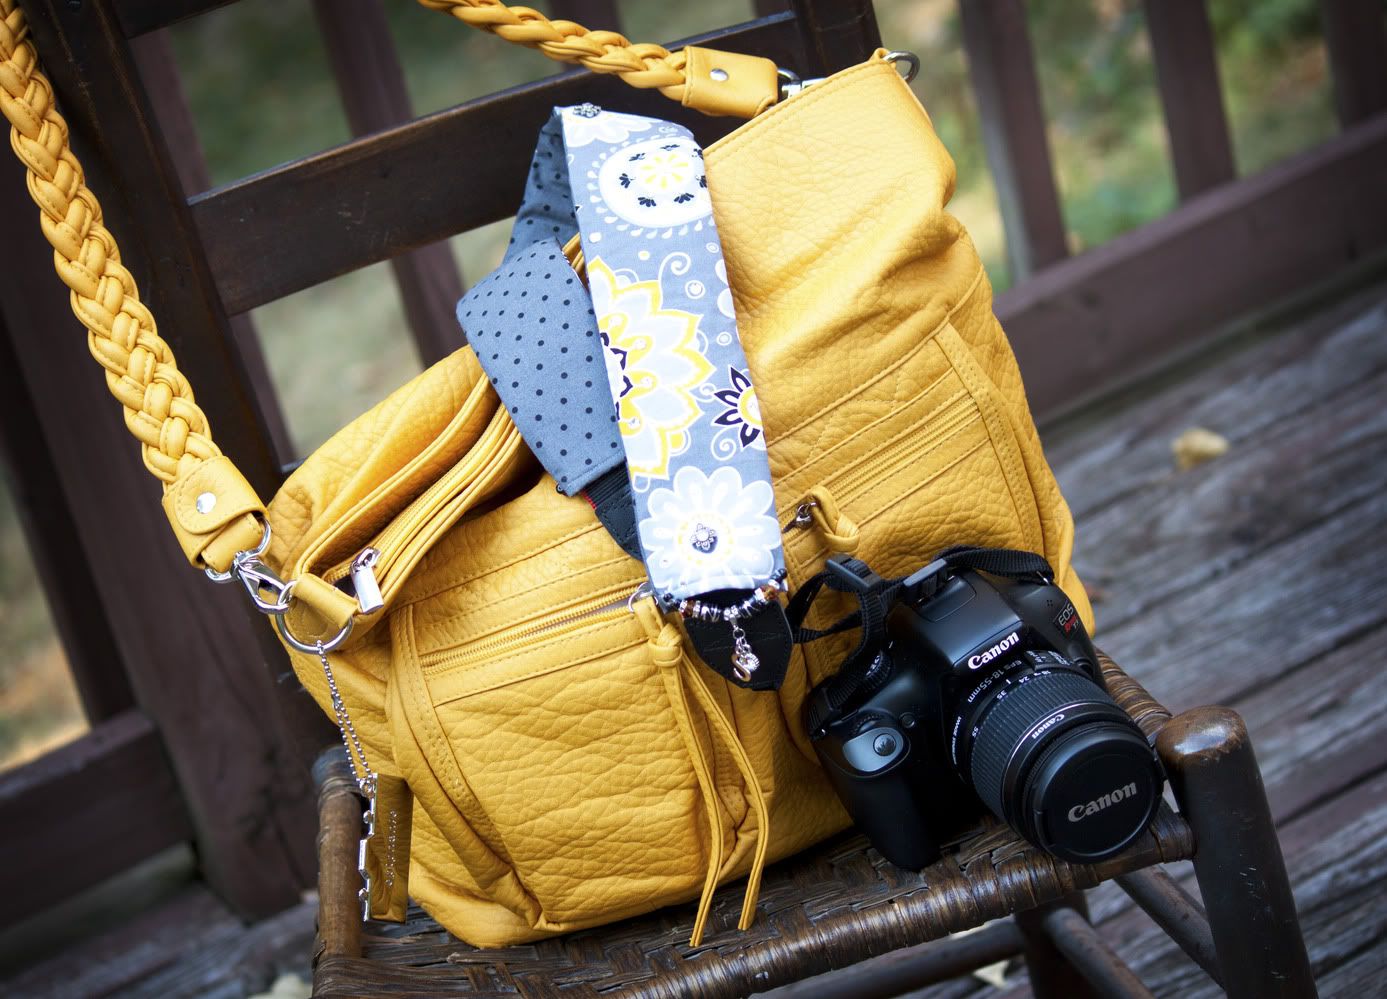
I'm was SOOOO excited, but my poor little baby just seemed to need a bit of dressing up. First, the old black camera bag just had to go. I mean, seriously... who wants to be seen with an ugly, black, canvas bag? What kind of fashion statement would that make? Was there any hope for that bag? Nope... had to go! Thus the search for a replacement bag began. Enter the Epiphanie Camera Bag!!! It took me a while to decide which bag to go with (ok, I actually returned my first pick). Finally decided to go with the LYRIC in yellow. It arrived last Thursday...
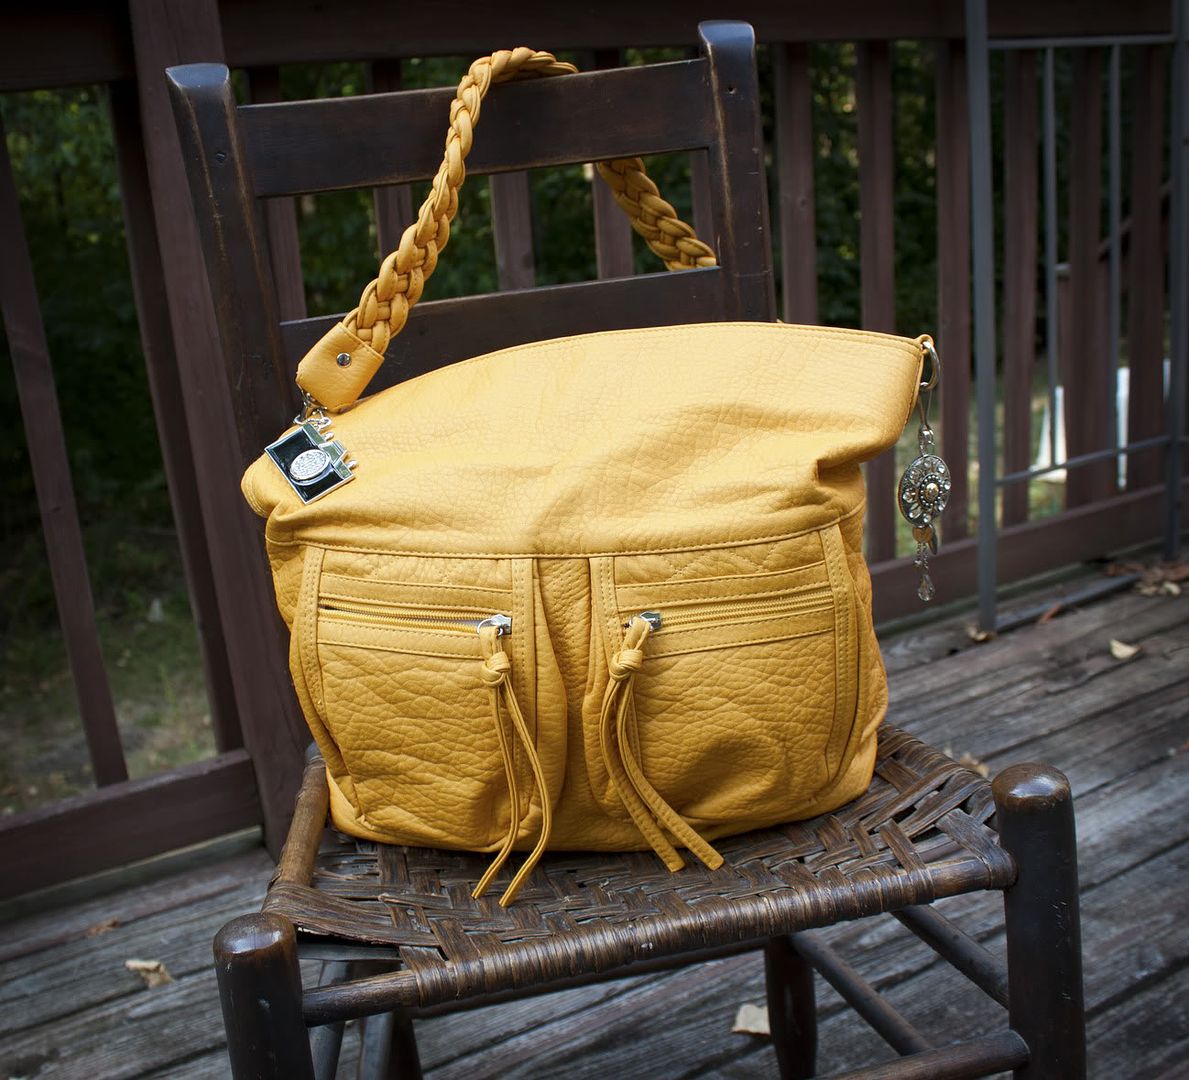
But of course, I had to add a touch more myself.
So the first item was taken care of, now it was time to do something about the strap. I went on line to see what I could find, and to get a few ideas. Nothing quite measured up to what I wanted, so I decided to make my own... to MATCH the purse of course!!! It certainly was NOT that difficult.
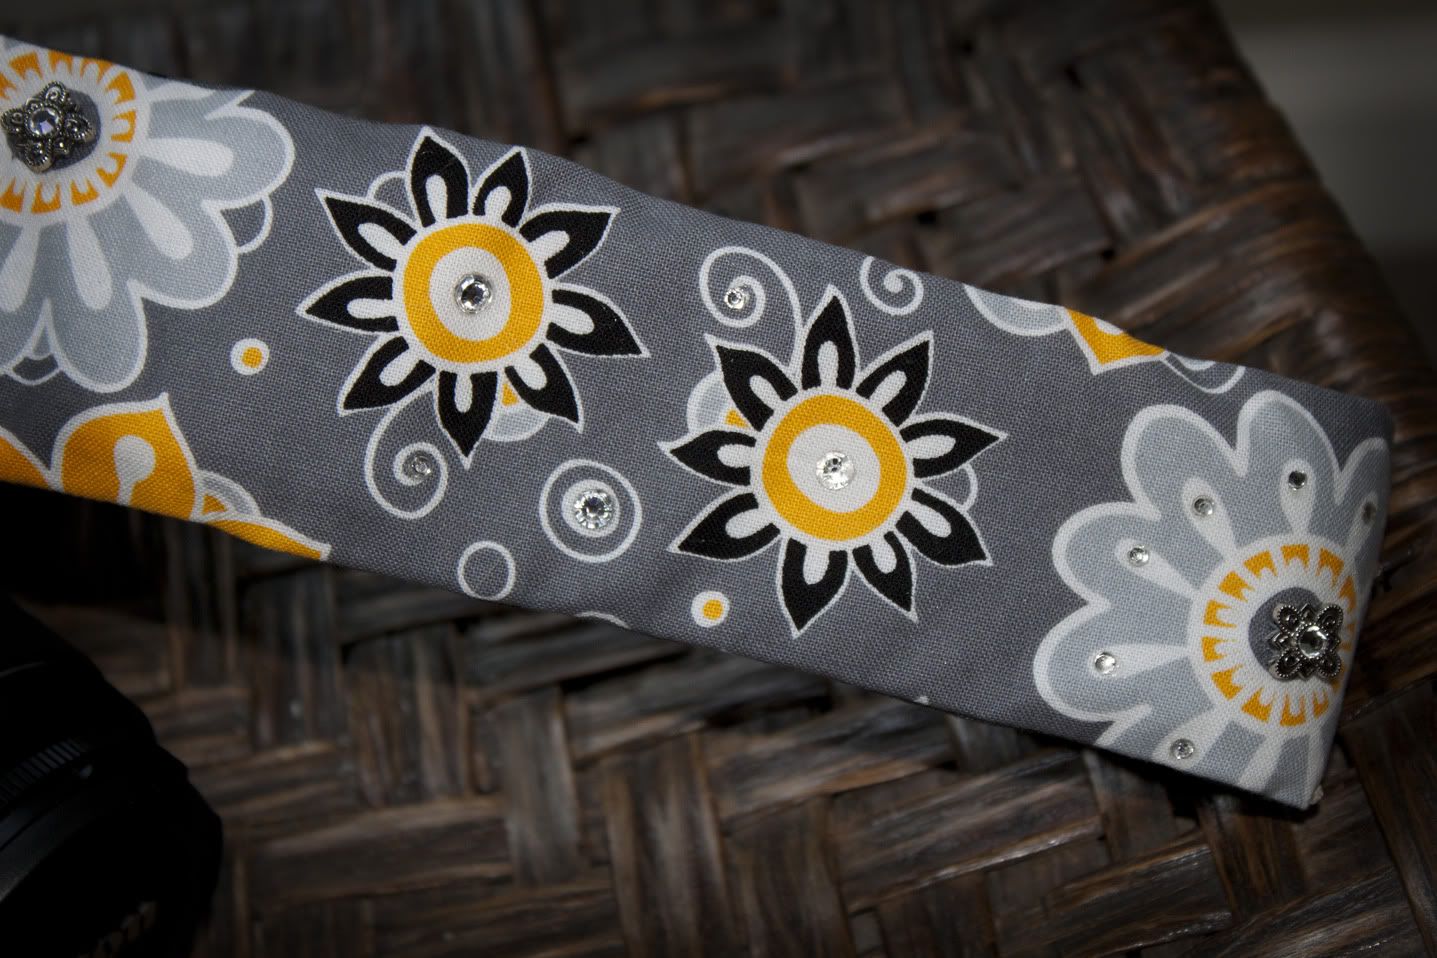
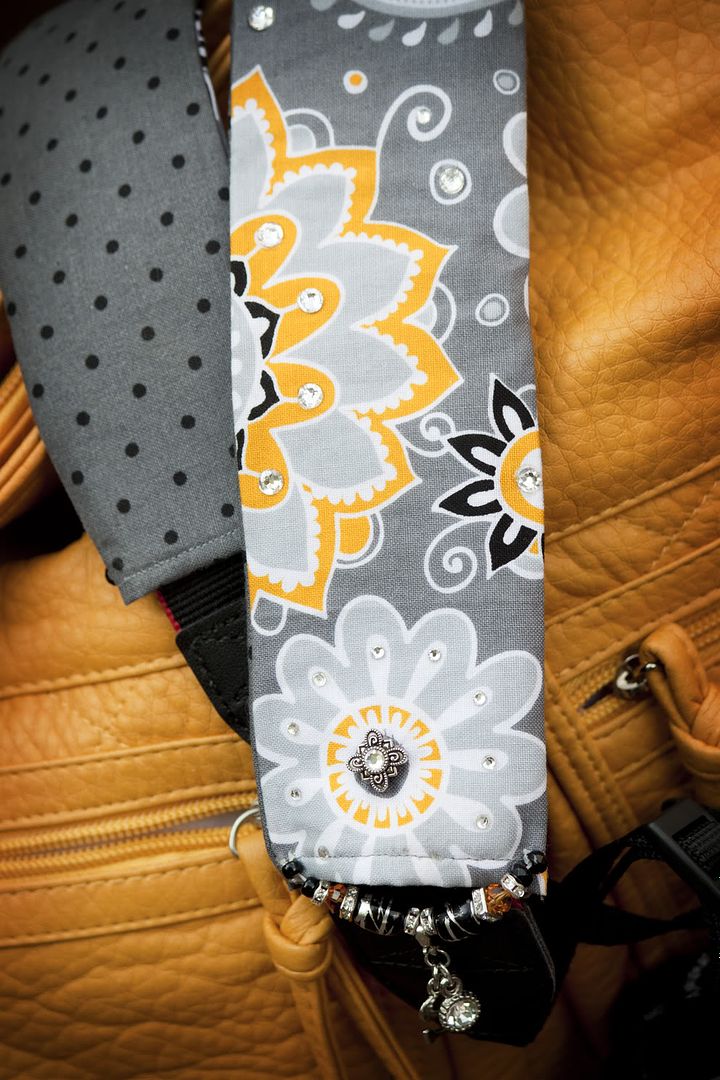
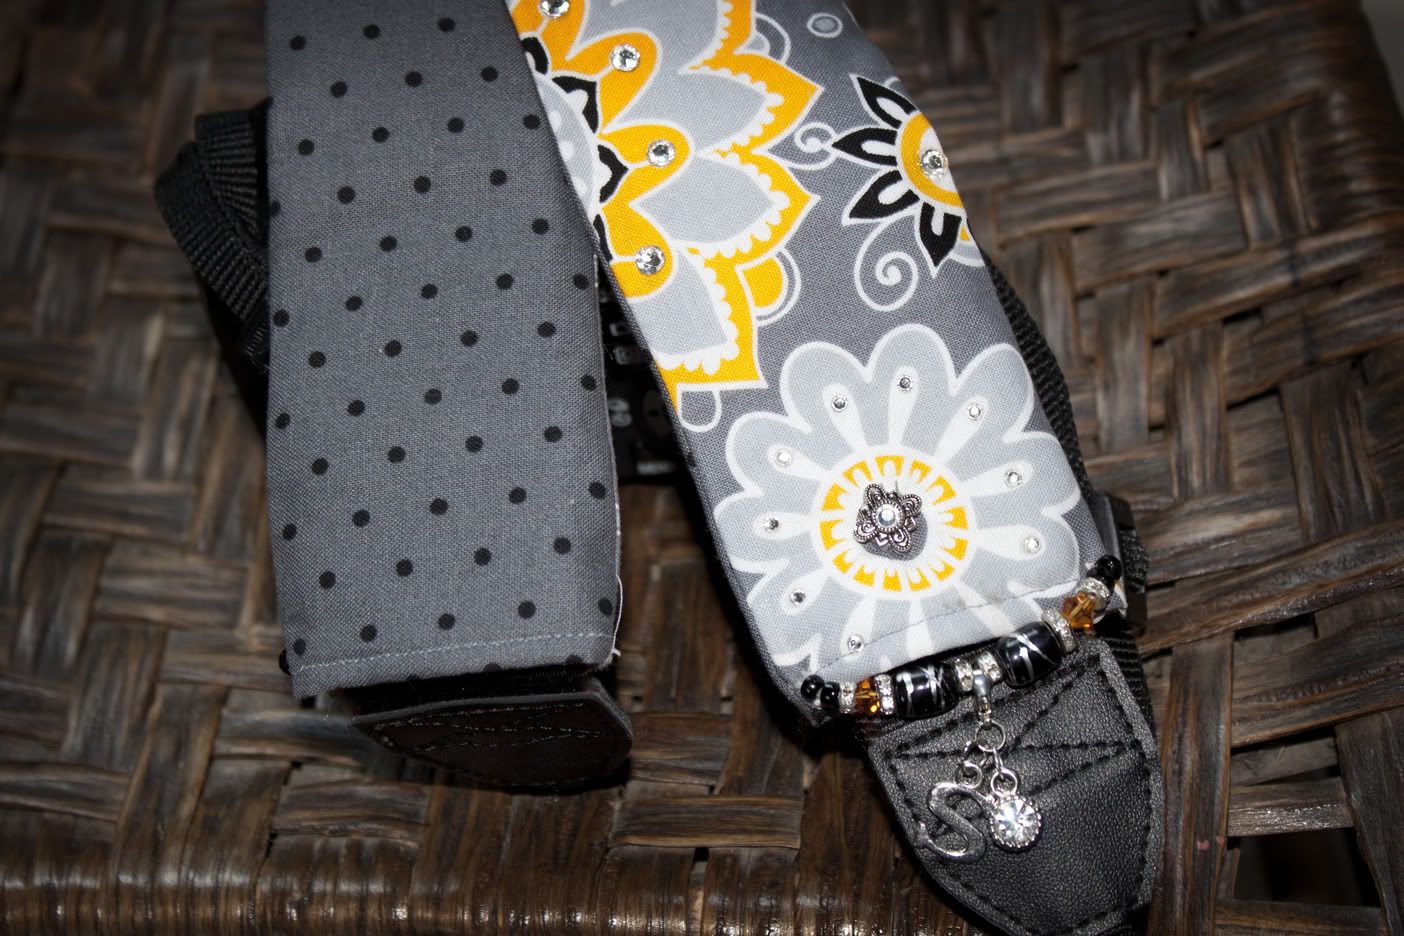
1. I purchased 2 complimentary fabrics with an accent color to match my new bag
2. Cut strips slightly wider and longer than my Canon strap (to allow for seam allowance)
3. Ironed on some "felt-like" interfacing (sorry, don't know the name) on the wrong side of the fabric
4. Stitched up one long side (wrong sides together)
5. Turned in each end (so it had a finished edge and was the length of my strap) and stitched it
6. Stitched up the other long side
7. Turn right side out
8. Press to get edges nice and flat
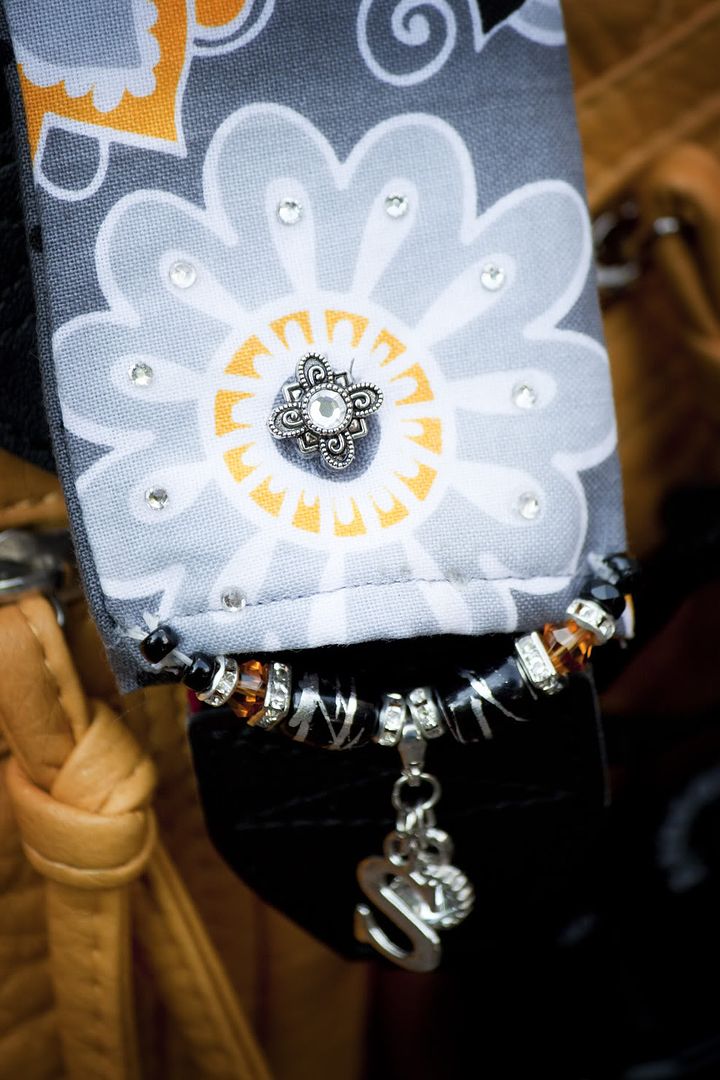
9. BLING IT UP
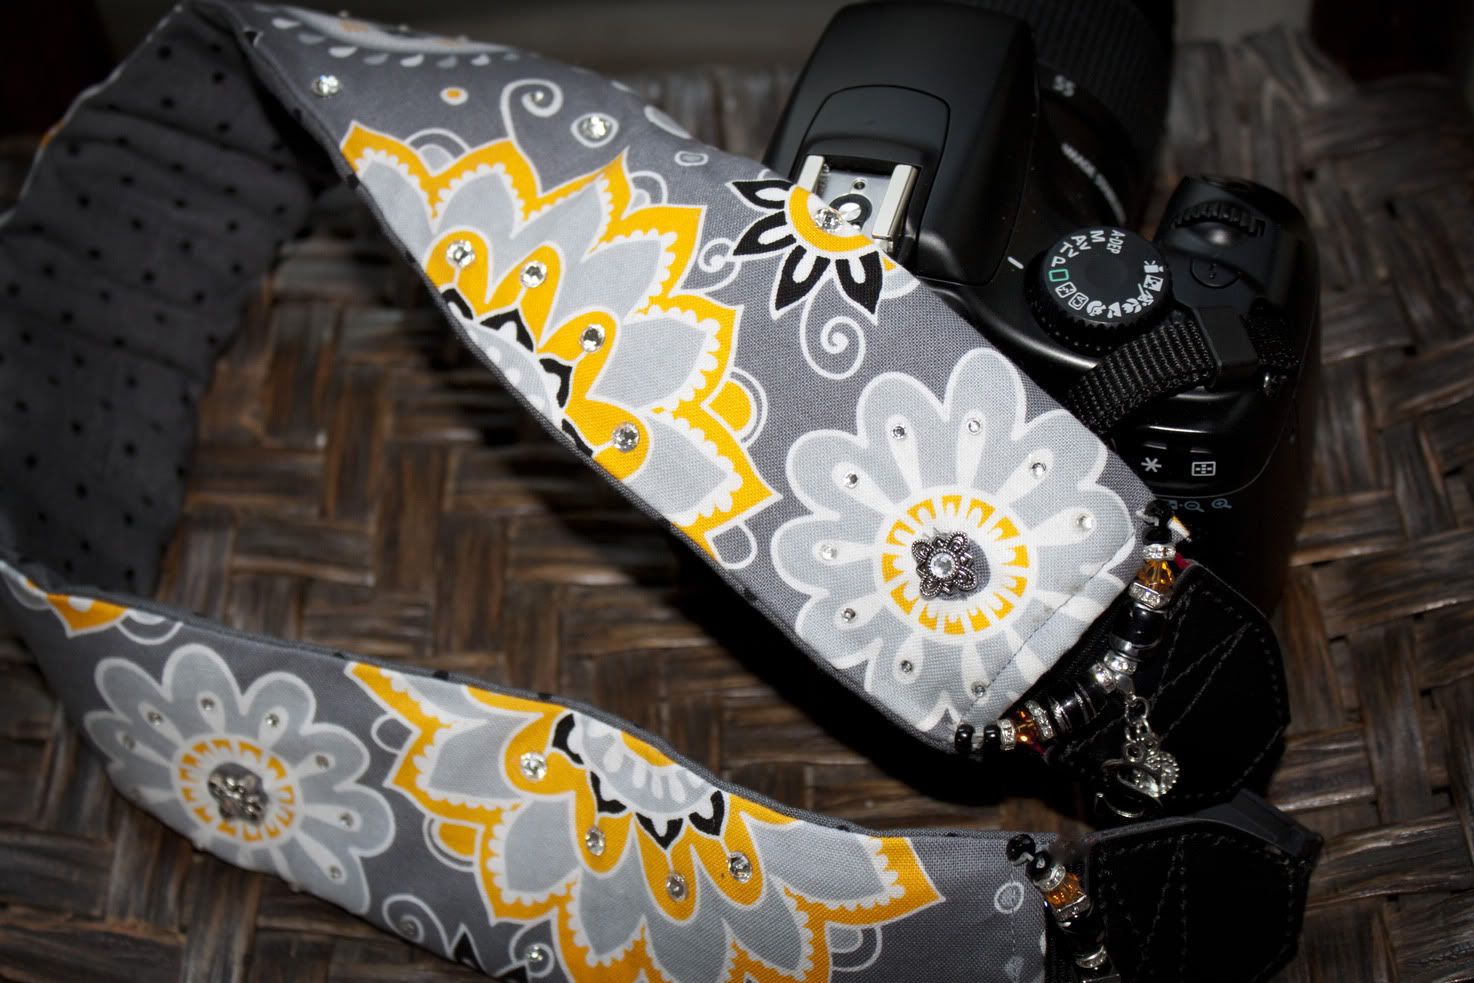
10. Slide over your strap - TAAAA DAAAAAHHHH!!!
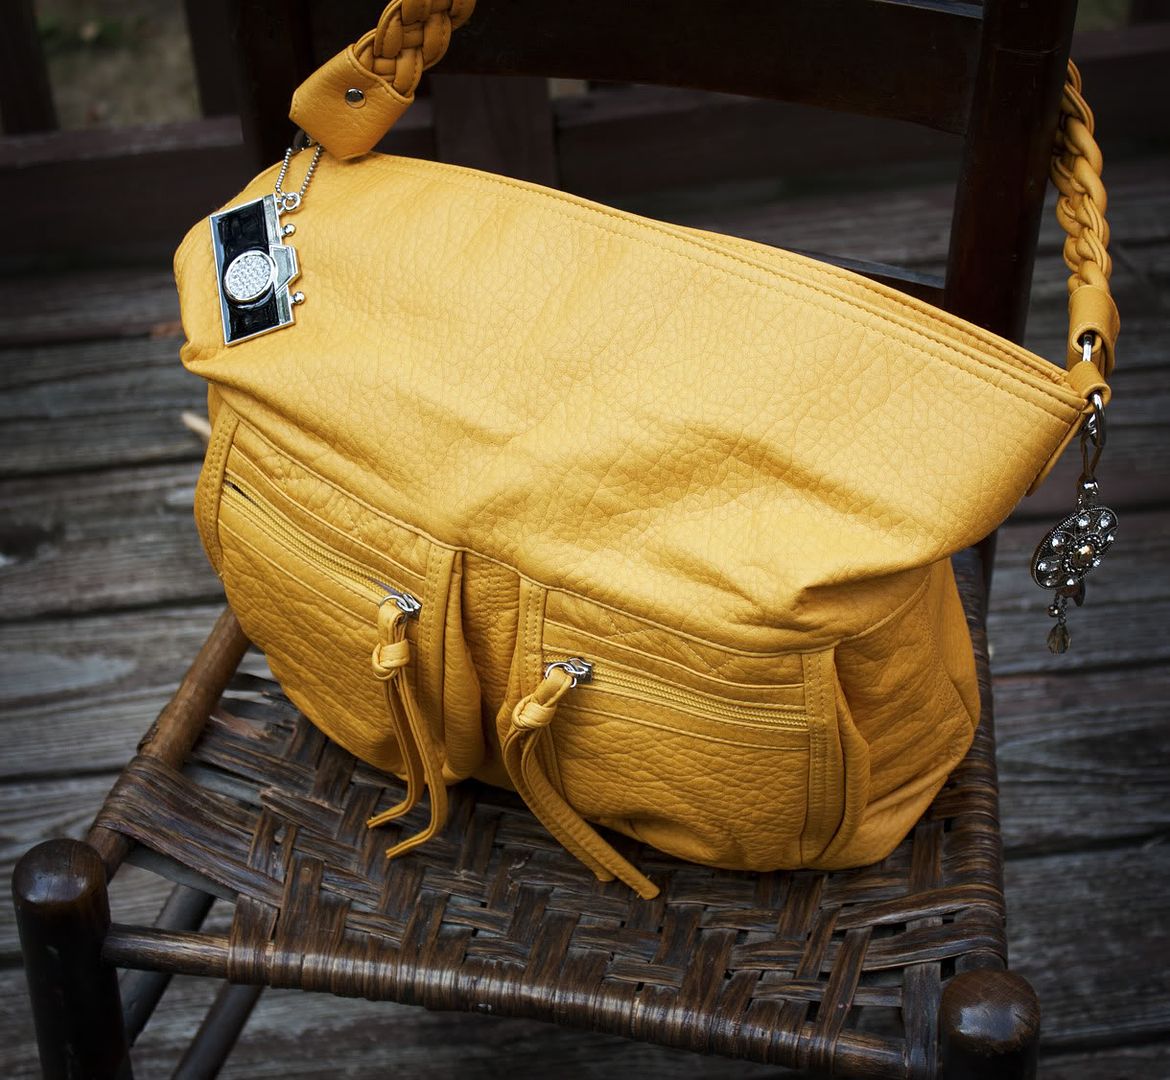
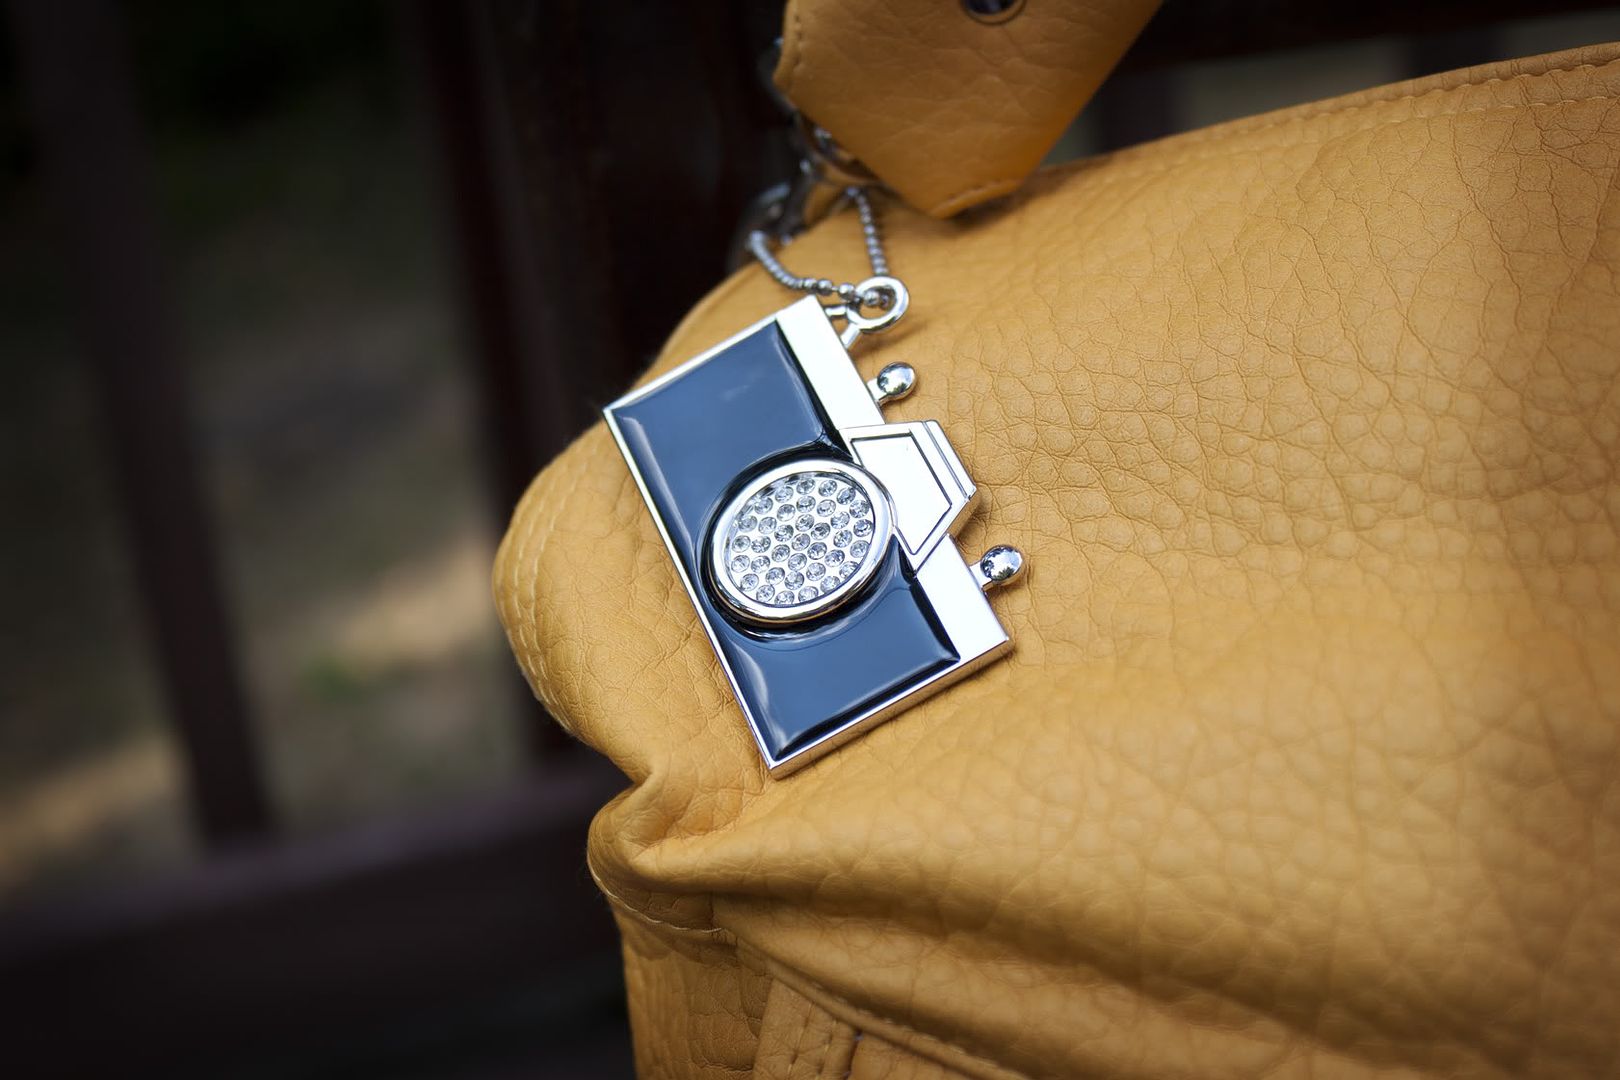
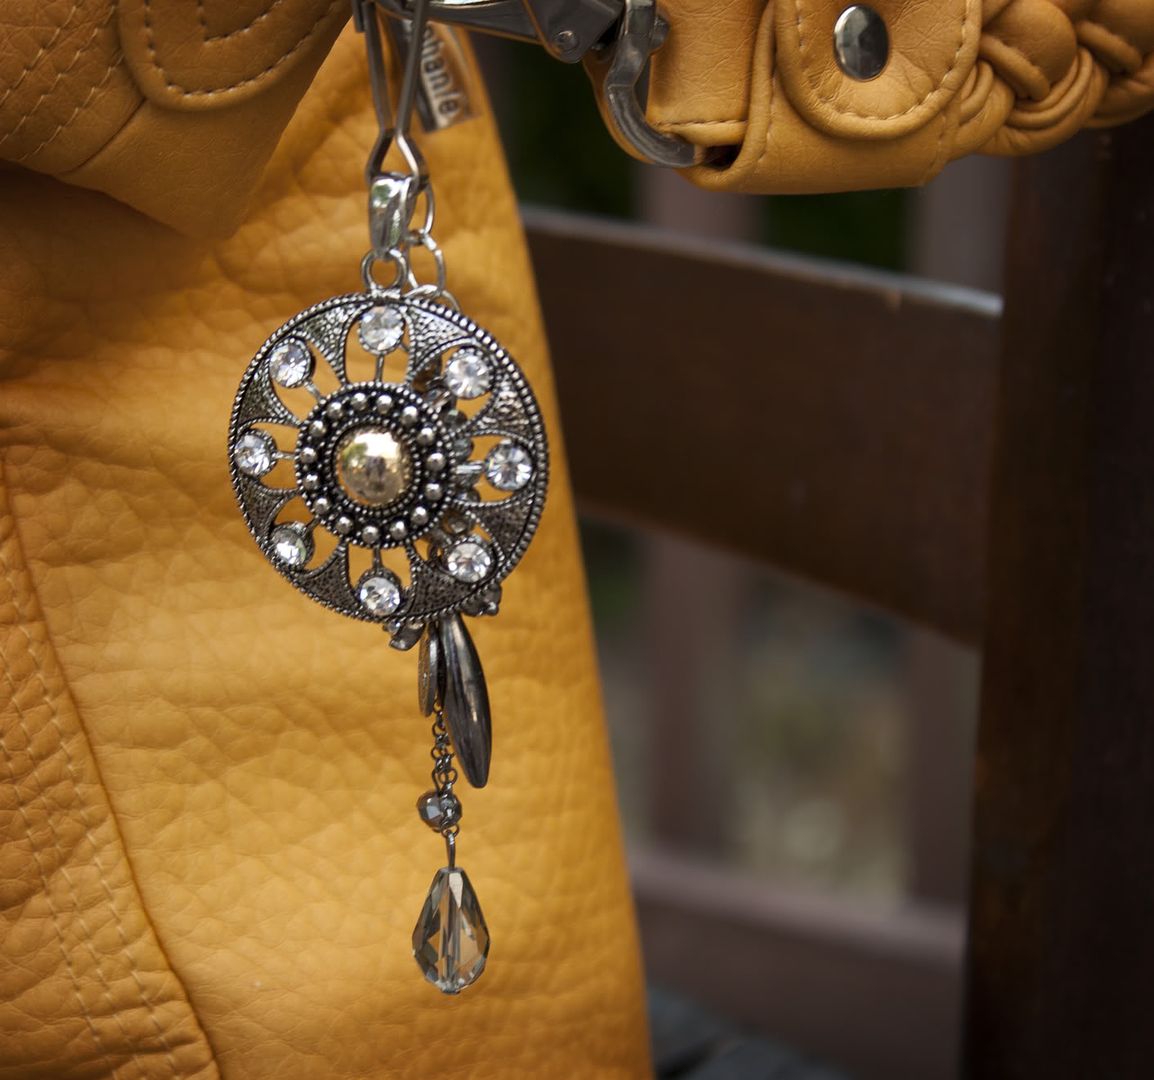
Here it is... all done, and truly a fashion statement!! Sewed on some beads, glued on some crystals, and even added a dangle with my initial on it.
Be sure to leave me a comment to let me know what you think. I do believe that I might just go find me some love by linking up to some parties!!!
- Tutorial Tuesday (Hope Studios)
- Sunday's Best (My 1929 Charmer)
- Simply Creation's Link Party #78 (Simple Home Life)
- Frugal Friday (The Shabby Nest)
- Link Party #76 and Mes Préférés! (REDOUX)
- Feathered Nest Friday (French Country Cottage)