Sunday, May 4, 2014

Tractor Theme Baby Shower

It's been FOREVER since I have had a blog post, but I didn't want to miss an opportunity to post about the baby shower we had for my daughter-in-law.  Since daddy is very much into John Deere tractors, we felt that a "Tractor Theme" would be perfect... and it was!!!!!  Rather than writing a lot, I'll let the pictures speak for themselves.

First I needed to come up with an invitation.  As a graphic designer I was able to design something that we could use as our theme throughout the shower.


Obviously a lot of work went into shopping, baking, cleaning and decorating, but this was the end result.  Mom to be arrived first... isn't she beautiful!!!!???!!!!


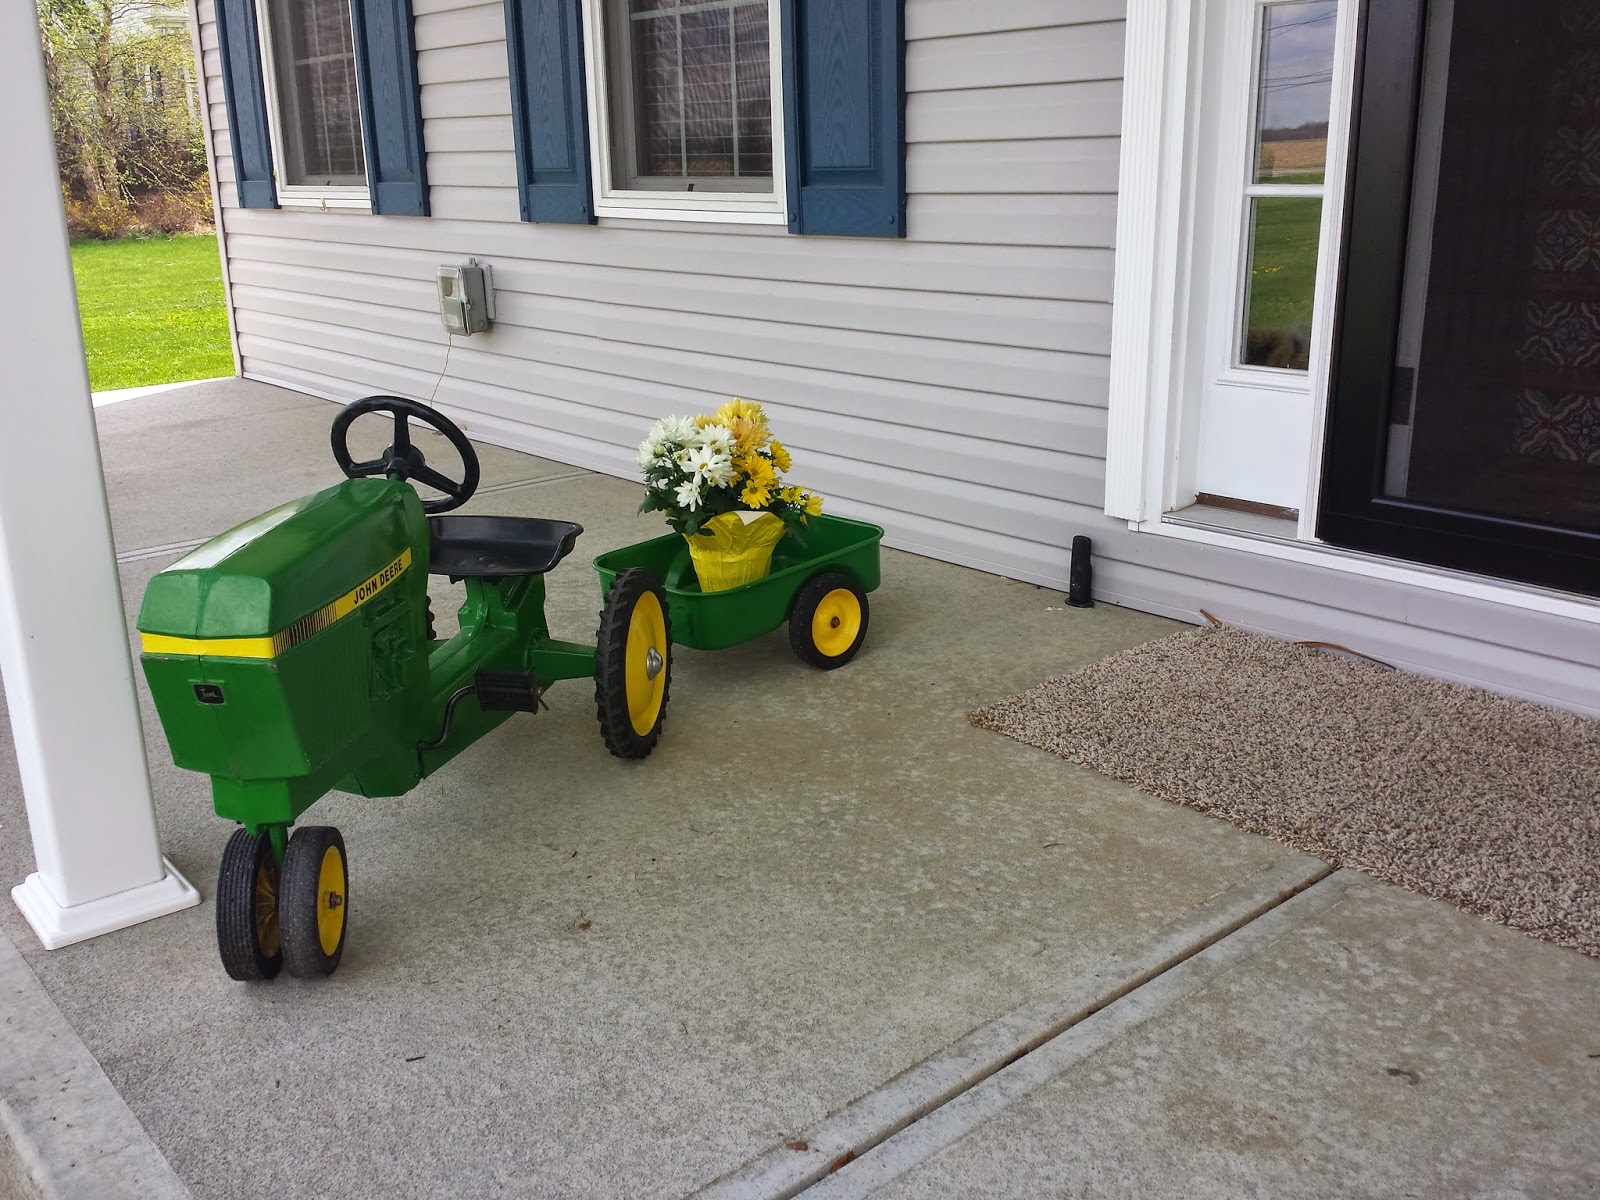
We held the shower at my daughter's house - which was a perfect location.  A bit out in the country.  My son-in-law asked a friend if he could bring his John Deere tractor down and park it near the road.  He not only brought his big tractor, but a small kids riding tractor and wagon as well.  Obviously everyone knew they were at the right place.


We decorated the mantle with the baby's name... Kade, along with some stuffed animals and clothes that matched our colors... green and yellow.  


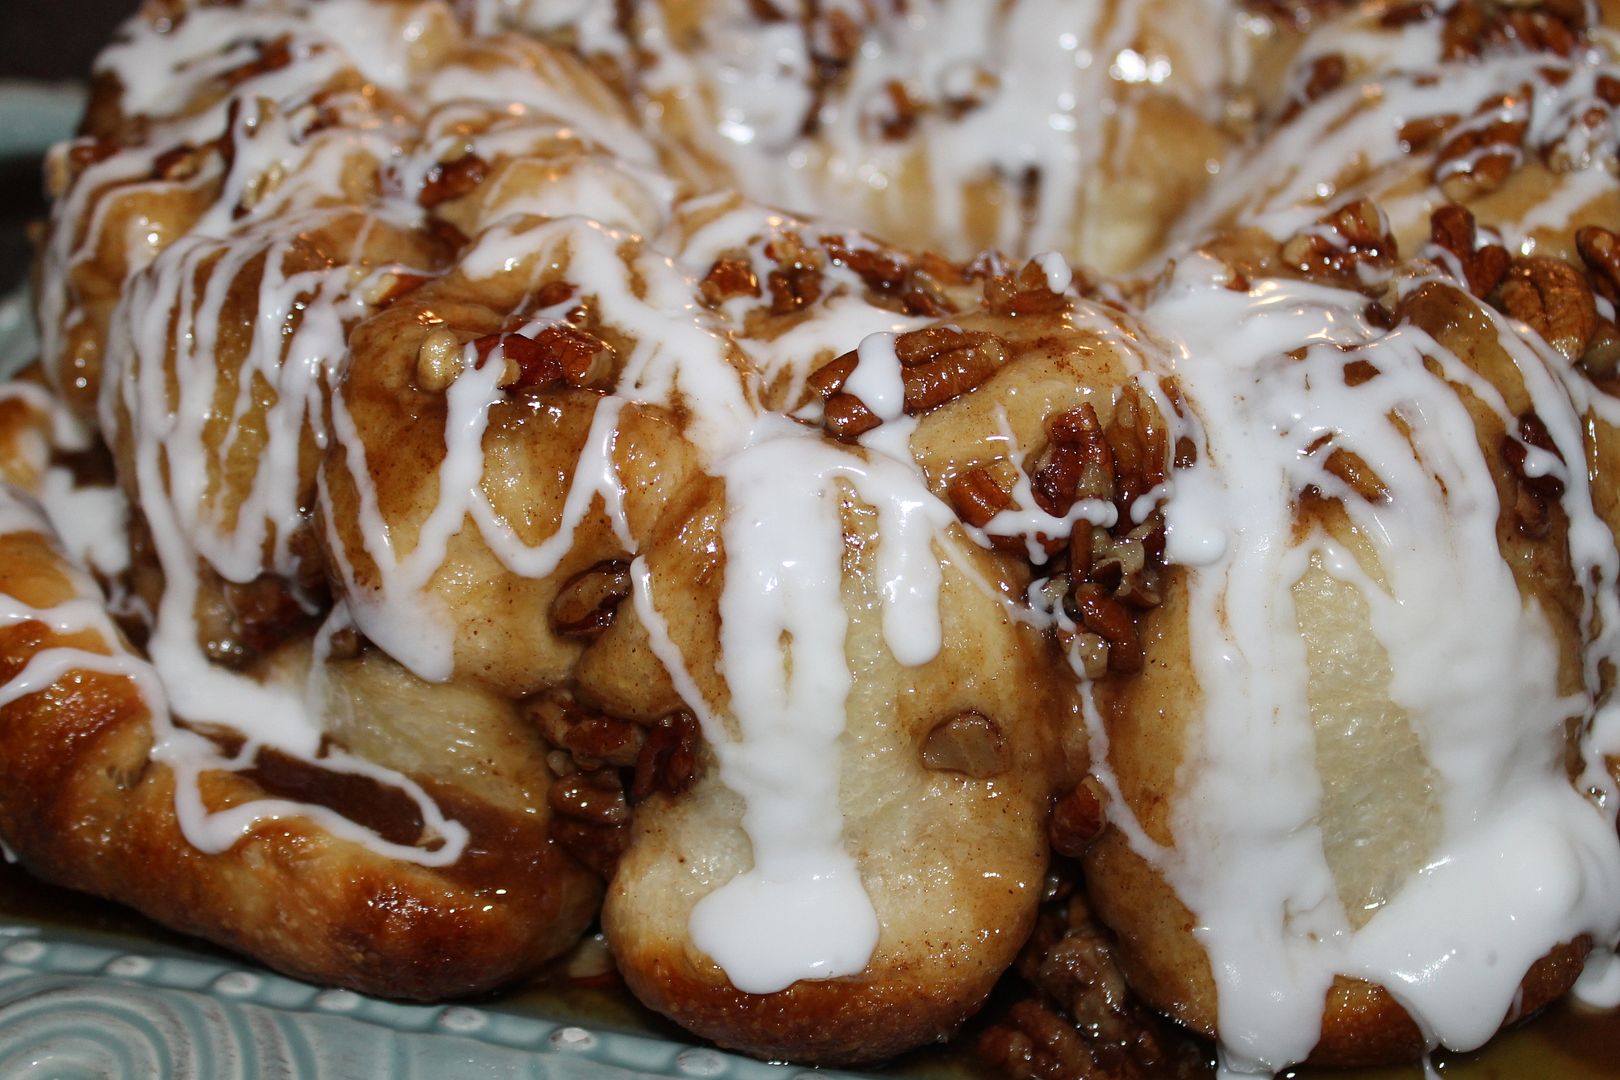
Then came the fun part... the food.  I was able to borrow some tractors and trucks from some friends at work which were PERFECT for what we wanted to do.


Shovels = spoons 

Pitch forks = forks 

Our "Fresh Dirt" was some yummy brownies. 


Chicken feed was Chex Mix 


Hay bales were Rice Krispy treats. 

We made chocolate peanut butter and lemon cupcakes.  We put them on a mirrored stand that I had made with some cheap mirrors - with a tall glass vase between the 2 tiers.  I put a small vase on the top and filled it with fresh flowers.


Fresh lemonade for the drinks.  We froze some small plastic babies in lemonade ice cubes.  Each person put one in their glass of lemonade.  When the baby finally broke free from the ice that person called out "My water broke" and received a prize.   


Everyone got to take home chocolate-covered Oreos and pretzels. 

Hope you enjoyed this little tour of our baby shower.  Maybe it even gave you a few ideas for a shower in your future.


Photobucket

Wednesday, February 27, 2013

YUMMY GOODNESS!

One of my friends at work is celebrating her birthday today.  She has been taking cake decorating classes, so she usually does a lot of the baking for our group.  I have been privileged to have her bake me a (YUMMY) birthday cake, so it only seemed fitting that I bring in something for her birthday.  Since another girl was bringing in a cake for her, I decided to bring in something for breakfast instead.  After much searching on Pinterest, I finally decided on on “Easy Overnight Cinnamon Sticky Buns”!!!  “EASY” being the optimum word here. 

This is a picture of the one I found on Pinterest…
Photo from:  JamieCooks It Up!  Family Friendly Recipes
That pin led me to “Jamie Cooks It Up!  Family Friendly Recipes”.  Here is a link to her site:  http://jamiecooksitup.net/2012/12/easy-overnight-cinnamon-sticky-buns/#  I am not even going to attempt to put all of the photo-by-photo directions here because Jamie did a much better job than I could ever do (make sure to check them out!)!!  However, I DID make a few modifications to her recipe, so I WILL give you her recipe, along with my modifications, and the end results.
I have to say that I love “Sticky Buns”, but I ADORE “Pecan Sticky Buns” even better.  One quick modification to this recipe and WHALA, you now have Pecan Sticky Buns”!!!! Below is Jamie’s recipe… my modifications are in red:
Easy Overnight Cinnamon Sticky Buns
Time: 10 minutes prep + 6-8 hours rising time + 15 (maybe 20) minutes baking time
Yield: 18 sticky buns  LOTS... you'll understand after seeing my notes below.

 
18 frozen dough rolls (I used Rhodes)
1 C butter
1 C brown sugar
1 t vanilla
dash salt
1/2 t cinnamon
1 T maple syrup

½ to ¾ C Pecans

1. Grab your bundt pan and spray it generously with cooking spray.
2. In a small mixing bowl, or large glass measuring cup, place 1 cup of butter. Melt it in the microwave.
3. Add 1 cup brown sugar, 1 teaspoon vanilla, a dash of salt, 1/2 teaspoon cinnamon and 1 tablespoon of maple syrup. Mrs. Butterworths will do, no need to get fancy... and finally the pecans.

4. Stir the mixture until all of the ingredients are well combined.Pour the ooey goodness over the top of your frozen roll dough.
5. Because I wanted to make sure that pecans were throughout the sticky buns, I layered everything. Put some of the gooey mixture in the bottom of the Bundt pan (just enough to cover).

6. Place 18 balls of frozen roll dough into the pan. Since I like a LOT of gooeyness I cut each dough ball in half –allowing the mixture to mingle in a little better. Cut 9 of the frozen dough balls in half and drop them over the sweet mixture.
7. Spoon another layer of the sweet mixture over the dough balls.

8. Cut the remaining dough balls in half and drop them into the pan. (Word of caution here… I looked at the pan and thought “looks like I could fit a few more dough balls in there. DON’T DO IT!!! When I came down in the morning I discovered several pieces had popped out of the plastic wrap and were laying next to the pan. L - Jamie was right - 18 balls are quite enough!! LOL)
9. Pour the rest of the sweet gooeyness over the dough balls.

10. Cover the bundt pan with plastic wrap. Spray the plastic wrap with cooking spray then carefully turn the plastic wrap over (so the sprayed side is facing the sticky dough) and lightly cover the pan.
11. Set the pan aside and allow the rolls to rise for 6-8 hours or until they are about 2 inches above the top of the pan. (I just made this the night before and left on the counter over night – they were perfect.) Please be aware that the temperature of your kitchen will greatly determine how fast the rolls rise. If you get up in the morning to find your rolls haven’t risen as much as you hoped, just heat your oven up to 170 degrees, remove the plastic wrap and pop the pan into the oven. The warmth of the oven will quicken the rising of the rolls. Once the rolls have risen enough follow step 12. (You can leave the rolls in the oven while it increases in temperature).

12. I STONGLY suggest that you place your Bundt pan on a foil covered cookie sheet to catch any overflow.
13. Preheat your oven to 350 degrees. Remove the plastic wrap, carefully place your pan in the oven and bake for about 15 minutes, or until the rolls are golden brown and cooked through. (I should have baked for an additional 5 minutes or so because some of the rolls were not quite baked through – kind of hard to determine if they are done.


Yes, the pan was a "bit" crowded!!!
Don't these just make your mouth water???
14.  Allow the sticky buns to rest in the pan for about 5 minutes, then invert them onto a large plate.
15.   Here is another slight deviation from the original recipe.  As if these things were not sweet and gooey enough, I decided to add a drizzle of glaze over the top.  You know – powdered sugar, a little vanilla, and a little milk mixed together.  Since I did not have any milk in the house (I know, unbelievable!), I decided that my flavored coffee creamer would work just fine (Sweet Italian Cream).  Let’s just say, I will NOT be going back to using milk – this made it really good!!) 
One of my favorite coffee creamers - Sweet Italian Cream

16.  Mix glaze together and drizzled over the buns.  You may now serve and enjoy!
 
 
Oh, BTW... Barb (a.k.a. The Birthday Girl) really enjoyed them - as did everyone else who had a piece.  The platter was practically licked clean.  Speaking of the platter - she was quite convinced that the platter was her gift from me.  Sorry Barb!!  :-( 
 
Happy Birthday Barb!!!
So thanks again Jamie for the delicious recipe.  I'm sure it will be repeated often at my house now!

Photobucket