Thursday, April 26, 2012

Back To My Roots...

As I look at my blog I'm feeling a bit discouraged.  It's been so long since I have posted anything that I figure I have probably lost all of the people who were kind enough to "Follow" me.  If per chance you are still out there, and care a lick about things I'm doing - well, thank you!  

So where have I been?  What have I been doing?  Well, once again illness overtook me, and everything, including my blog pretty much came to a screeching halt.  I suffer with something similar to Chronic Fatigue/Epstein Barr.  When it rears it's ugly head it takes everything in me to get to work every day - only to drag my butt home and go to bed.  Anyway, once I go back into remission I have to be careful not to overdo, so projects are few and far between. 

The one thing I have been able to do, is kind of go back to my roots... my "graphic design roots" that is.  When I originally started my company I was doing a lot of wedding designs (thus the "I Do" Designs).  Since then I have expanded to doing all types of graphic designs.  I love creating something that is truly unique and tailored to each individual.  I sit down with that person, get a feel for what they like or want, and go from there.  I never have done "cookie cutter" designs where you pick a design from a list and I modify and print.  Every single thing I do is from scratch and one-of-a-kind.  I've never really shared any of these things on my blog, but thought maybe I would post some of the things I have done.  I figure as long as I'm going to post them, I may as well go back in time to share some of my favorite designs. 

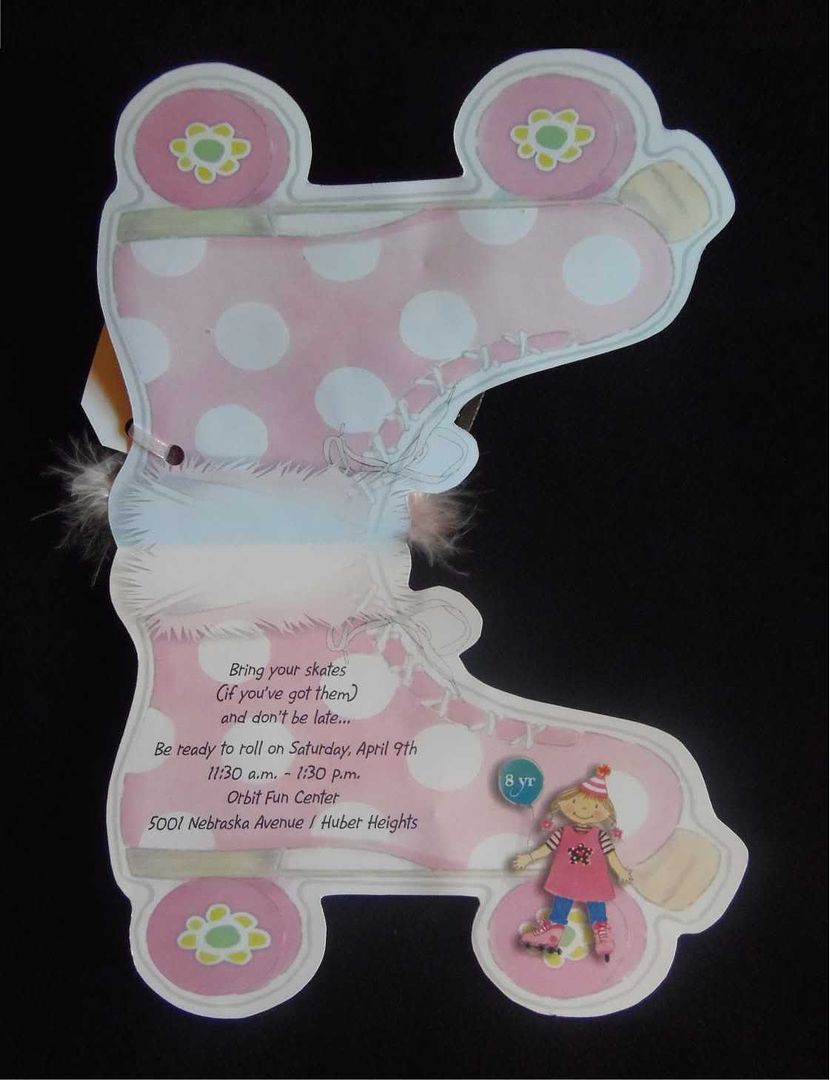
Last year, about this time, one of my friends at work asked if I could make a simple little birthday invitation for her daughter.  It was going to be for a skating party, so she sent me a little graphic she had found that I could use.  Ok, let me just say... "simple" does not seem to be in my vocabulary, and "cute little graphics" are rarely used as a starting point.  Oh my, the wheels starting rolling (no pun intended), and before long an idea began to form in my mind.  In this instance I DID start with a graphic of a skate that I loved and went forward with my design from there.  Each invitation was cut by hand and individually embellished.

This is a picture of the front of the invitation...
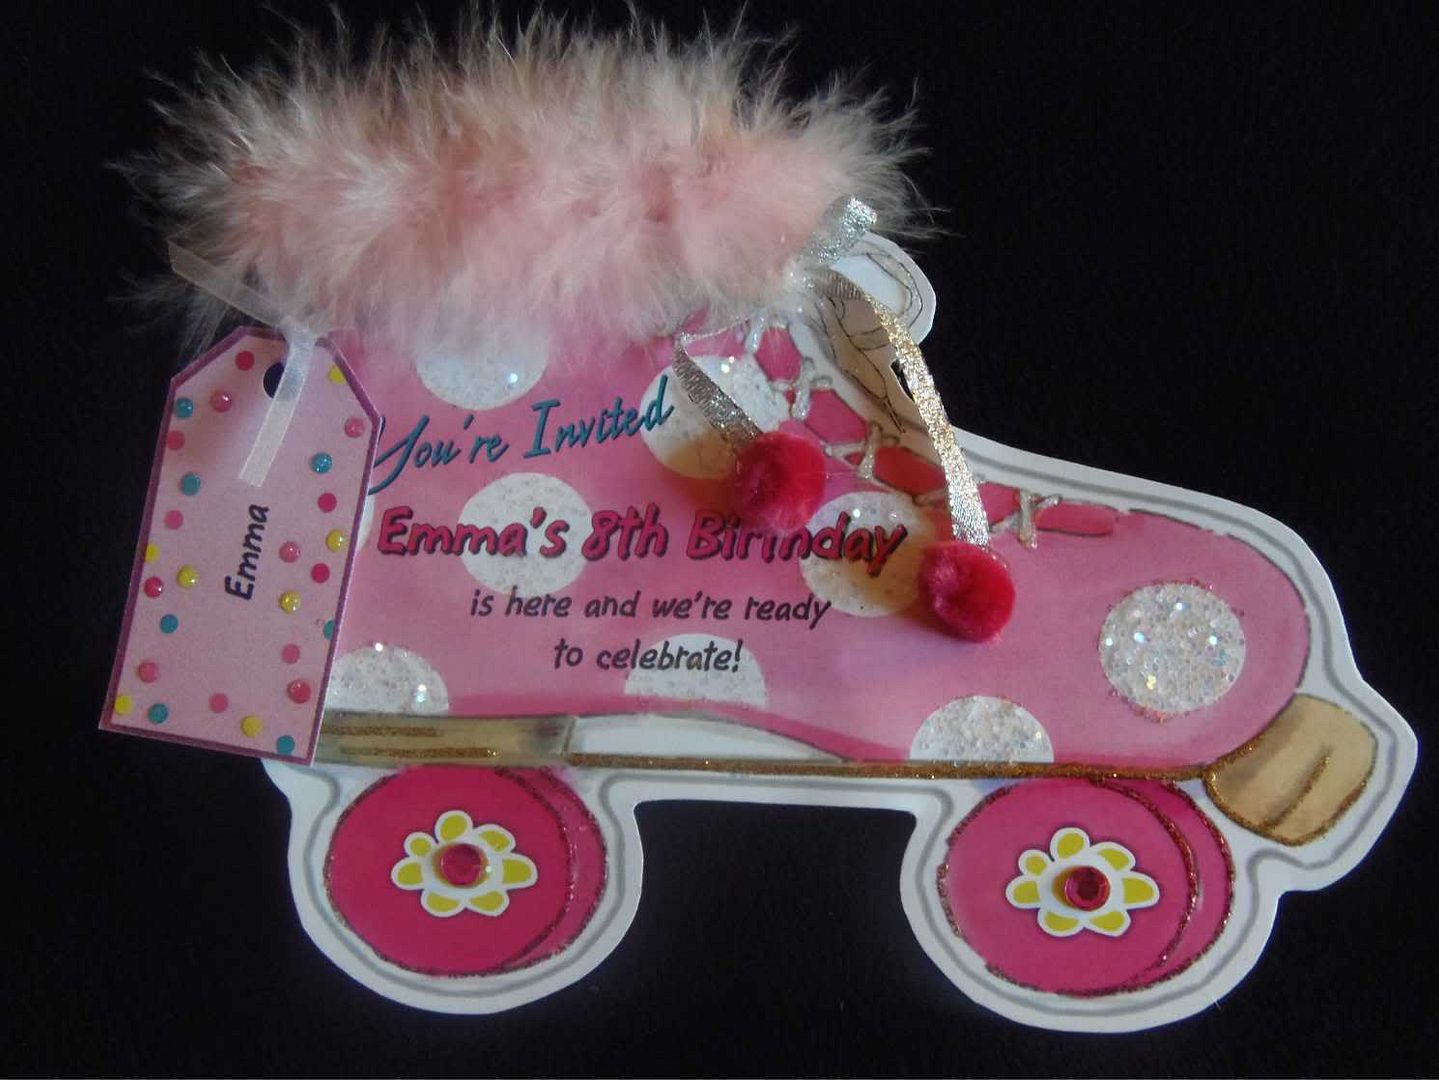

As you can see, it's not your "ordinary" invitation.  (I just can't leave well enough alone.)  The skate itself was really cute, but I felt it needed a bit more.  Enter some fur for the top...
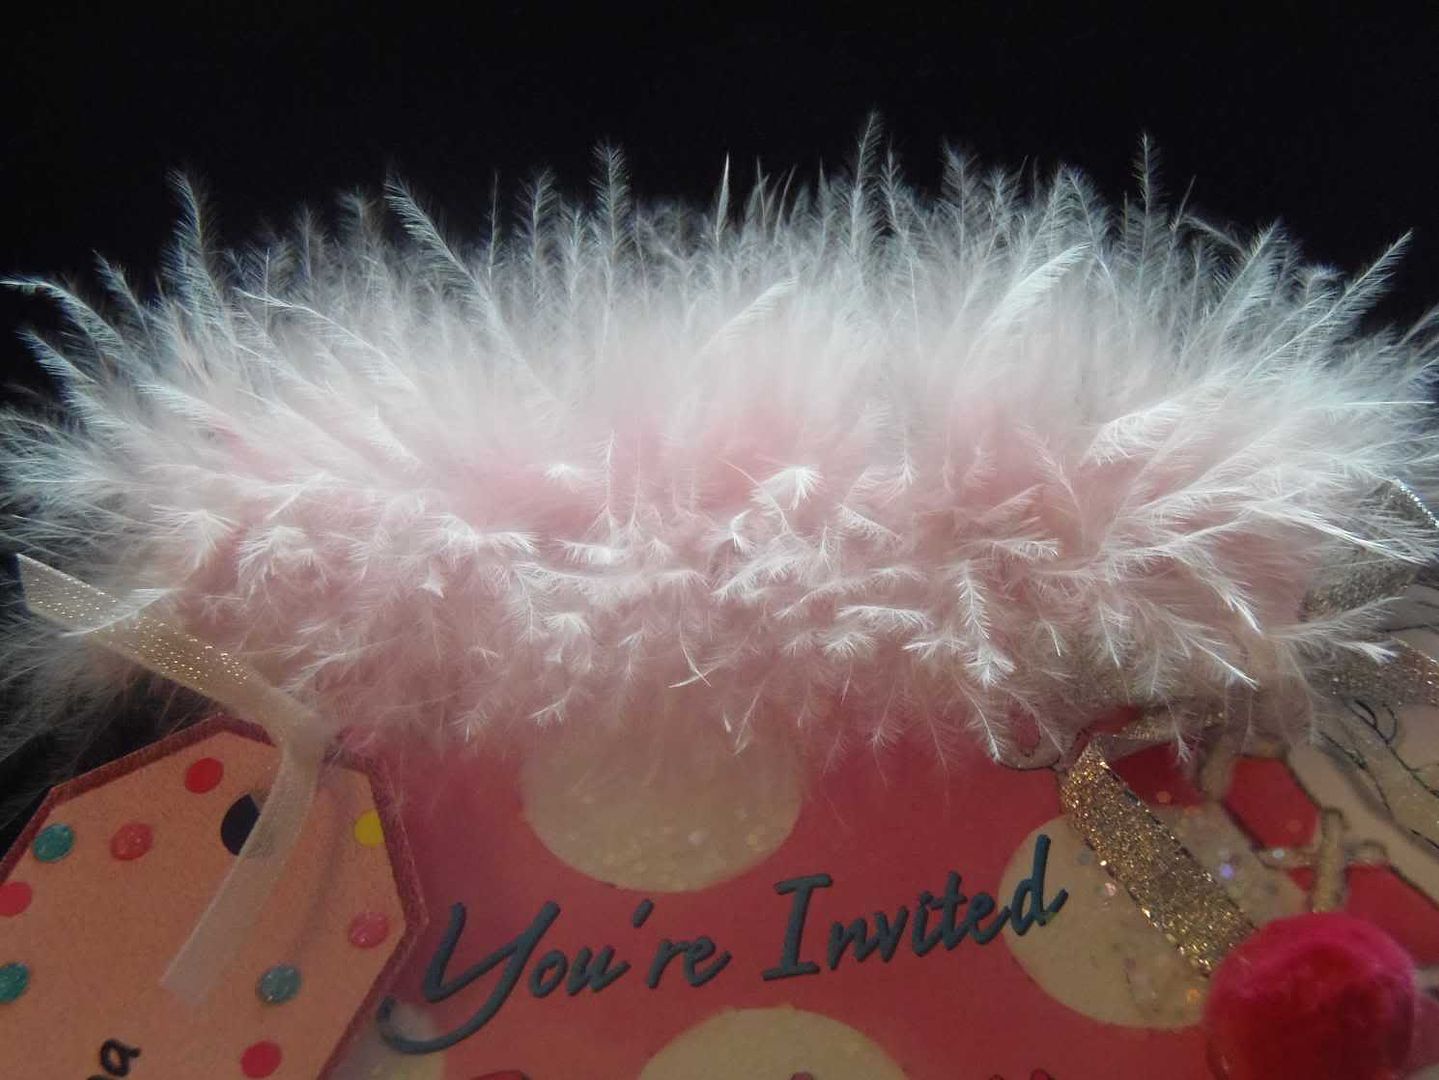

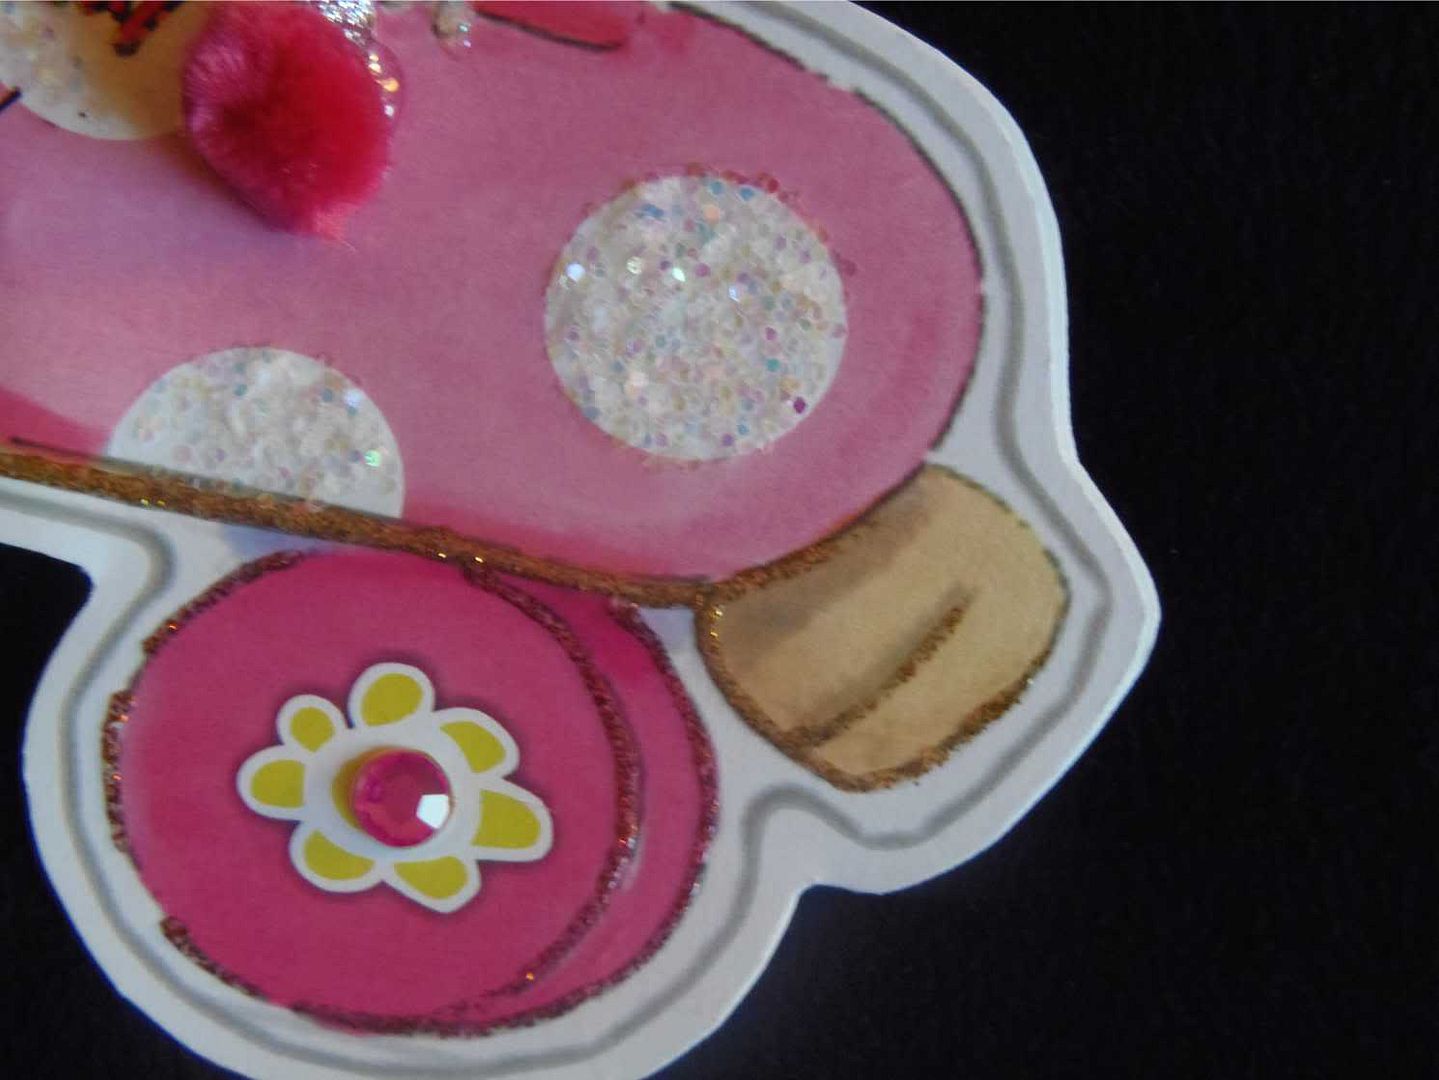
Add in glitter, jewels, and glitter paint...


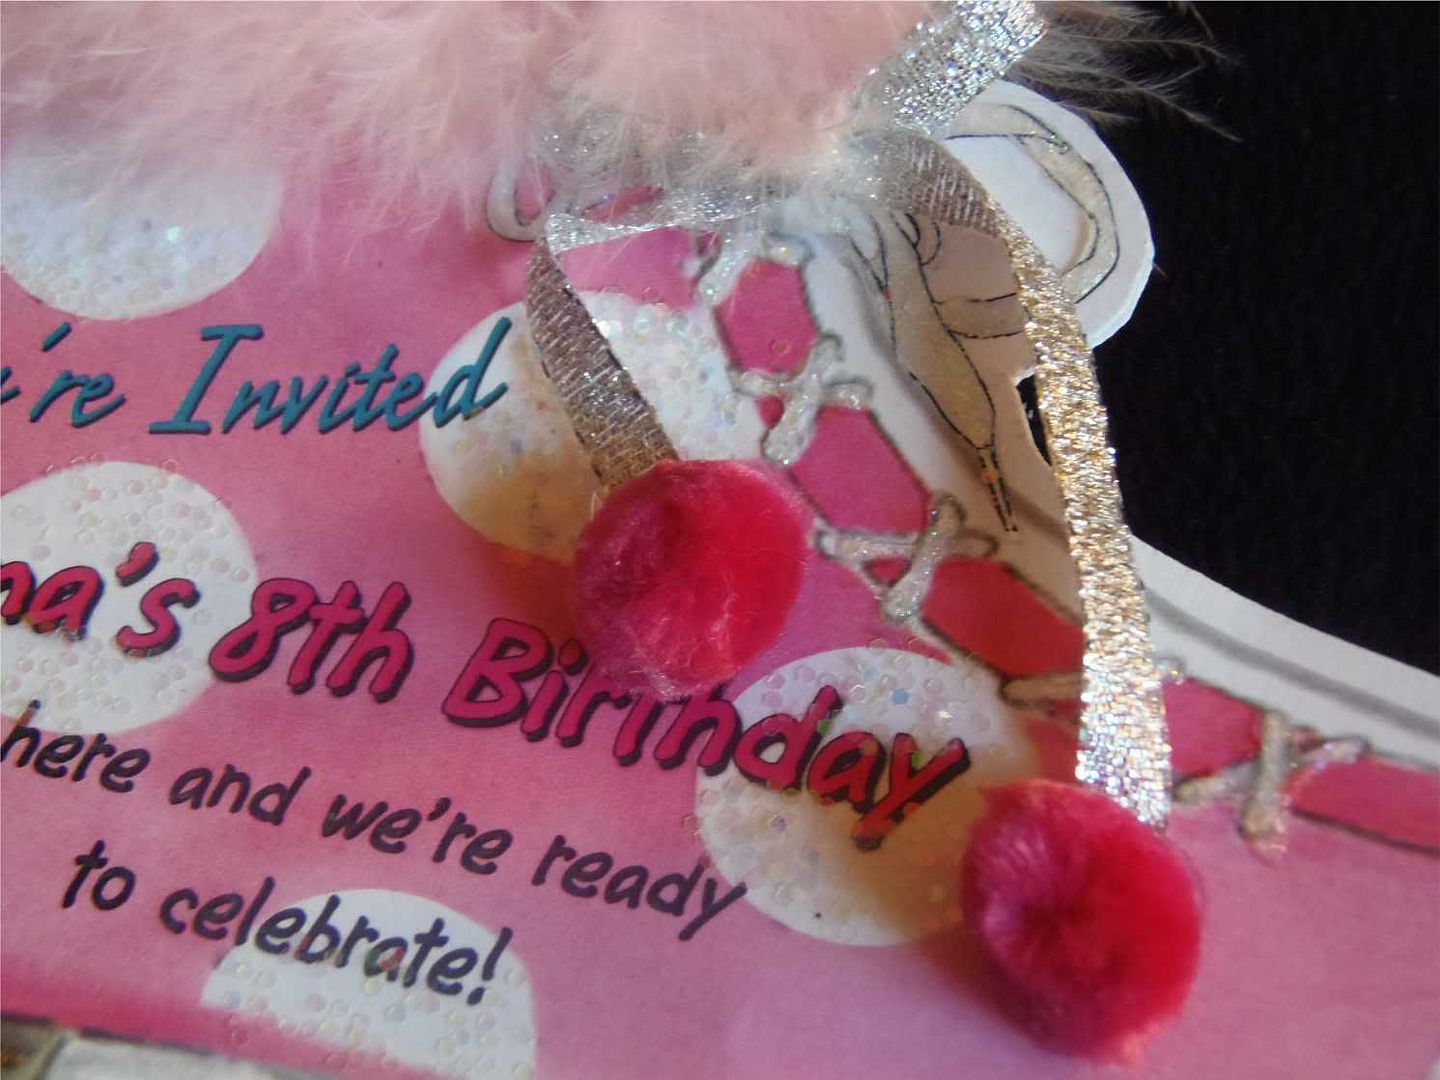
And of course some ribbon and pom-poms for the lacing... (thanks to my friend Michelle for suggesting the pom-poms!)

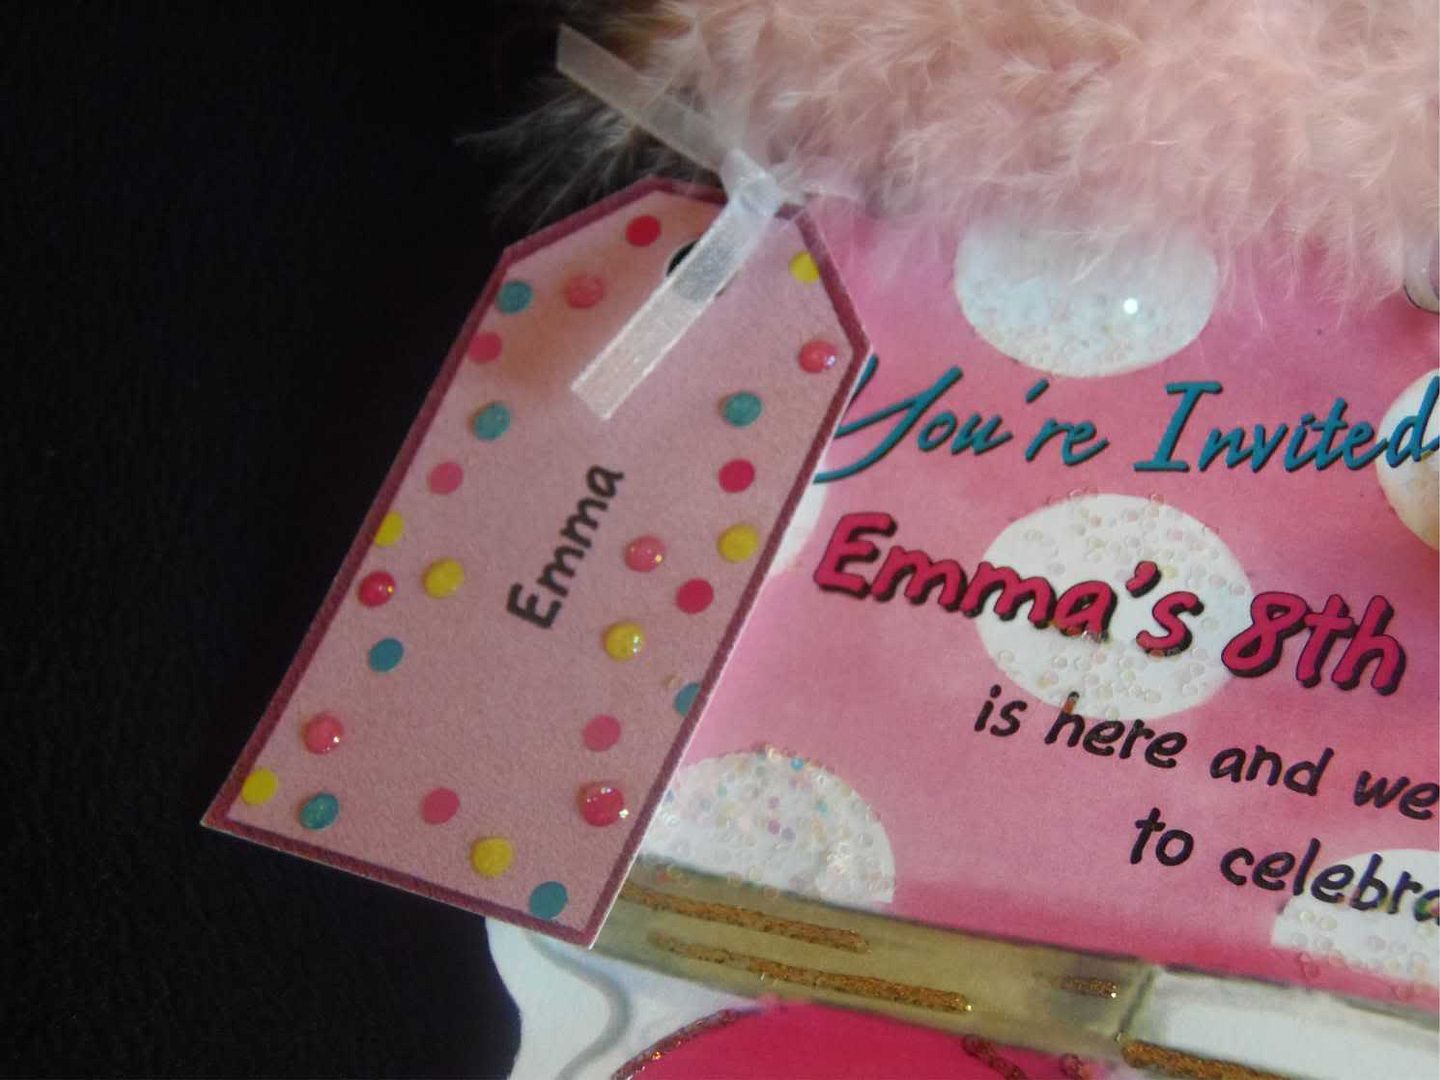
Each invitation had its own decorated name tag tied on with a ribbon...

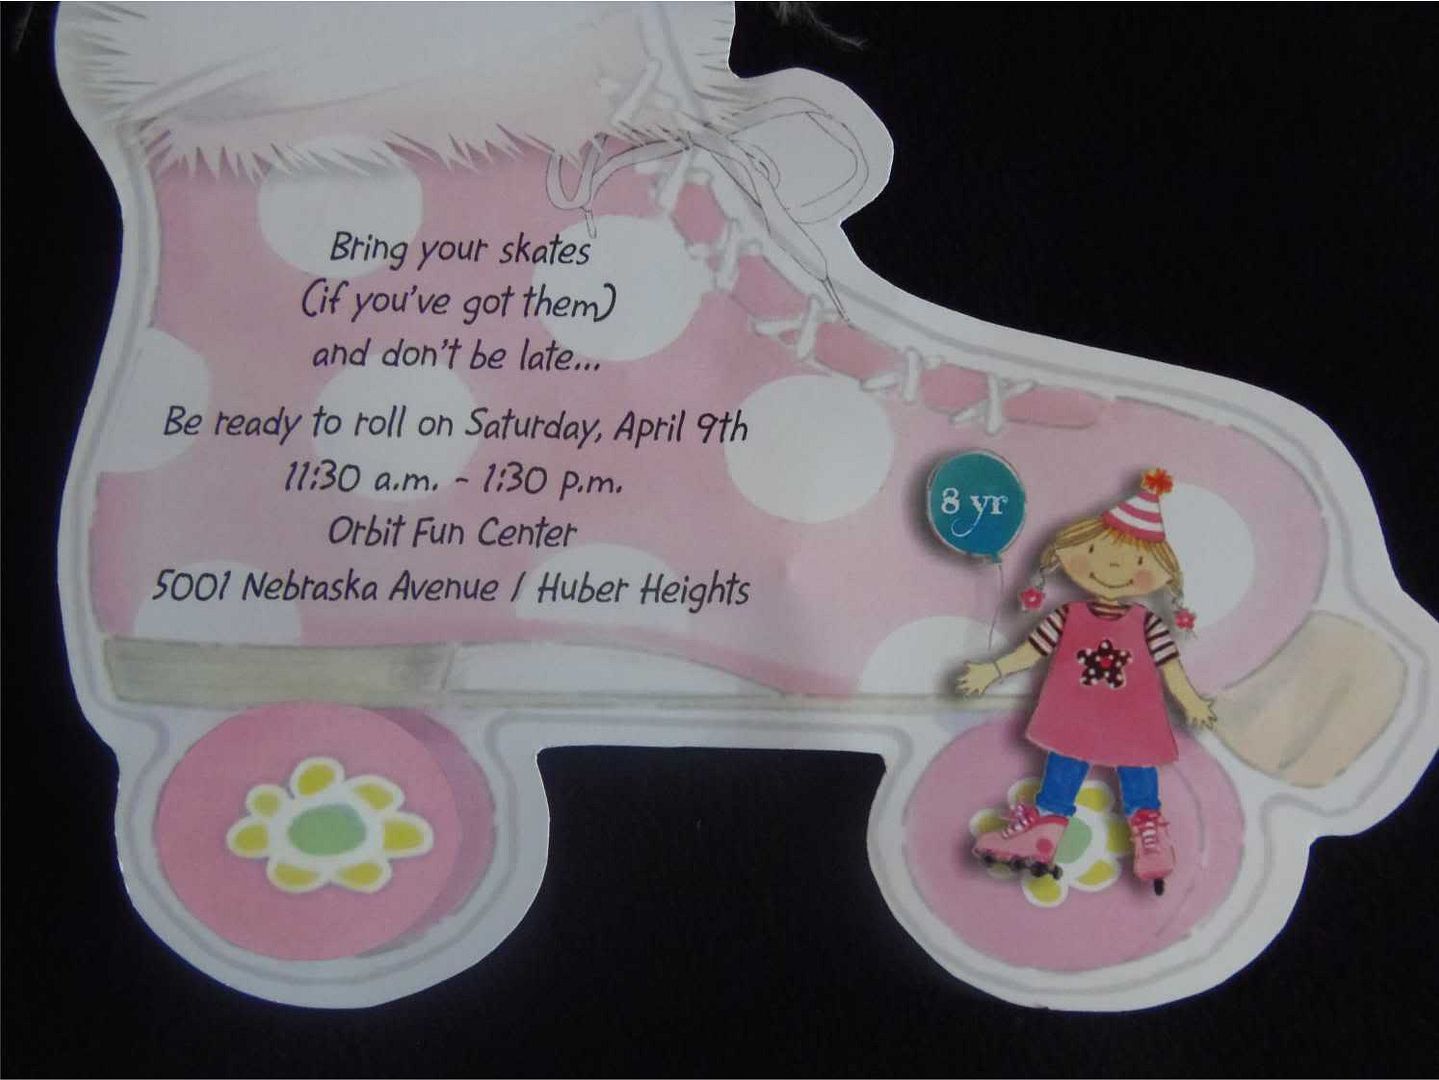
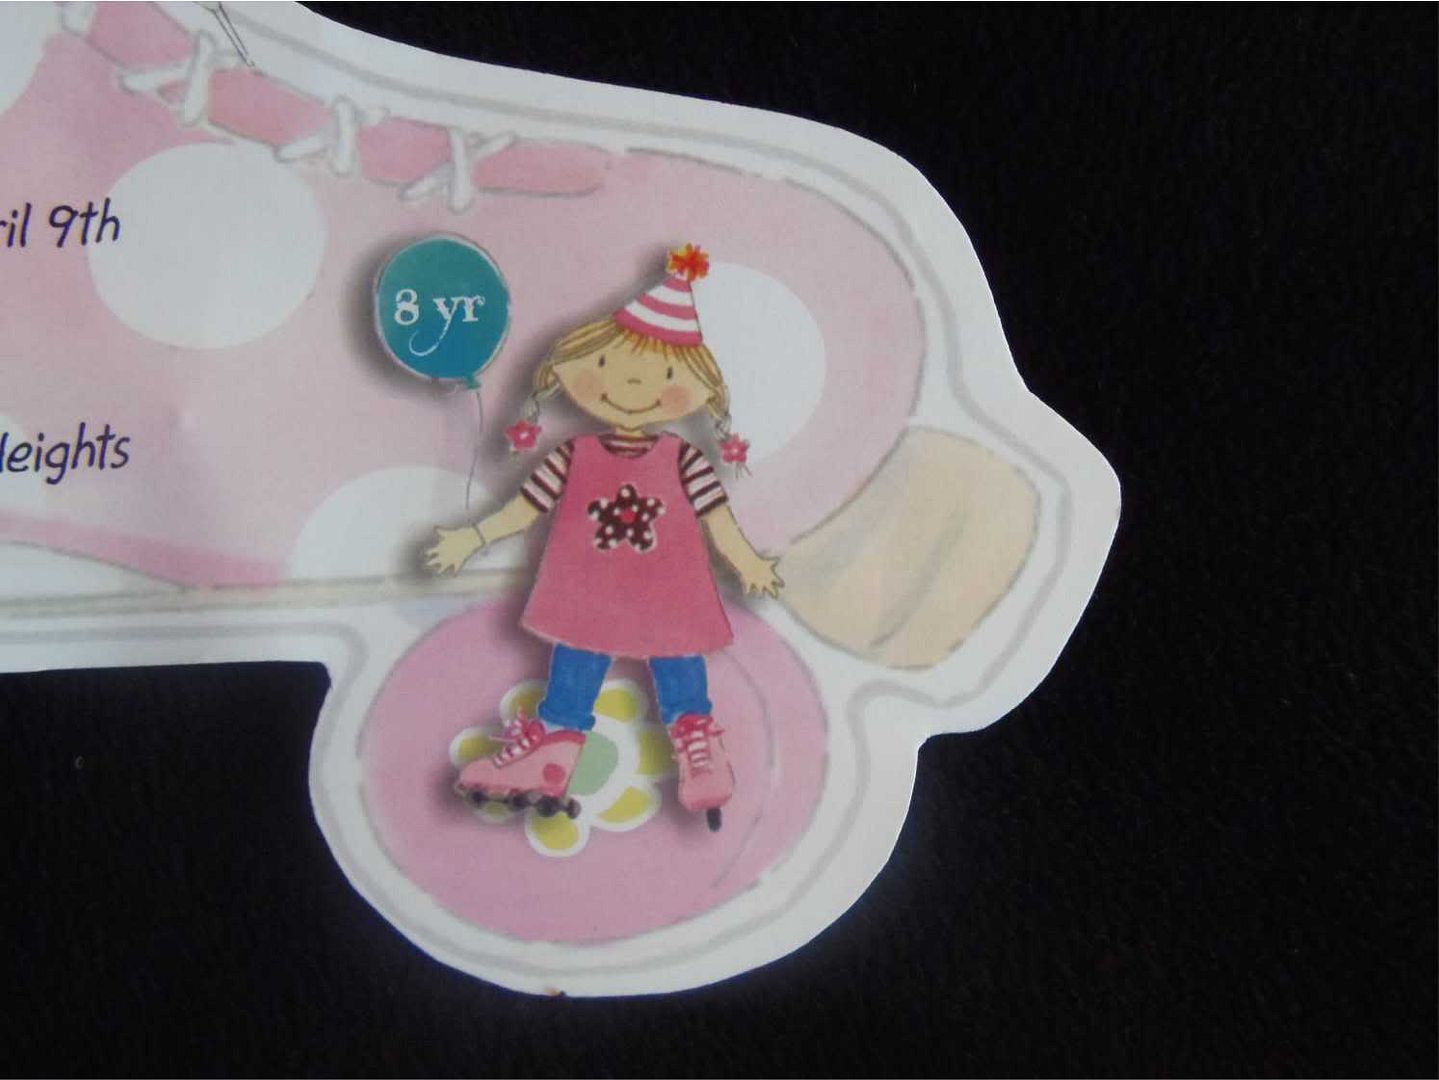
Now, what to do for the inside?  Well, I HATE just plain white, so I reused a lighter version of the skate...


What is the back like you ask???  Well OBVIOUSLY it's going to be the skate!!


So that's it, now you know another side of me.  Whatcha think?  Can't wait to share some of my other custom designs.  While this is not "exactly" a DIY or makeover project, I think I'm going to link up to a few parties just so people know I am still alive!!


Photobucket

Sunday, November 6, 2011

2 Ingredient Nutella Chocolate Chip Cookies

Oh yah… you read that right!!  TWO ingredients!!!  Refrigerator cookie dough, and Nutella!!
IMAG0877
I was just recently introduced to Nutella and became instantly addicted.  For some reason, I have been craving Nutella something (anything) today.  I’ve been sick all weekend, and have spent a lot of my time “Pinteresting” (is that even a word?).  I have come across tons of recipes using Nutella.  I was quite sure it would help me feel better, but didn’t have many of the ingredients, and certainly didn’t have much energy.  So I decided to improvise.  I had a package of refrigerated chocolate chip cookies, and of course, the Nutella – ta dah!!!!!  Oh, I’m feeling so brilliant!!

Now, how to do it??  What would be the best way?  So I made a few at a time in different ways to see which way turned out best.  (Sorry, I was so excited about making the cookies that I didn’t get the best pictures.)

#1 – Flatten out 2 cookies
IMAG0881
Put a teaspoon of Nutella in the center of one cookie…
IMAG0882
Press the two cookies together, sealing in the creamy center.
IMAG0884
#2 – Take one cookie, make a small “bowl” and put a scoop of Nutella in the center.  Bring the sides of the “bowl” up to partially enclose the Nutella.
IMAG0883
OR
#3 – Put a scoop of Nutella in the center of the cookie, form a ball around it, and kind of kneed it in so it will be throughout the entire cookie.
IMAG0887
This is what they looked like after they were baked…
IMAG0888

IMAG0890

IMAG0892

IMAG0893
Of course I had to “try” each cookie to see which was best… I decided on the “sandwich type” because the Nutella “oozed” out throughout the entire cookie.  Here they are before they were topped with the second cookie.
IMAG0902
I FINALLY… here they are in all their ooey, gooey, Nutelledness!!! (Is that another made up word? – Well, it fits!!)
IMAG0917

IMAG0926

Sat down with my plate of cookies, and a big old glass of cold milk.  I’m feeling SO much better now. 

IMAG0921
Well, I’ve gotta go spread the word to all the other Nutella fanatics out there!!!  If you ask me, I believe this is “Pinterest” worthy!!! 

Whatcha think?  Gonna give them a try?  If you do, be sure to let me know what you think. 

Thursday, October 27, 2011

Mom to the Rescue

This past weekend my Hubby and I went to visit our son and daughter-in-law.  (Man it's the pits when your kids move away... just say'in!)   Anyway, Bethany and I were sitting at the table eating breakfast one morning, and I was looking into her kitchen.  I made the comment that I had always wanted an open area on top of my cabinets because I think it's such a neat area to decorate.  Bethany had that open area, but had not yet decorated it, so I asked her about it.  She said that she had wanted to put things up there, but wasn't sure what to do.  We started discussing a few ideas and I could see she thought it would be a fun thing to do.  She knew that she wanted black and white, with a modern flare. Wellllll, say no more... it was time for a trip to GW!!!!!!  

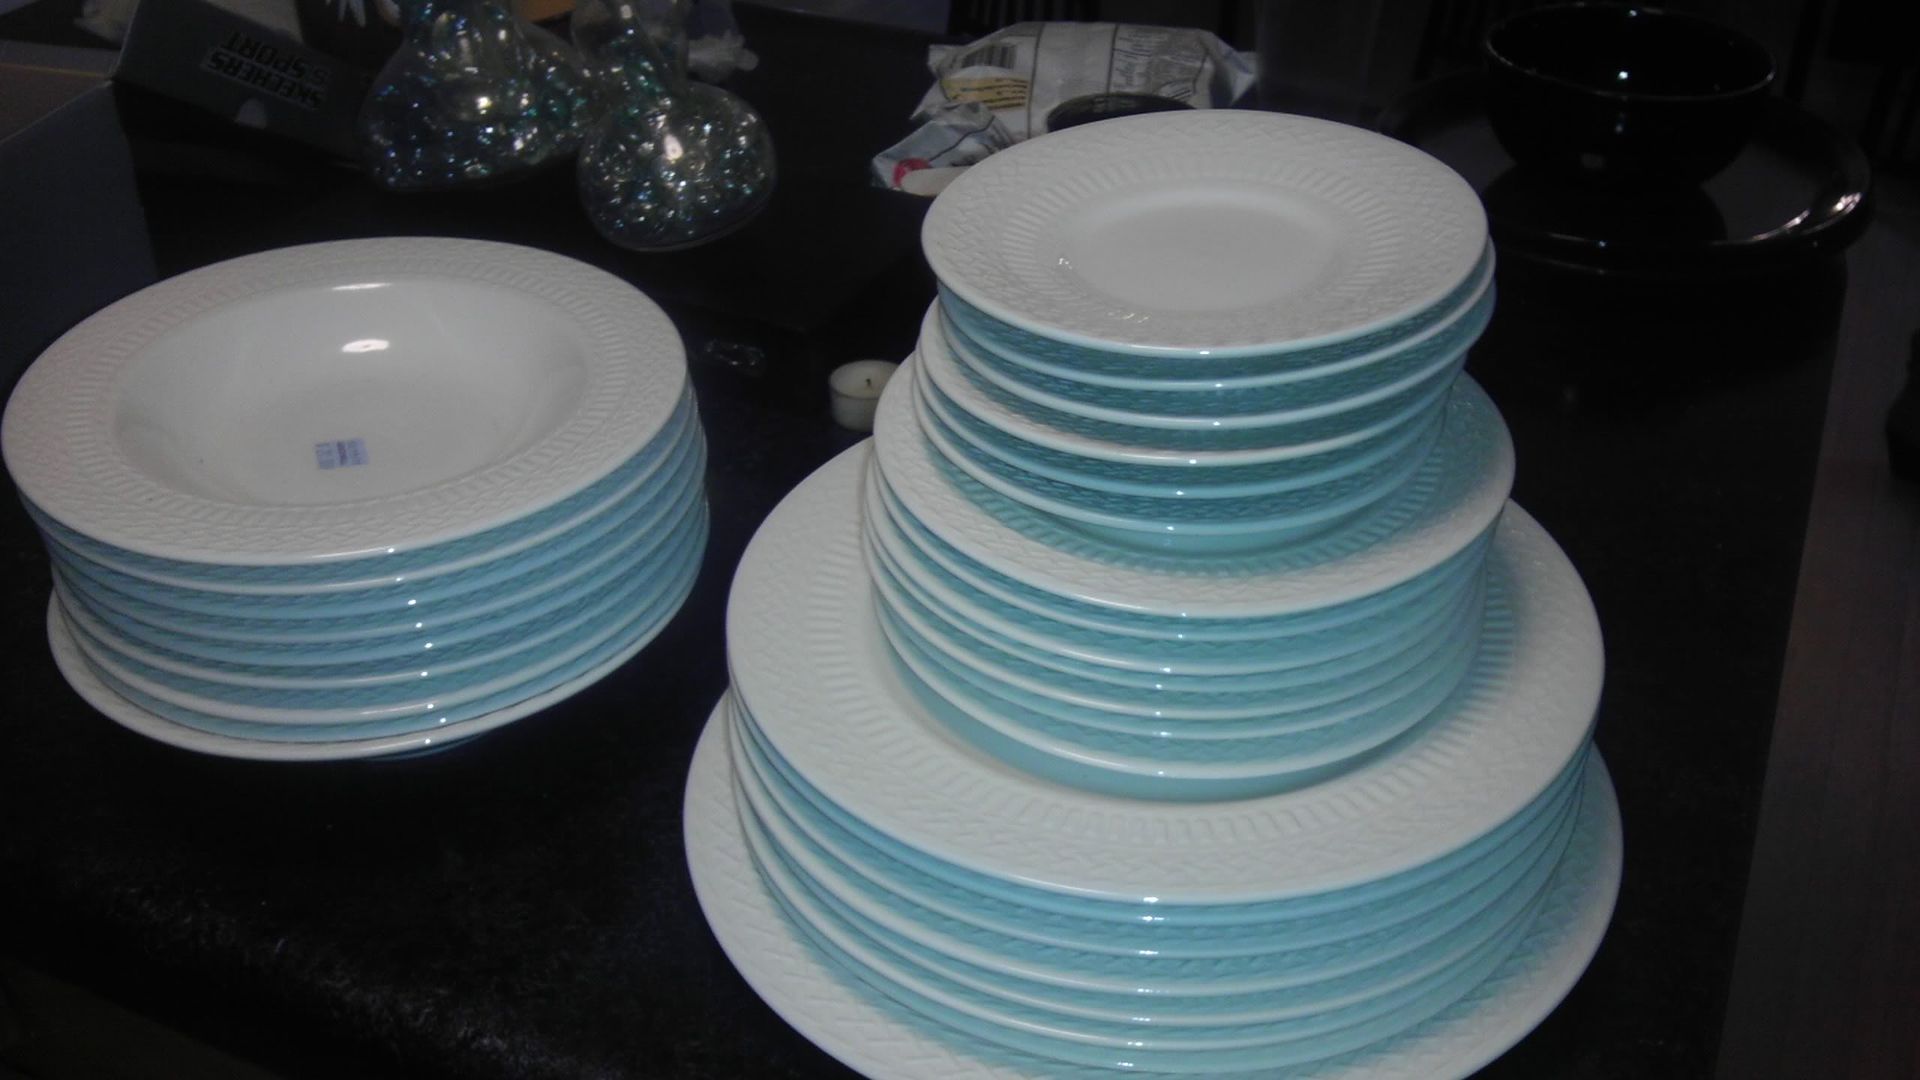
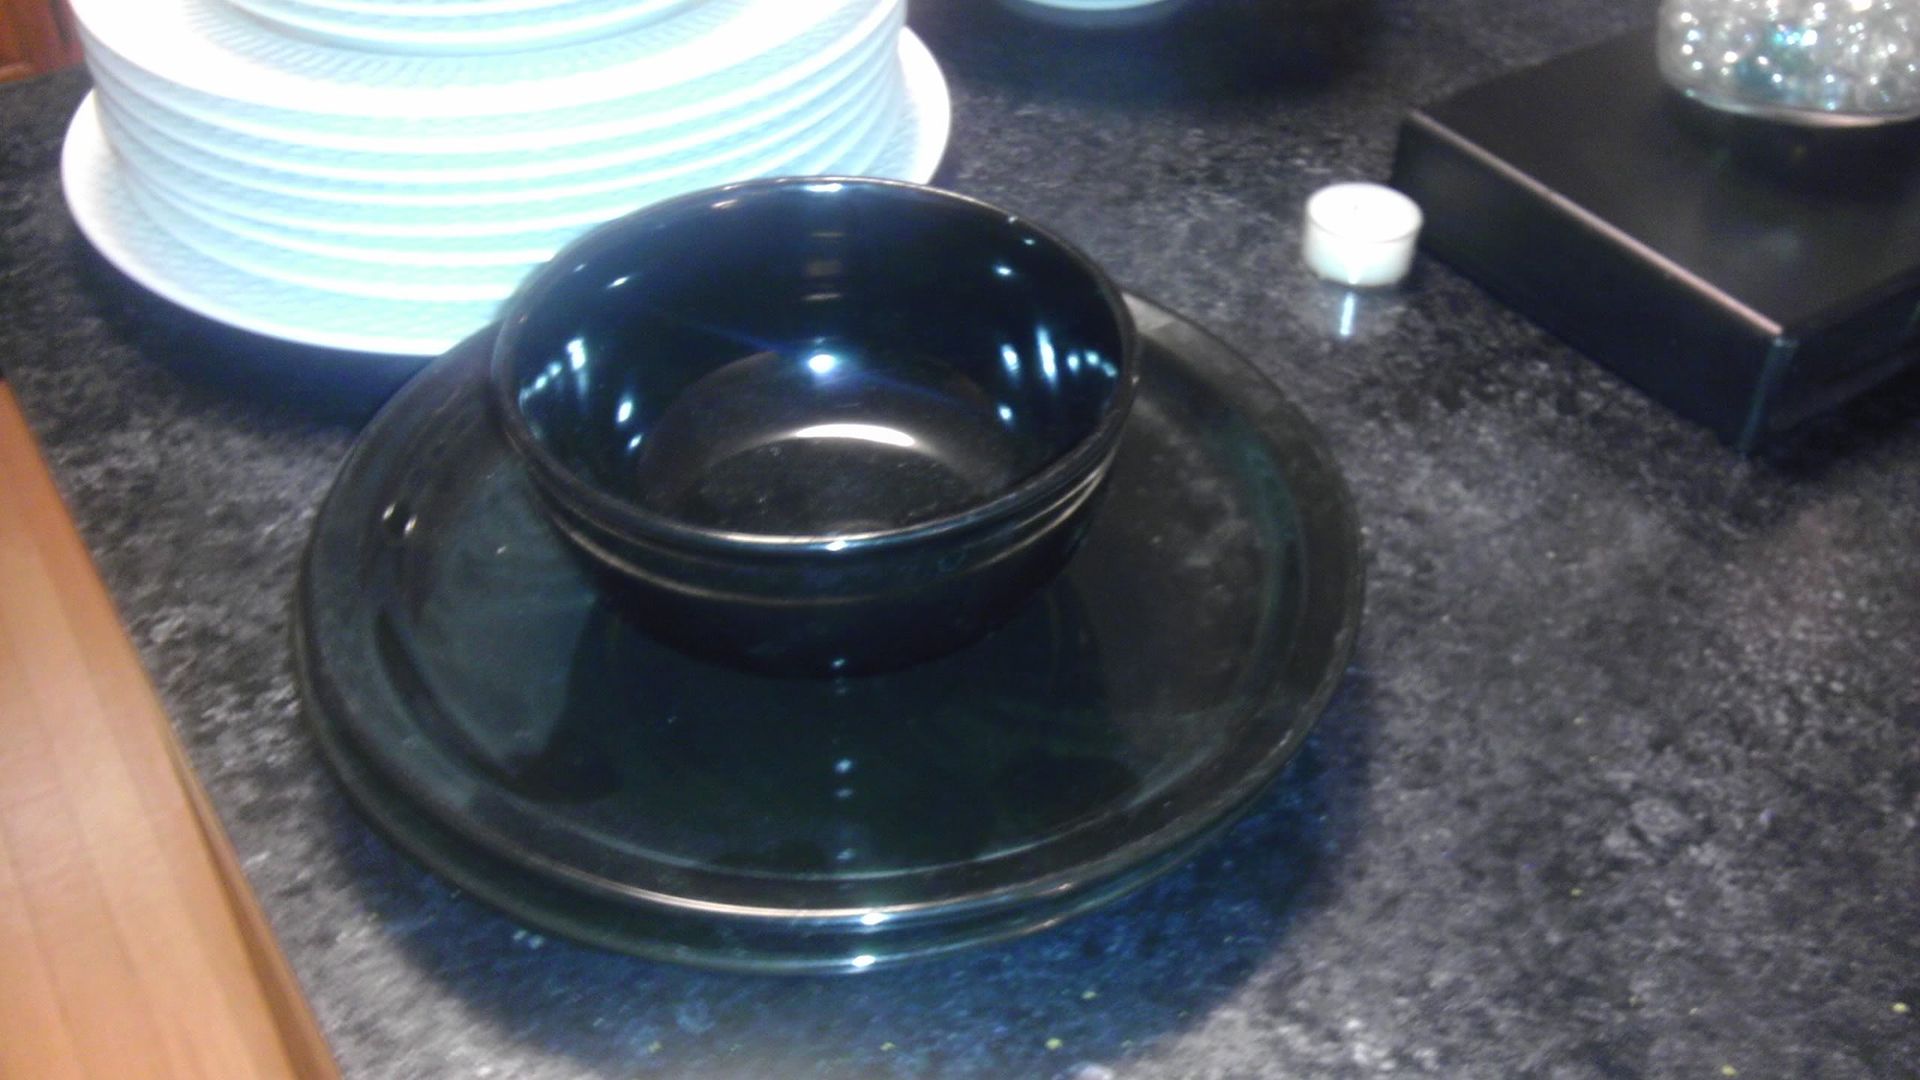
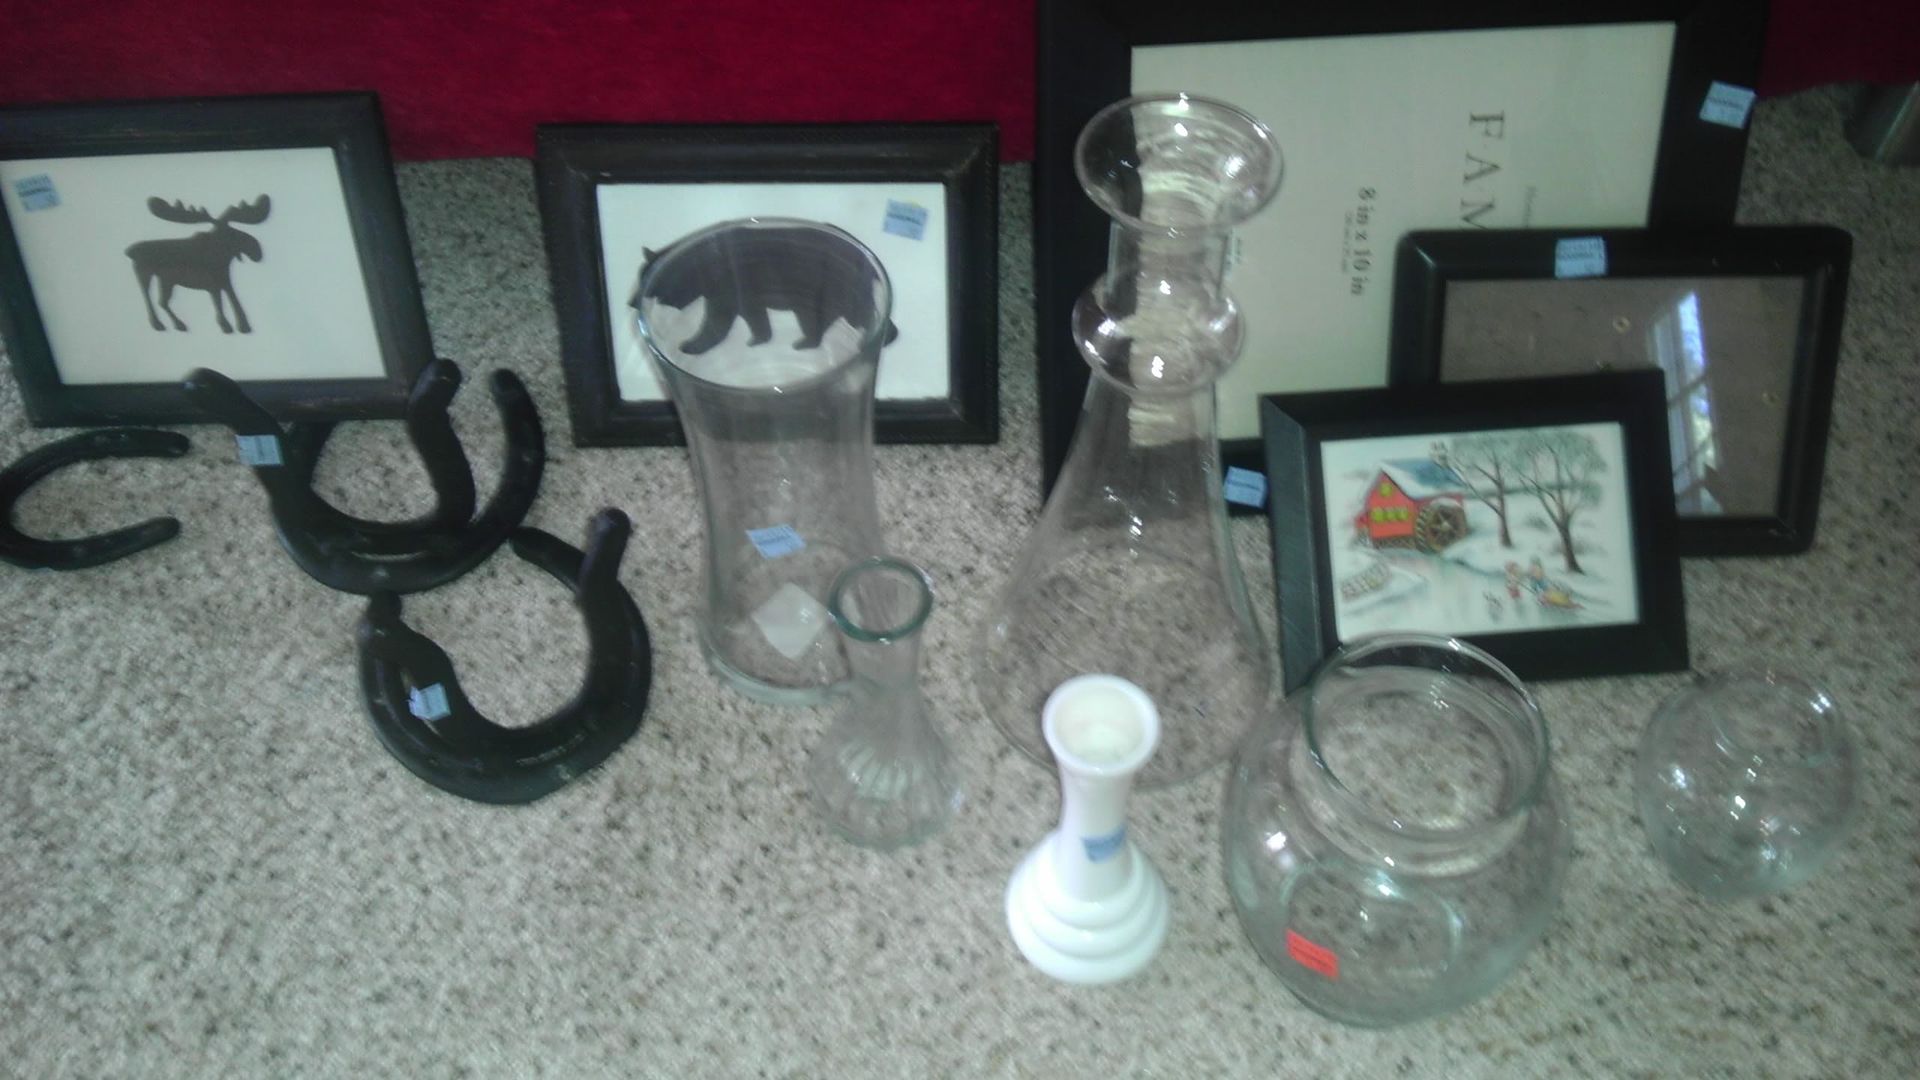
As soon as we walked into Goodwill I saw a set of white dishes that I knew would work.  Add to that a few black dishes, several glass vases, and some black frames.  OH, and we even found two sets of horseshoe bookends which were perfect since they have horses.  This is we left GW with...

White dishes (place setting for 8)

Some black dishes

Frames, vases, and horse-shoe bookends

We made one more quick stop on the way home to get some fillers for the vases (rice and black beans), a small bottle of black paint, and some plate stands.  For a total of about $30 to $35 we had everything we needed.

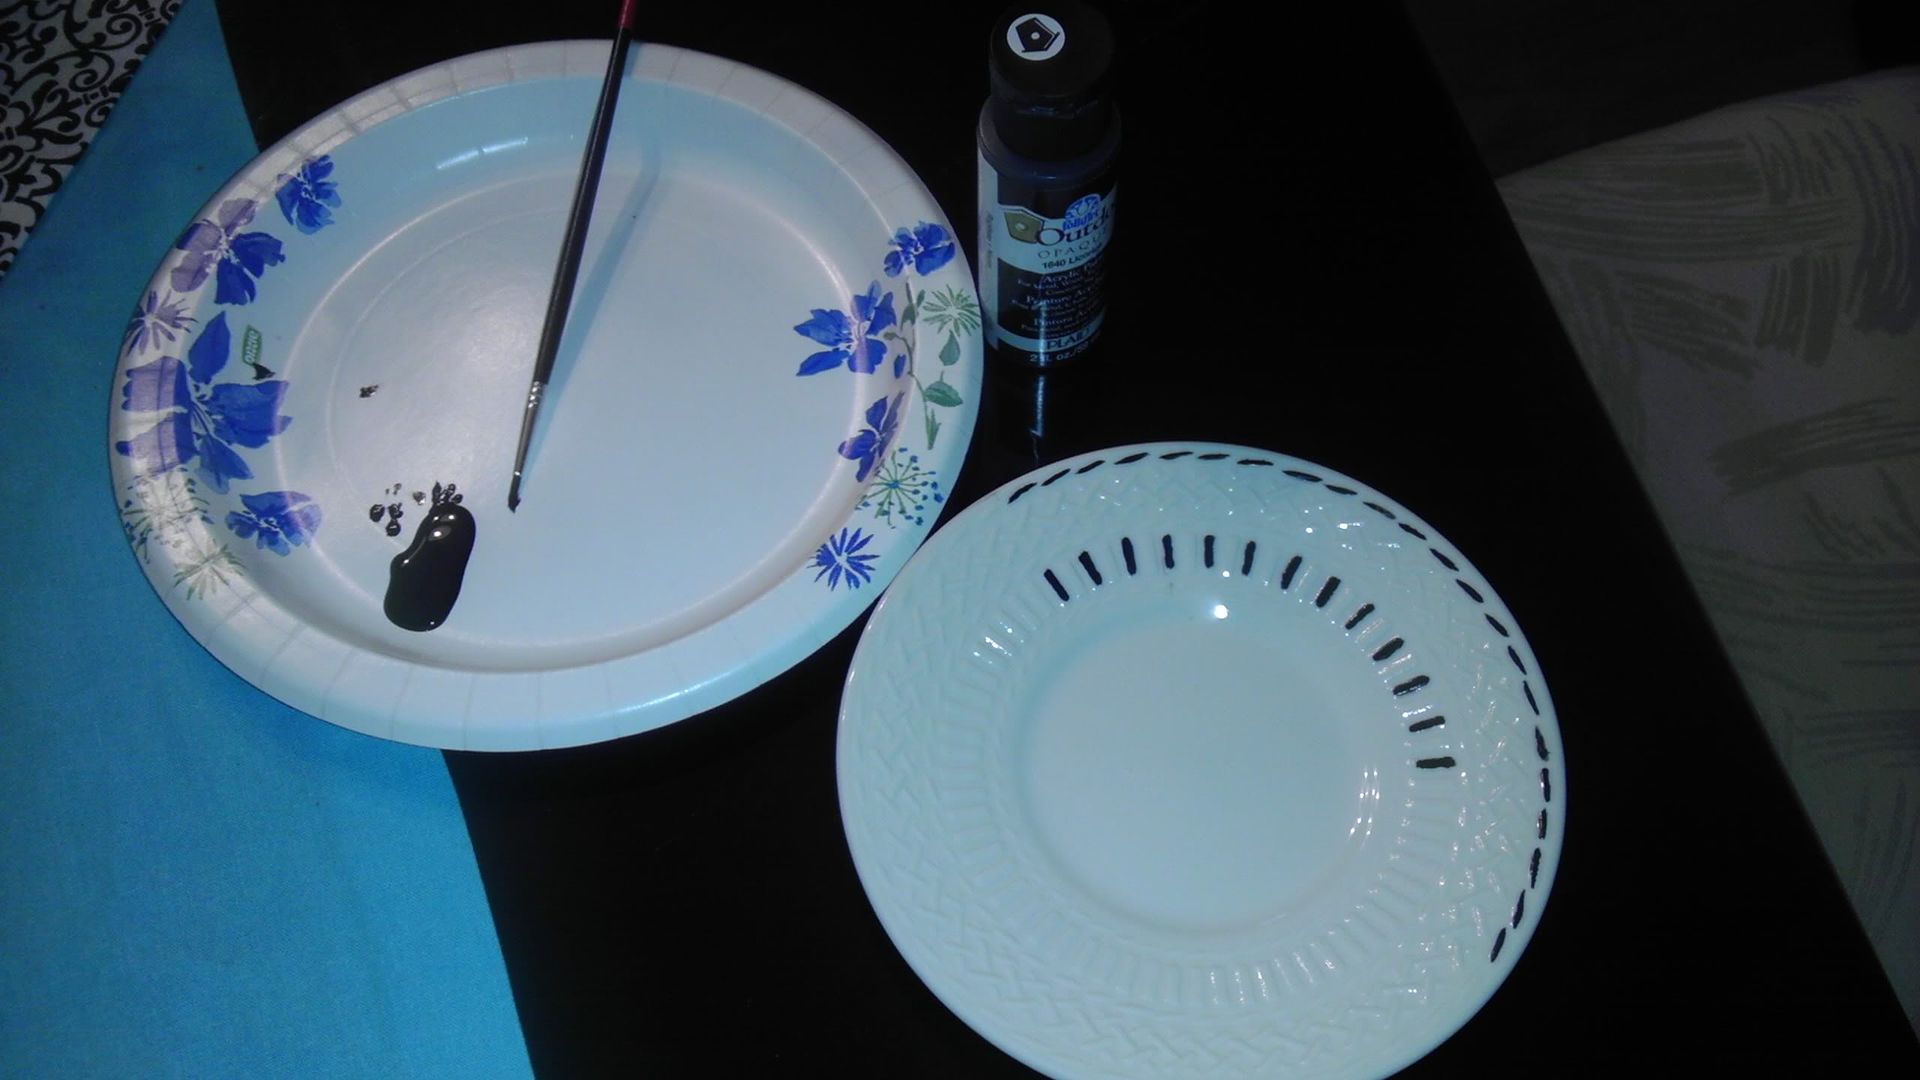
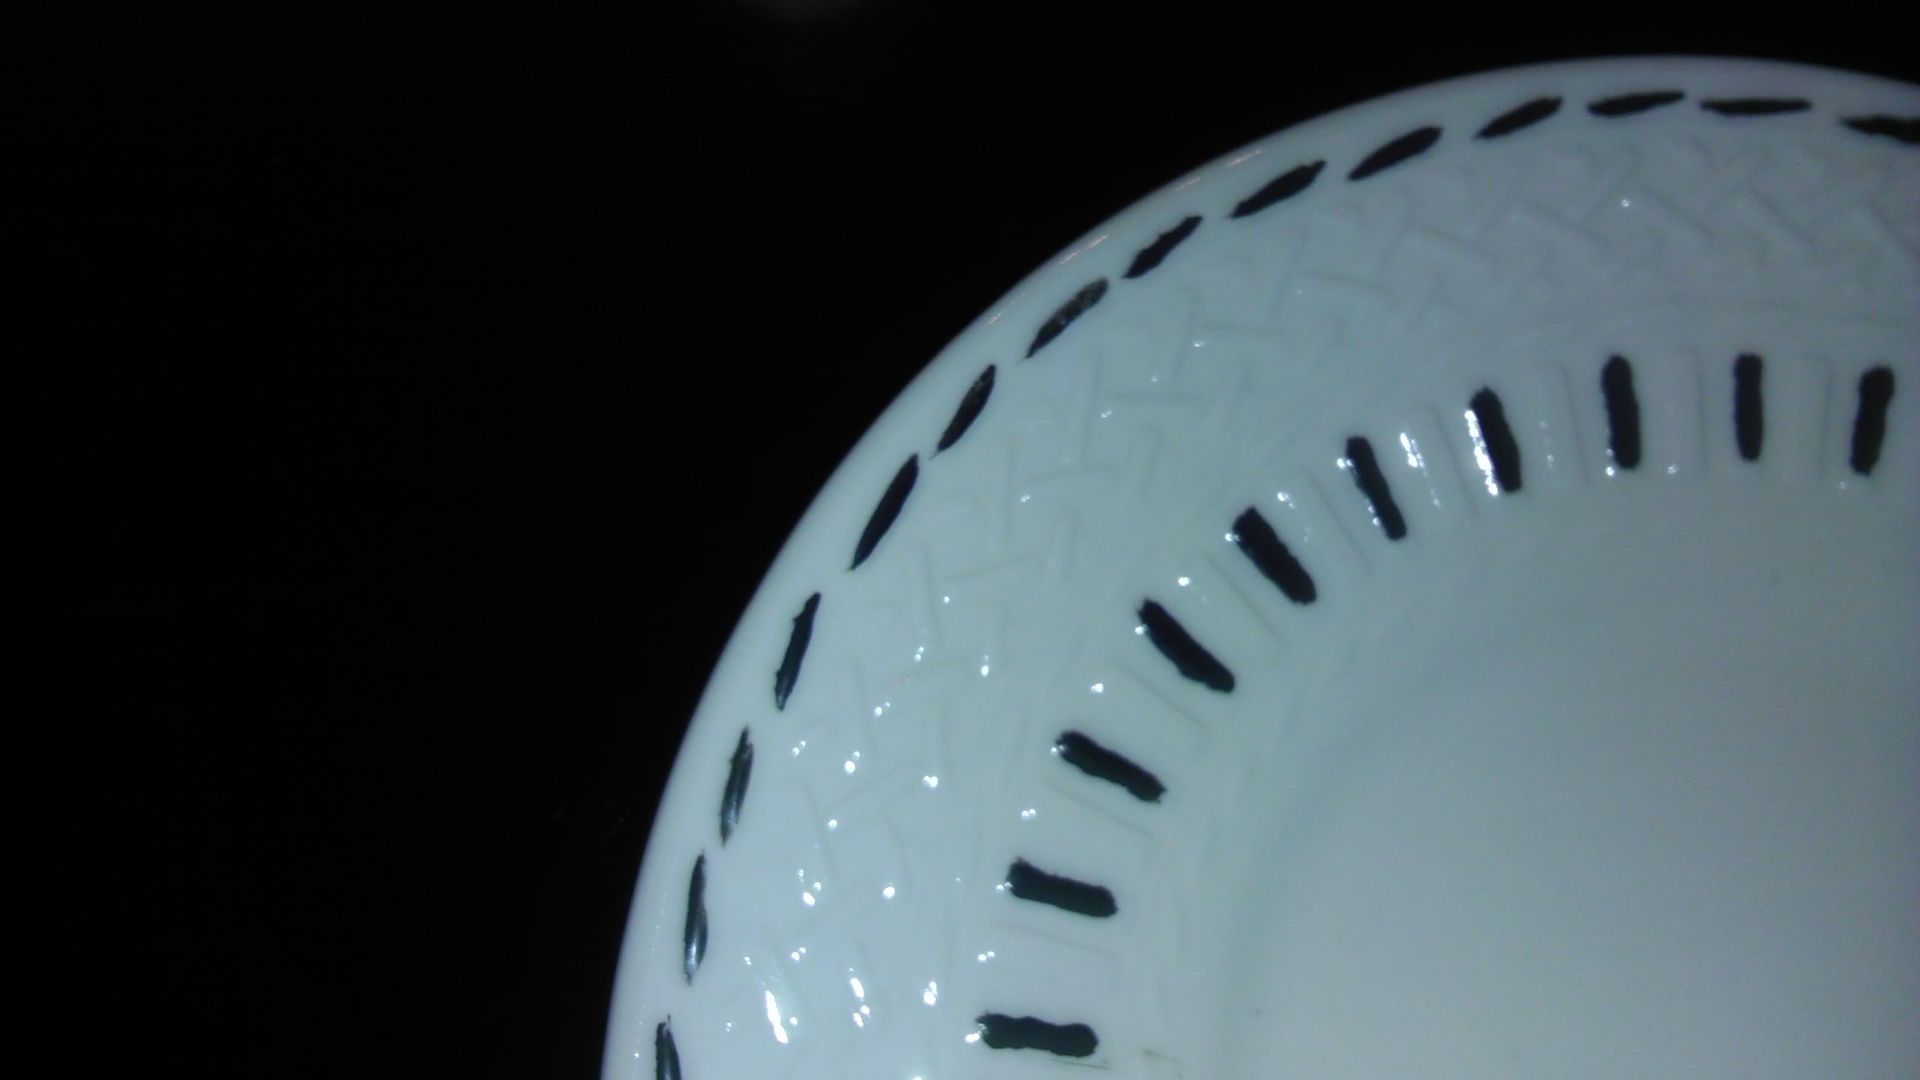
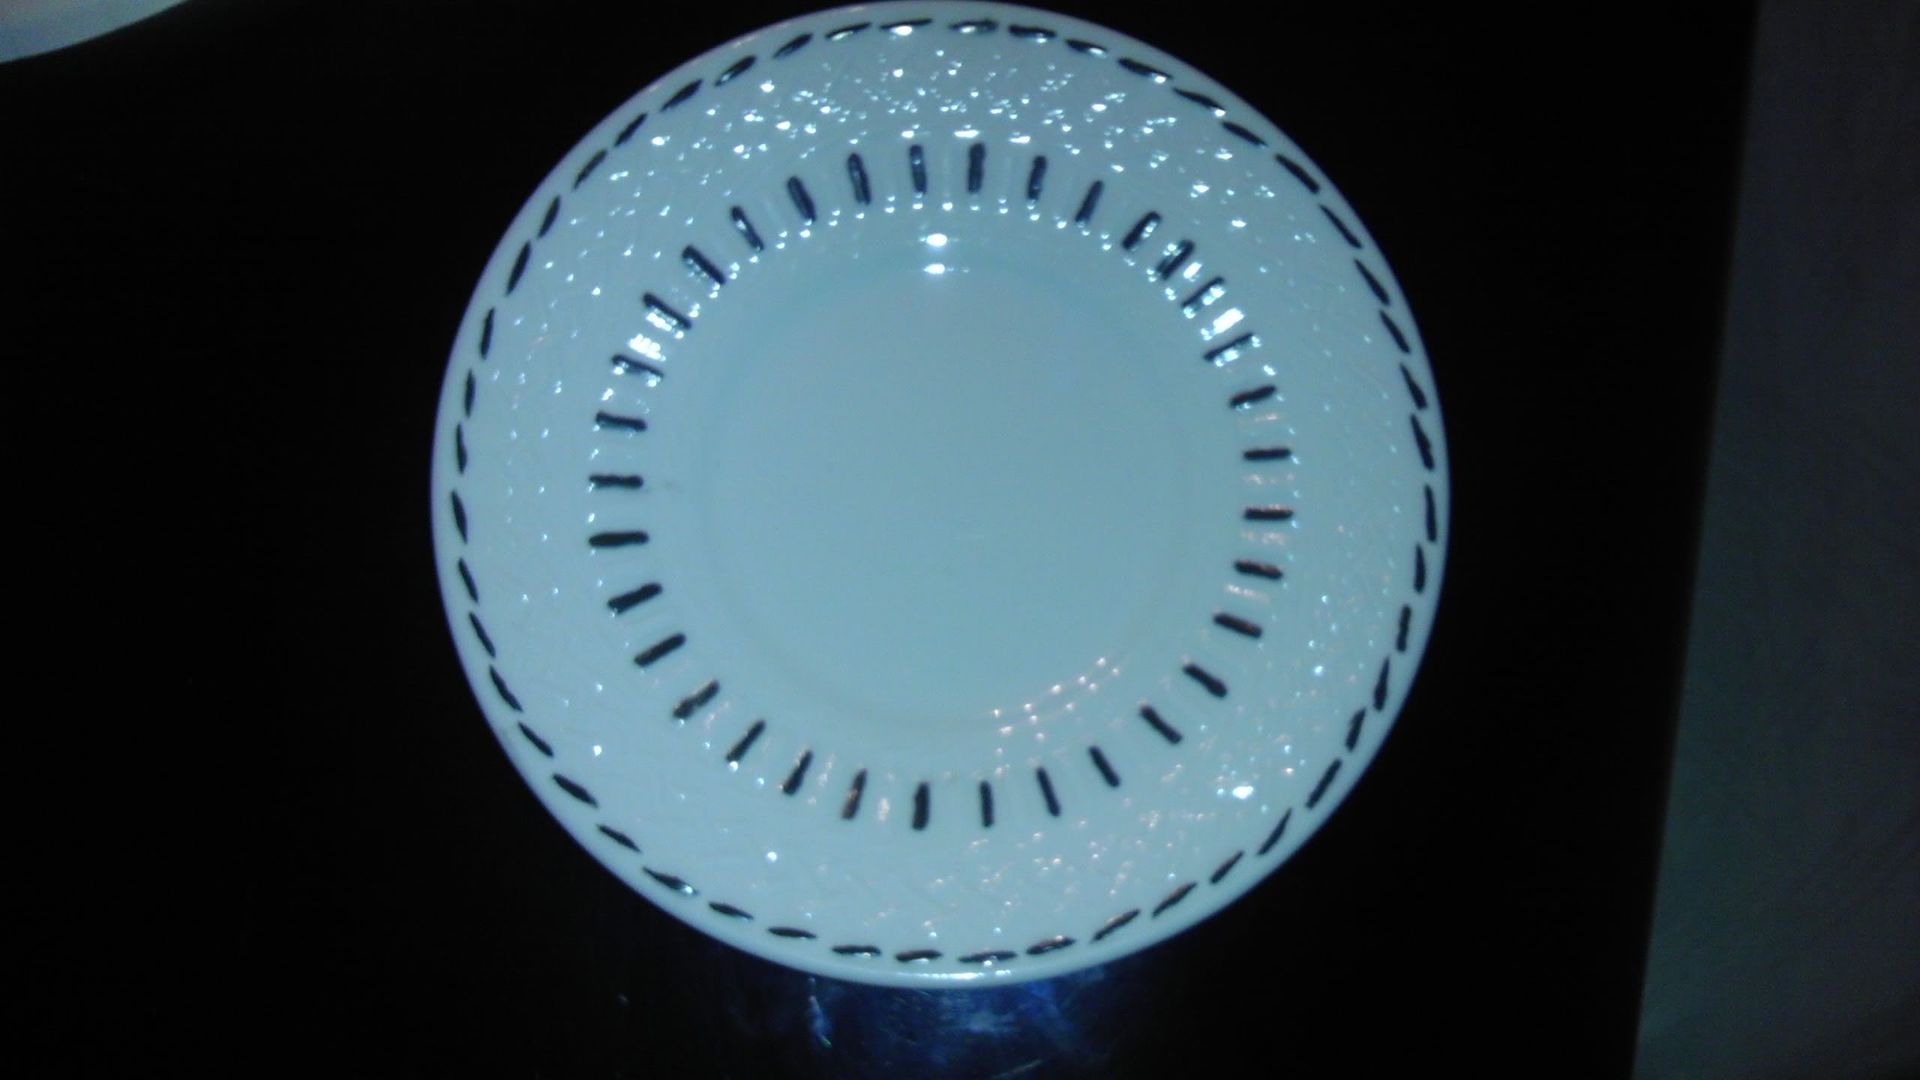
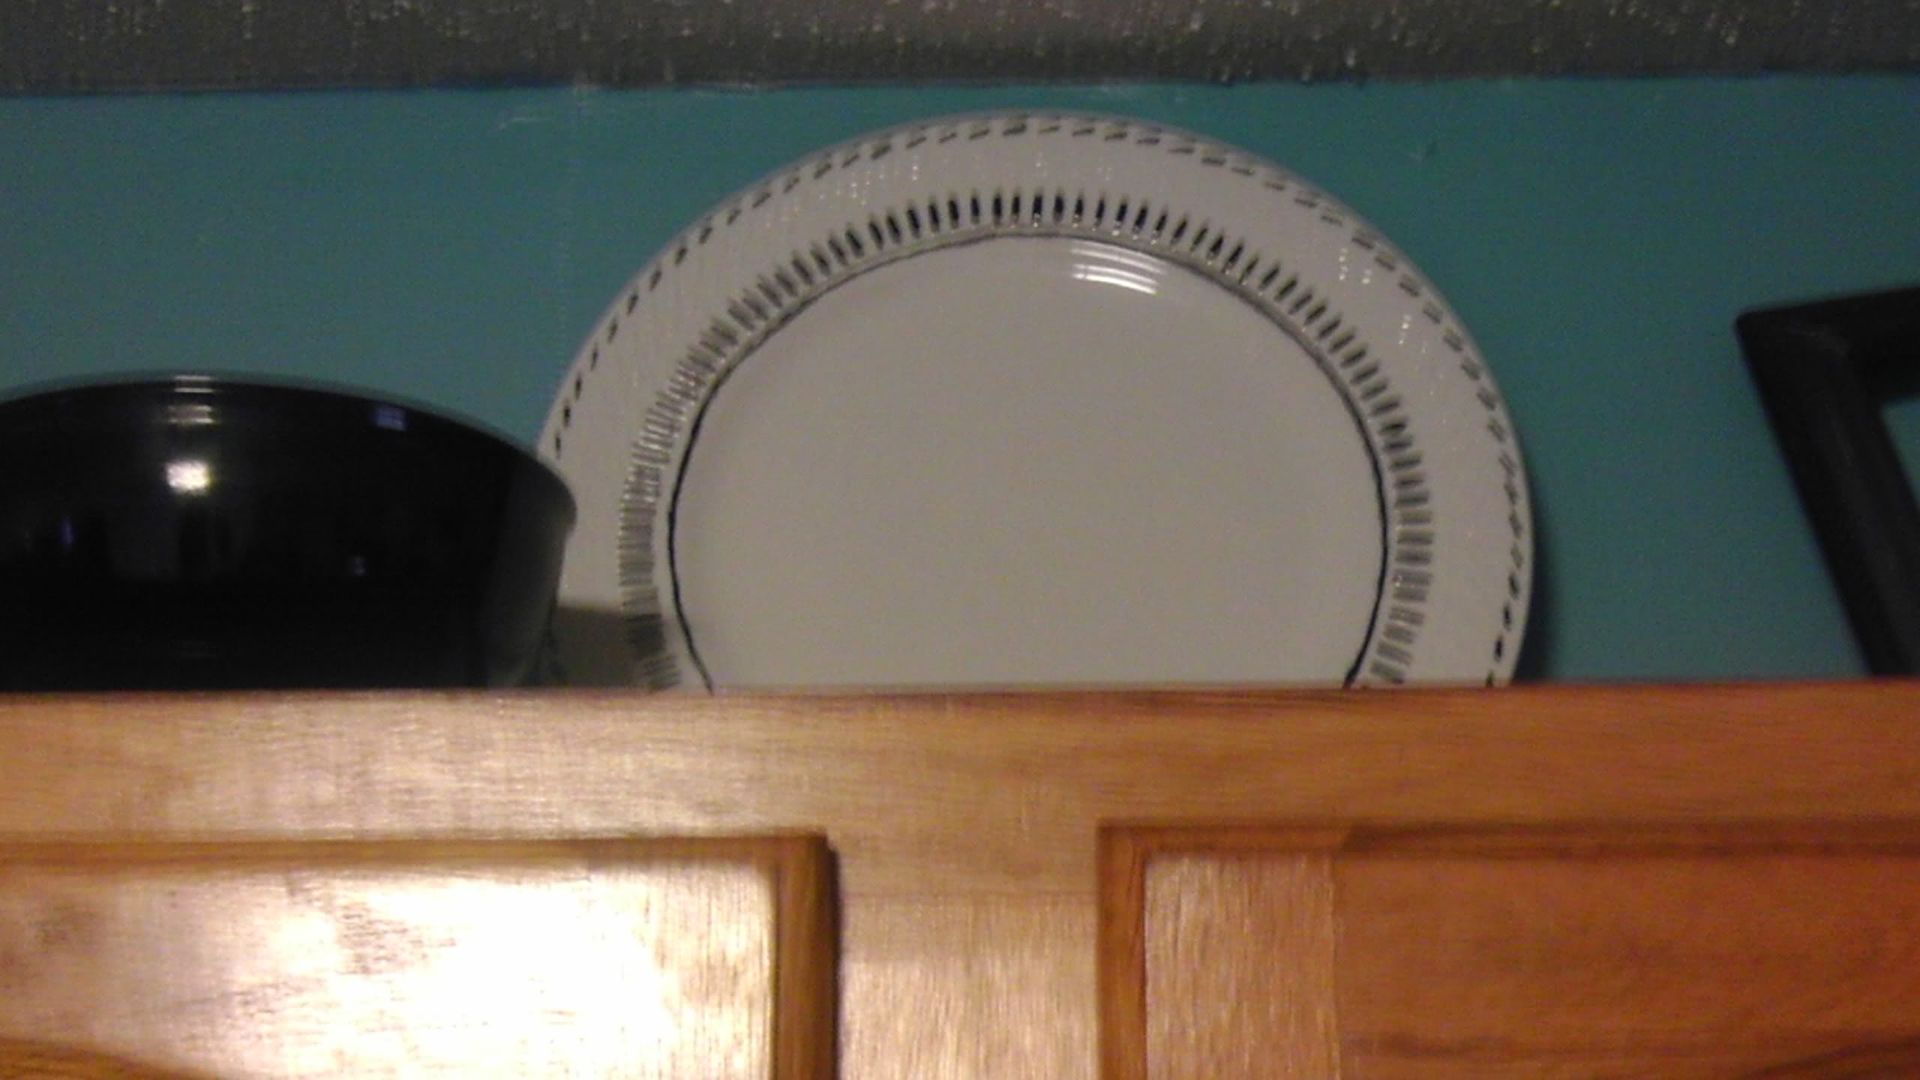
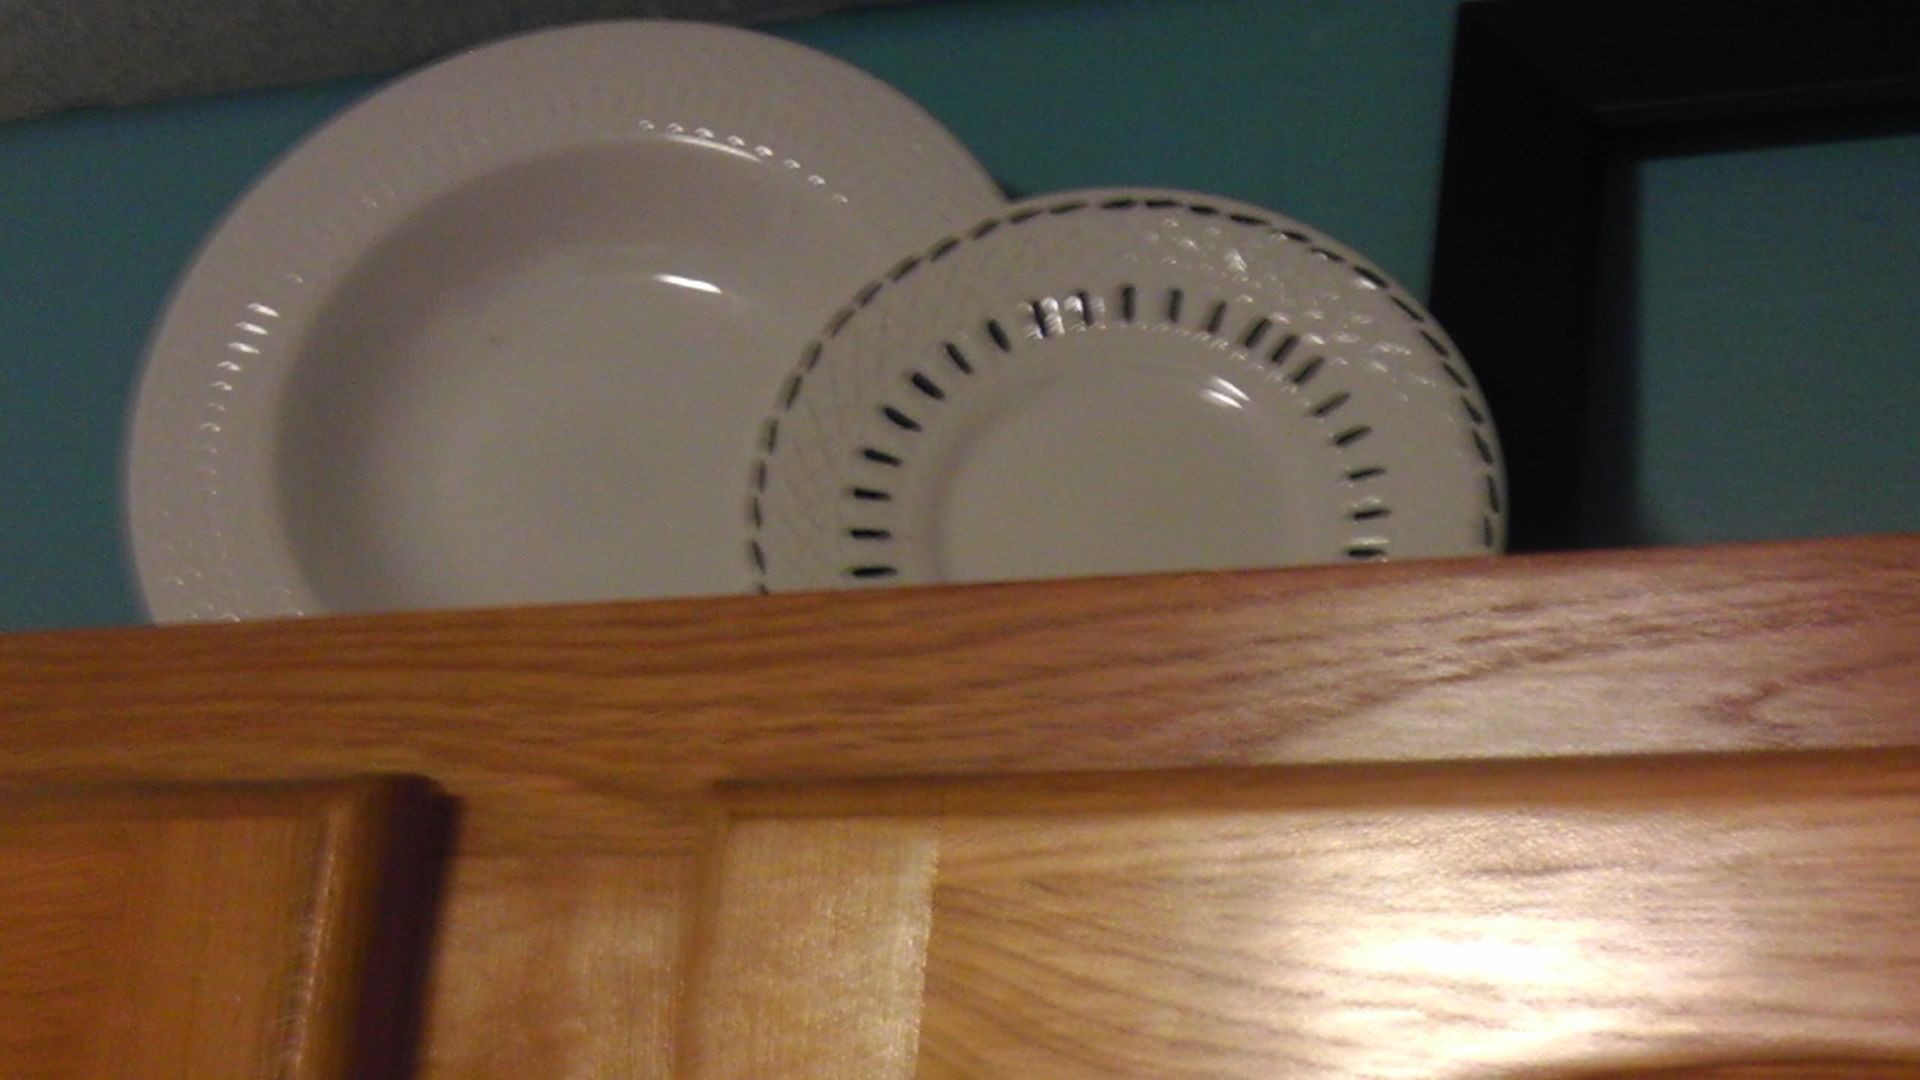
The next day everyone left to go to a cross country meet.  I stayed at their house because I wasn't feeling well.  I started looking at all those things just waiting to be put in place.  I had an idea to make some of the dishes look a little more "modern", so I sat down with a few of the plates, black paint, and a small paint brush and started seeing what I could do.  I just worked with the design of the plate and added a little black here and there. 


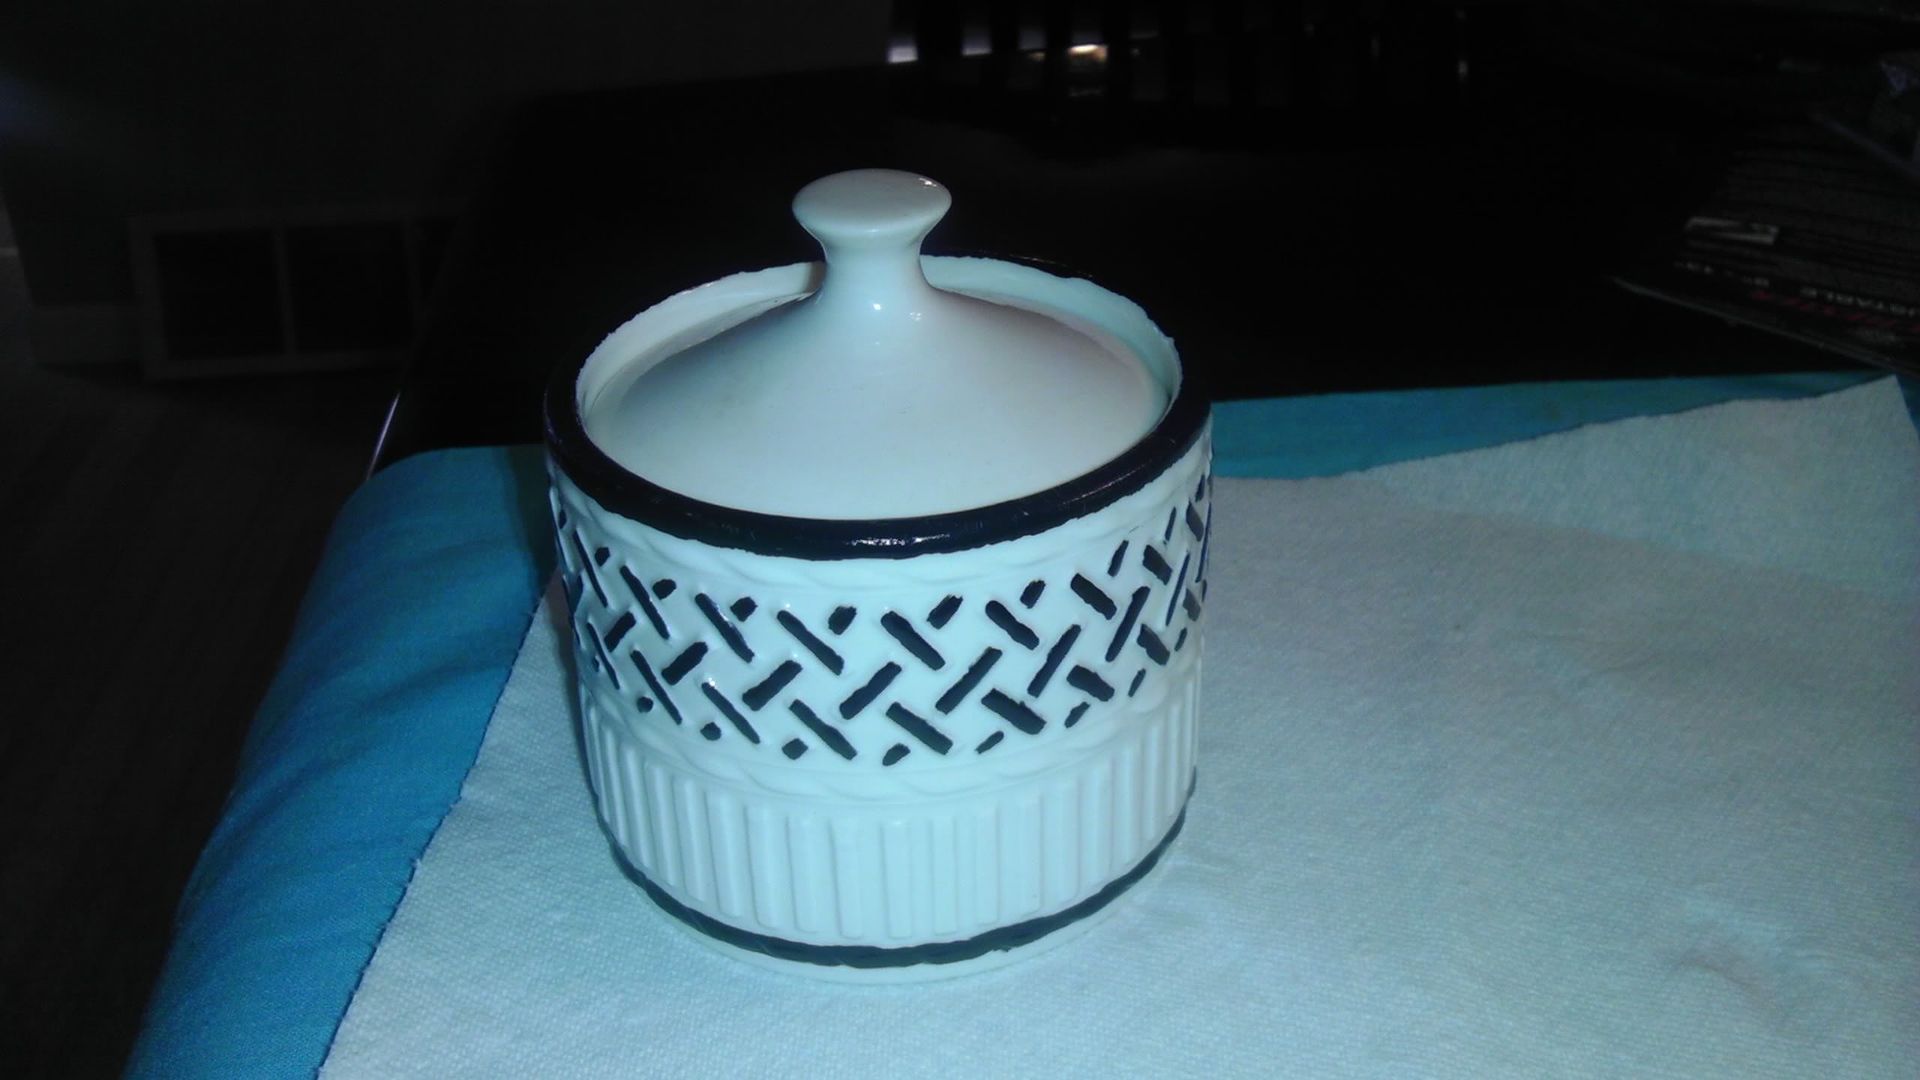
Put some paint on the sugar bowl as well...

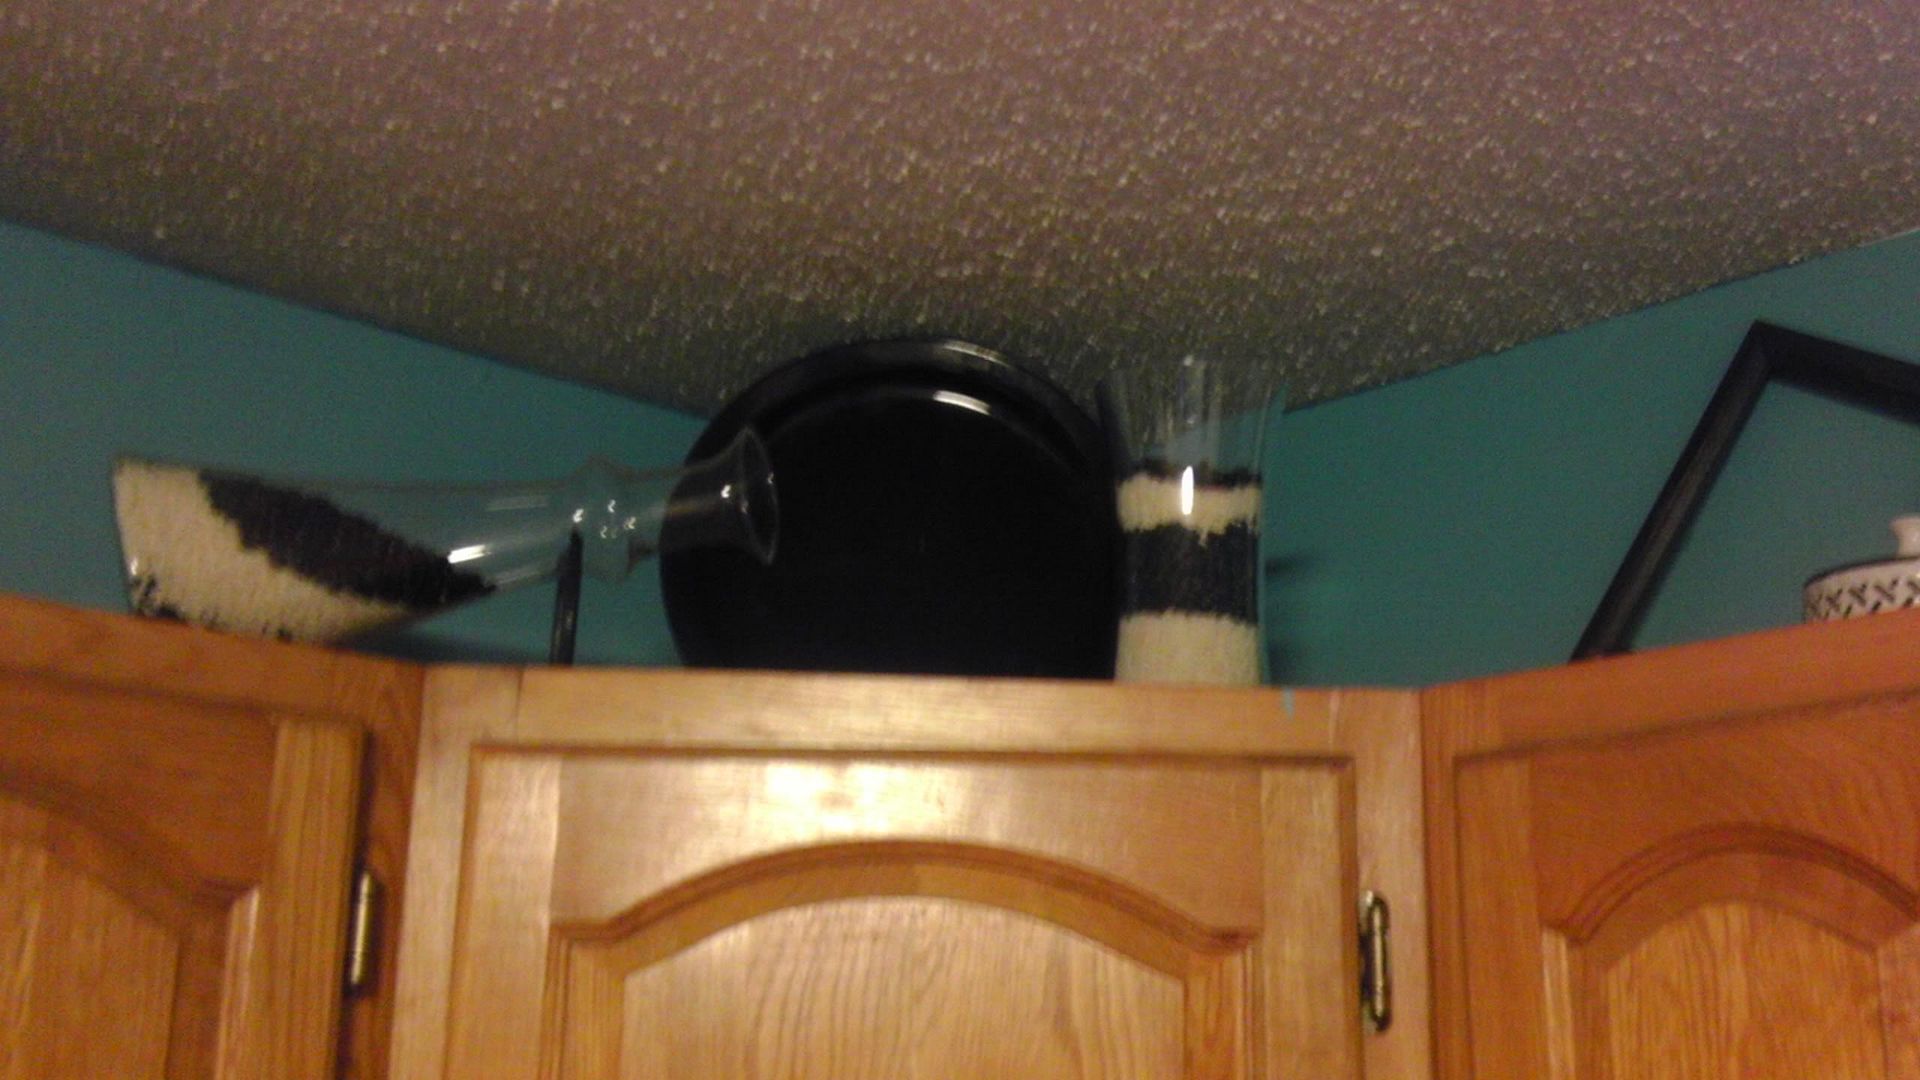
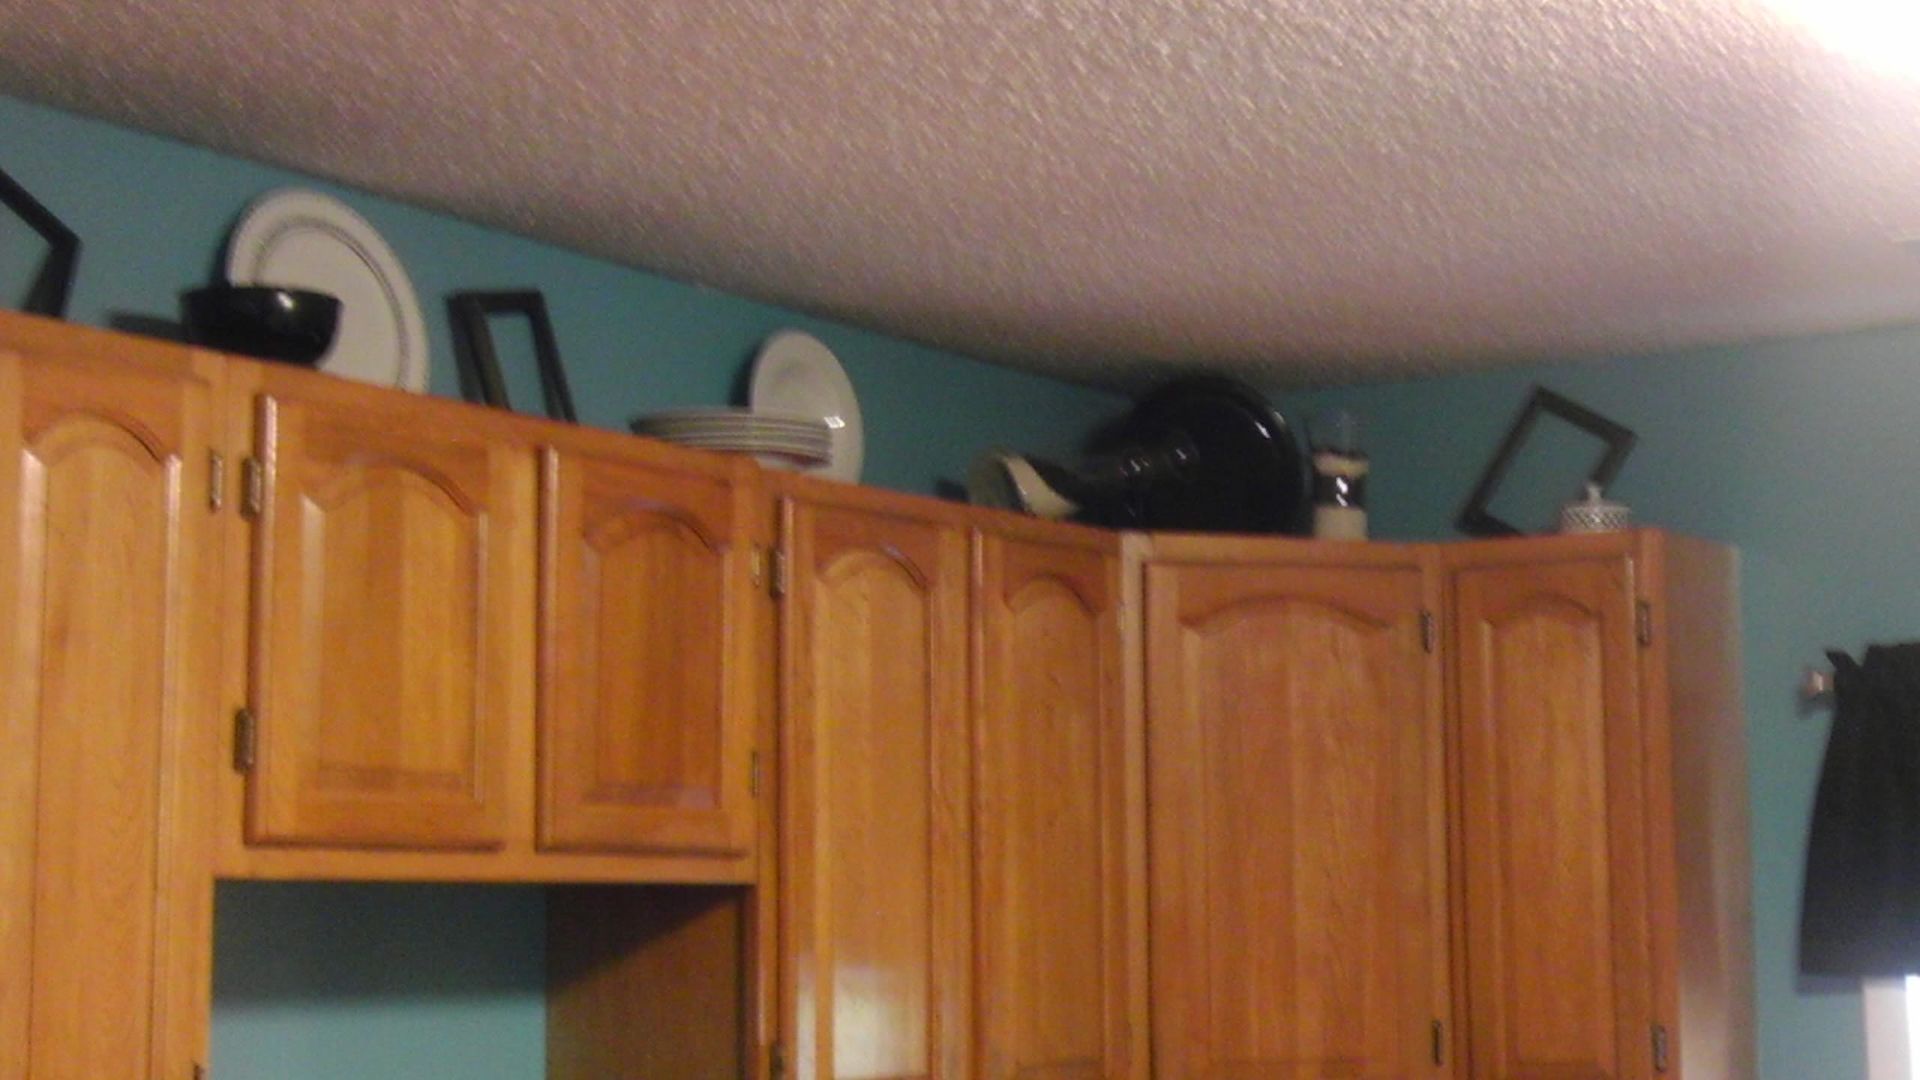
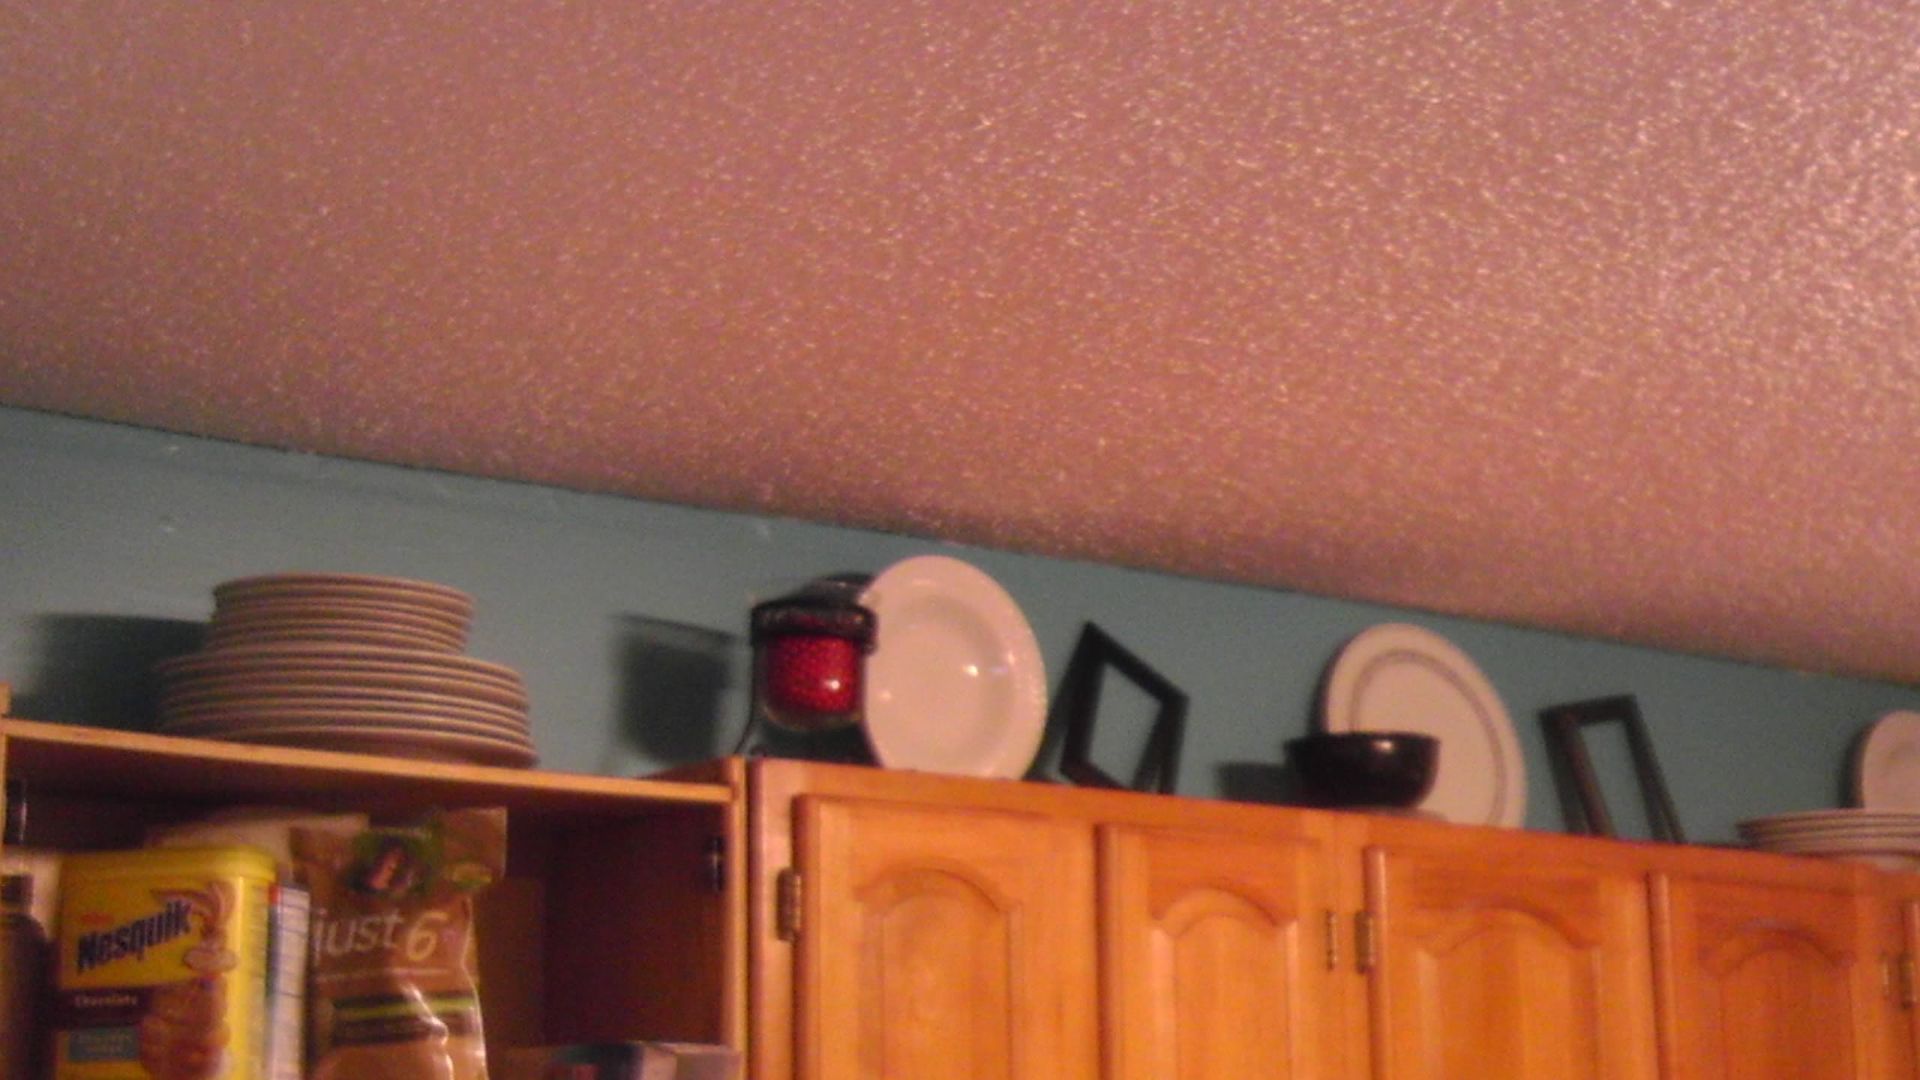
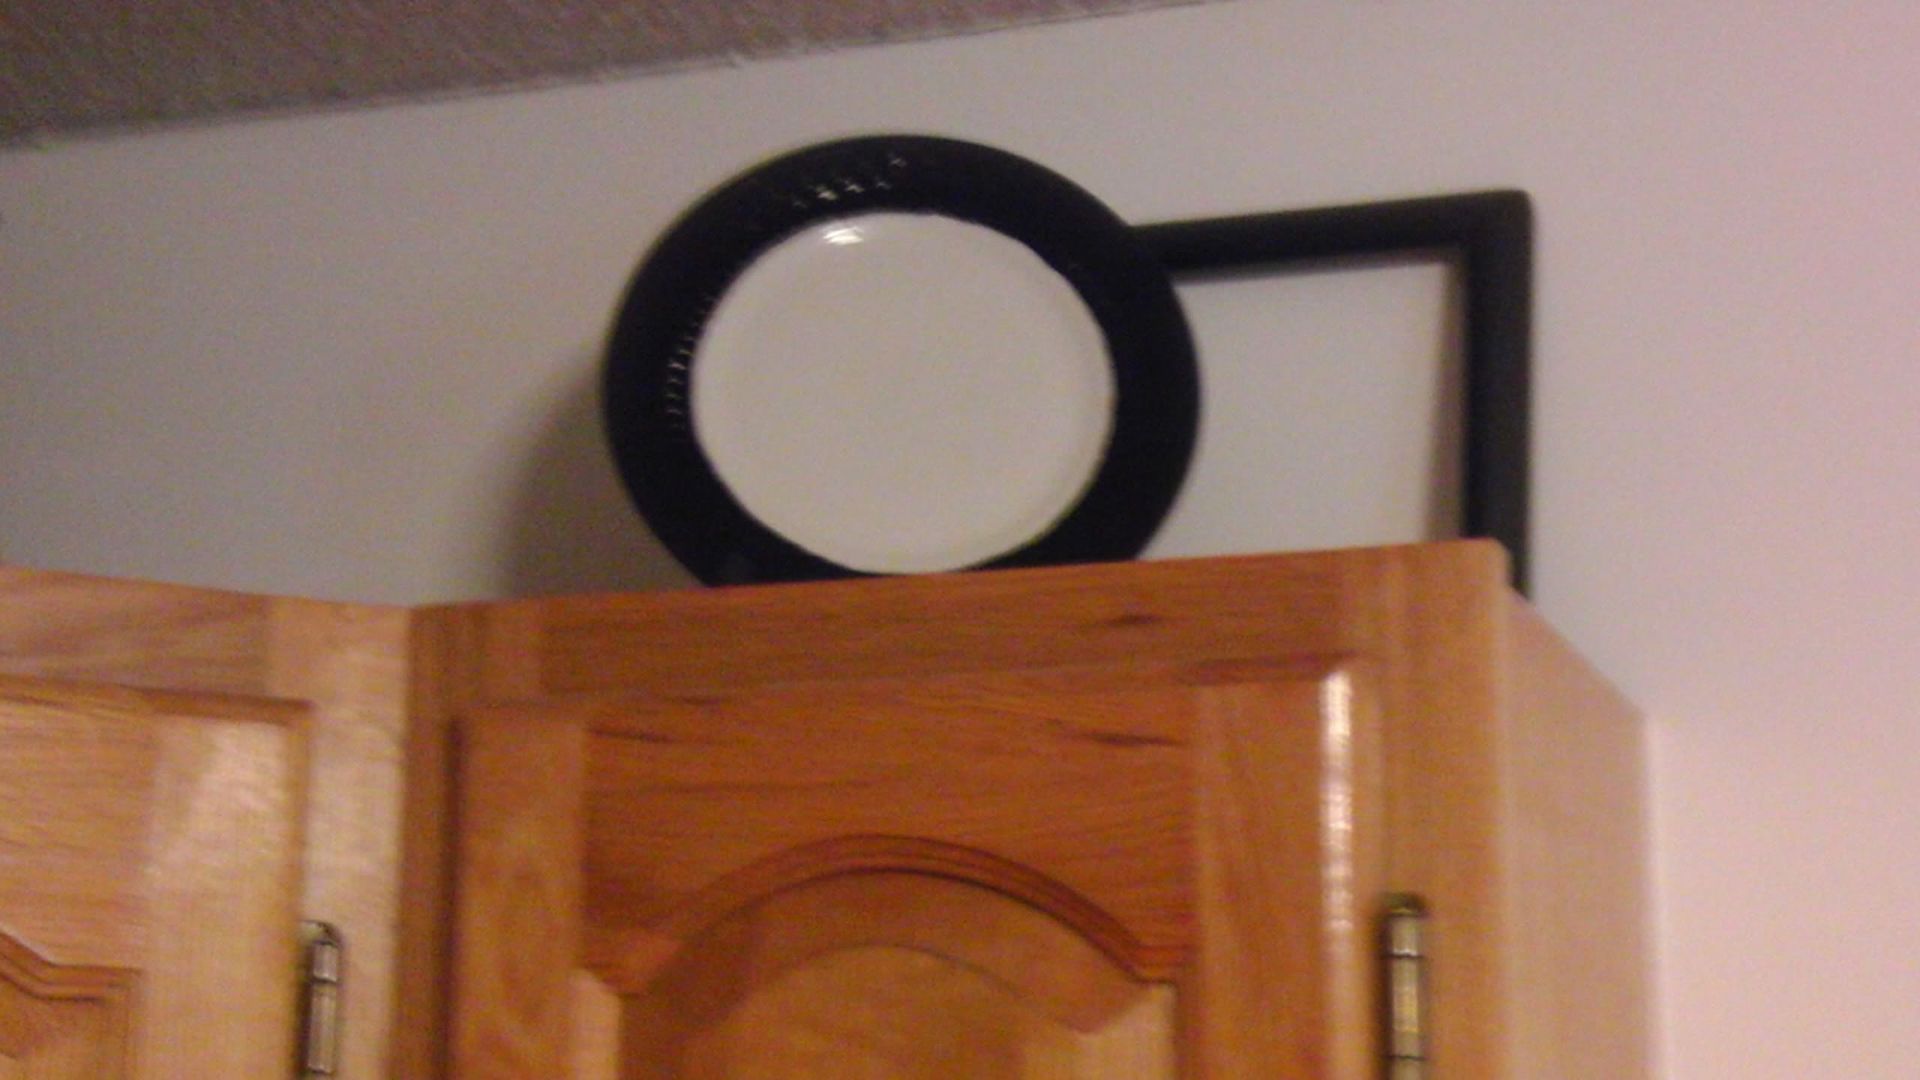
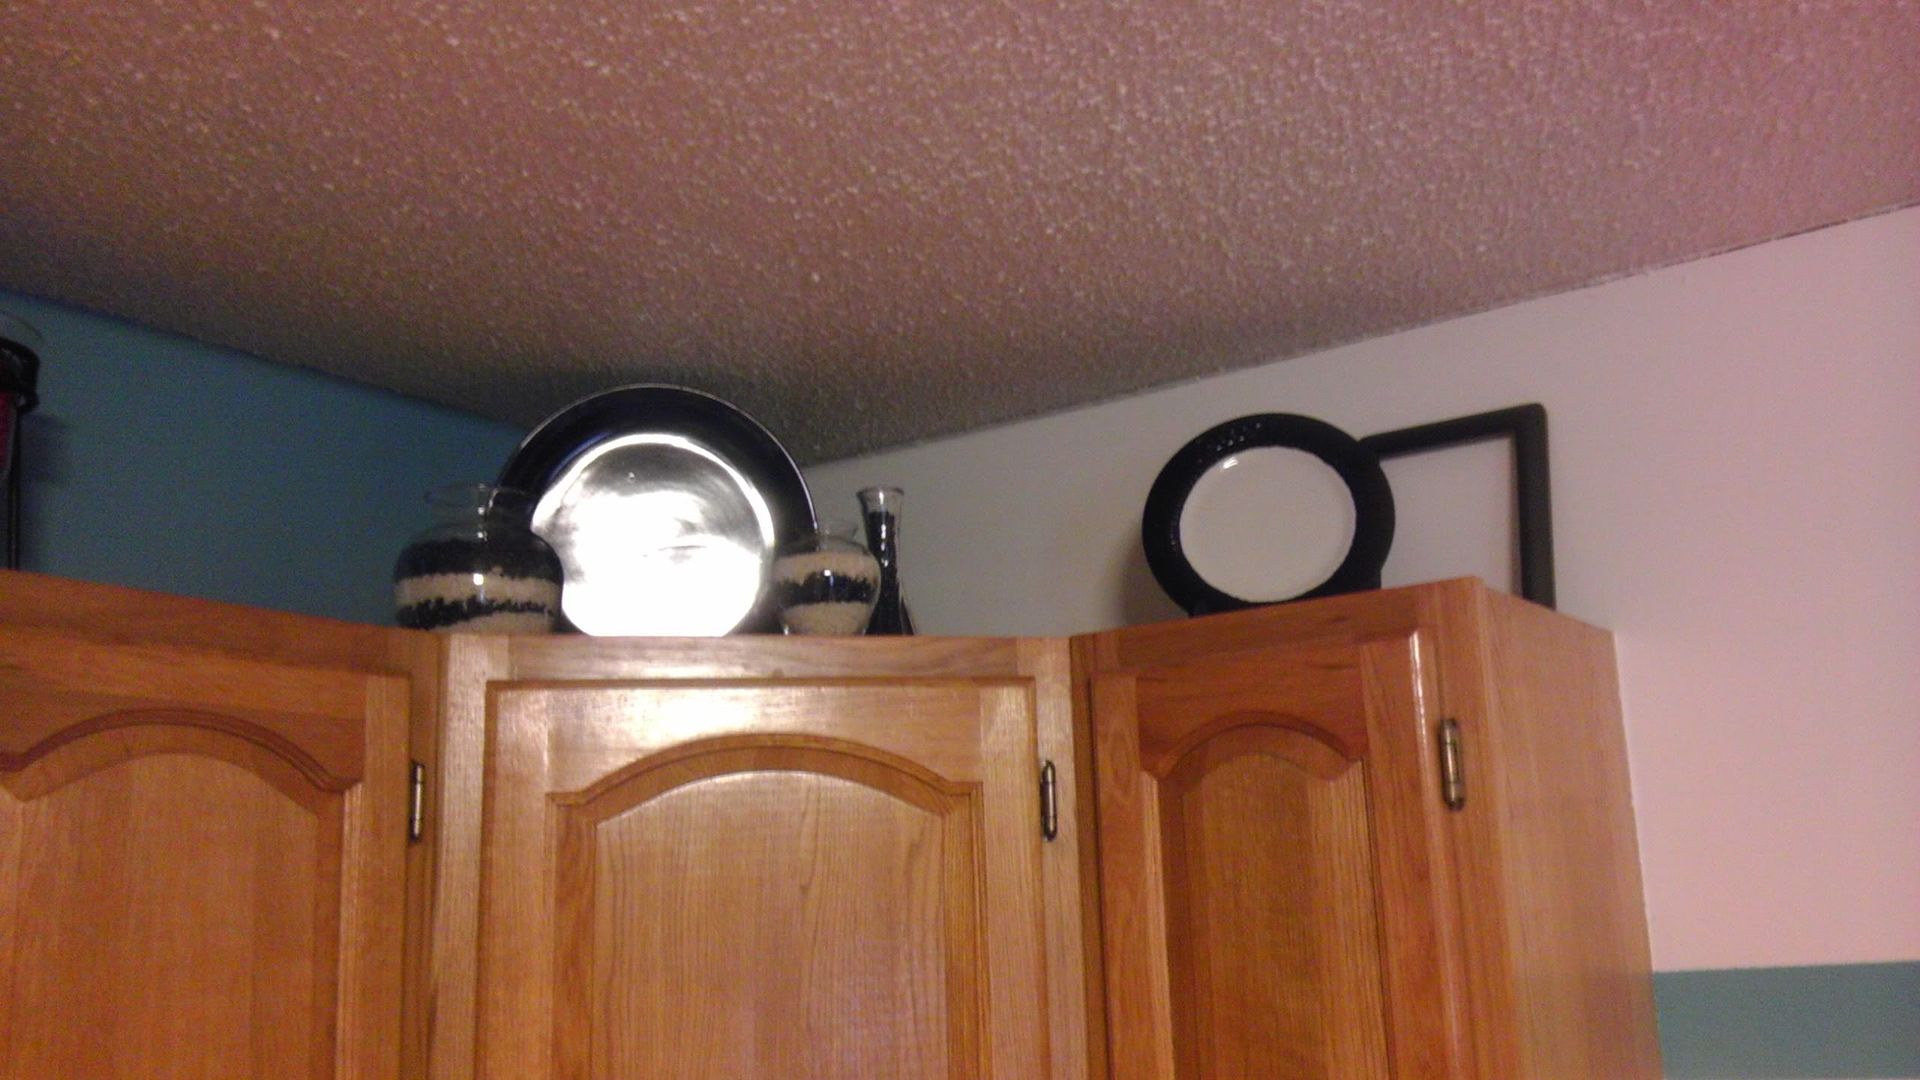
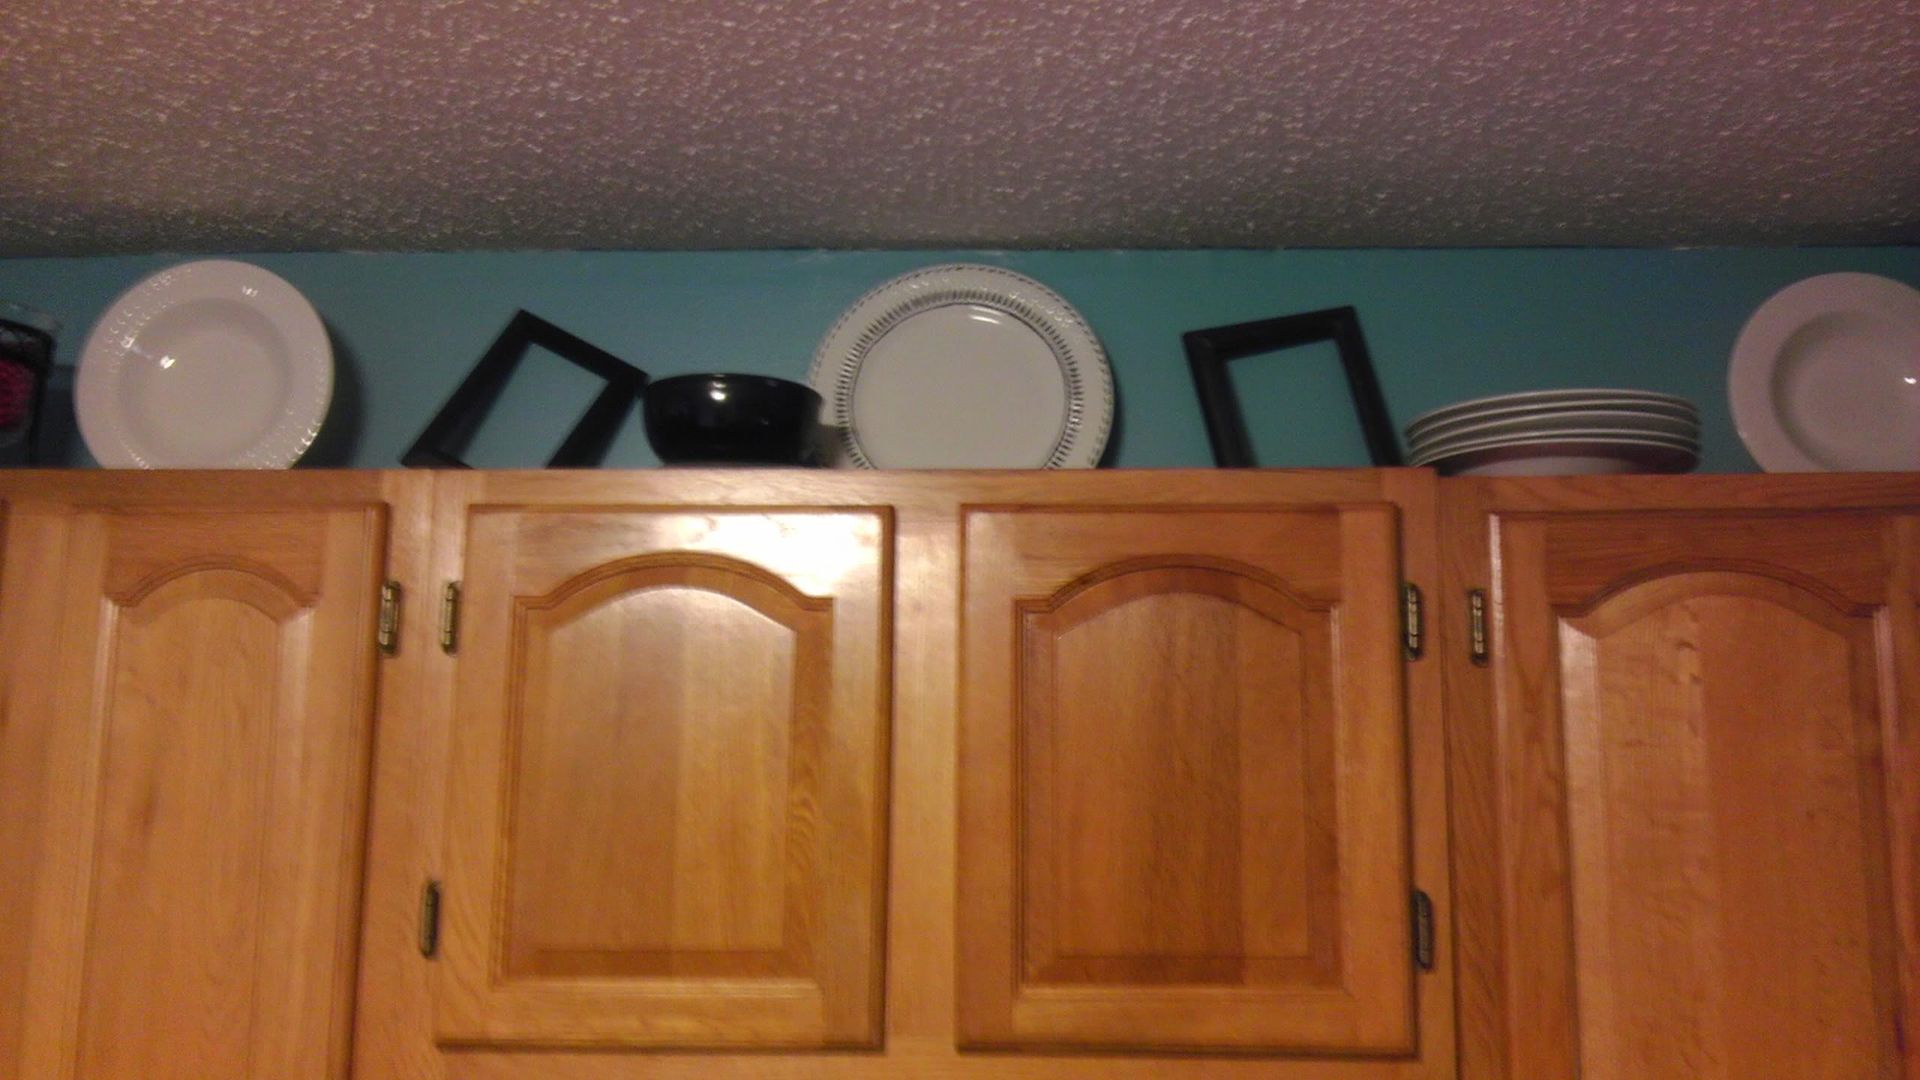
Now, this was as far as I was going to go.  After all, this wasn't MY home (you know, the "mother-in-law" and all"), I shouldn't take it upon myself to actually decorate the area... or should I???  Well, my hubby called and said that Jason and Bethany made the comment, "I bet we get home and Mom will have that entire area decorated!!"  OH MY WORD... you mean they wouldn't MIND if I did it???.  That was it... that was all I needed... let the decorating begin.  Now mind you, I had very limited items to work with, and I knew they didn't have the exact same decorating style as me, so I wanted to keep it simple for them.  This is what I ended up doing.

I started in the corner with one of the black plates and worked my way out.  The one vase was to tall for the area, so I tilted it and rested it on one of the horseshoe bookends.  I filled the vases with the rice and beans.


I made a few more "tweaks" after these pictures were taken, but that was basically it. (I should have taken some pictures from farther back to give you the full effect... sorry!)  Now... what would they think?  They walked in and immediately checked the top of the cabinets.  Drum roll please... THEY LOVED IT!!!  I assured them that they were NOT going to hurt my feelings if they didn't like it or wanted to change things, but they said, "Nope... we love it just the way it is!"  SUCCESS!!!!

Sooooooo, I guess even when I'm on vacation, the crafting juices continue to flow.  What about you?  Are you able to turn off your brain, or are you always thinking about your next craft project?  Would love to hear from you. 

Photobucket

Tuesday, October 25, 2011

Great Gift – Lemon Scrub

Last year I made a number of different things to give as little gifts.  You know, sometimes you just need a “little something” to give to co-workers, or perhaps a hostess gift, or whatever.  I started searching the web for some ideas.   They all turned out so cute, and were loved by everyone, so I thought maybe I would share the ideas/recipes/pictures with you.  Maybe you’ll get some ideas for your own gifts!!

The first posting that I’m sharing is “Lemon Scrub”.  I’m sure if you look around, you will find many different recipes on line, but this is the recipe I used and it turned out great.  I found it at this post:  http://meanmommyacademy.blogspot.com/2010/05/lemon-sugar-hand-scrub.html  (Thanks Jordan for sharing!)

1 C Sugar
1/4 C Canola Oil
2 T Lemon Juice
Lemon essential oil
(
Many of the recipes call for extra virgin olive oil, but, like Jordan, I found that the smell was a bit overwhelming.)

Mix everything together and quickly fill your jars before it separates.  They will need to mix it before using.
I went to Hobby Lobby and purchased some cute little jars, and to Crafts 2000 for the little wooden spoons…

I made some labels, and then personalized each one with the name of the person receiving the gift.  I also created a label to go on the top of the jar to explain what it was.  I printed it on card stock and then used a decorative punch to cut it out.   Finally I made a label to go on back with some directions.
Just in case you would like to make some Lemon Scrub for your friends, I’ve included the labels I made which you are free to use.  There is one label with a name (just to show you how I did it), and a few that just say “Lemon Scrub” in case you just want a generic gift.  You should be able to size these to fit your jars.  (If the resolution is not good enough just e-mail me and I will send you the higher resolution files.)

TOP LABEL
FRONT LABEL
BACK LABEL

Hope your friends enjoy this little gift as much as mine did.  Oh, and while you are making one for your friends, be sure to make one for yourself at the same time.  It’s GREAT stuff!!!!

I'm gonna go party now...
Making the World Cuter
DebbieDoos Newbie Party
Hope Studios - Tutorial Tuesday

Sunday, October 9, 2011

Coffee Table to Ottoman

I can’t believe that a year has passed since I told you about a coffee table that I was making over.  If you have never seen what happened to the table, be sure to check out this posting:  http://debbie-idodesigns.blogspot.com/2010/10/oh-oh-that-was-not-good.html 
For a long time I had the table sitting around awaiting its makeover.  Well, during my time of absence I DID complete a few projects.  This was one of them.  Let me share this little beauty’s transformation. 
This is what the original table looked like before it’s paint job…

Poor little thing… it was painted so perfectly, and then got all scratched up on the way back into the house…


First I gathered my supplies:  Padding, old plastic tablecloth (to be used for waterproofing just in case something spilled or I needed to clean the fabric), and decorative fabric.  I also had a staple gun, electric knife (yes, you read that correctly), glue gun, and some decorative cording.


I placed the padding on top of the table so I could cut it to the correct shape.  (The box of books on top of the table was just to hold the padding in place.)

I used the electric knife to cut the padding (it was really thick, so I found that the electric knife worked best.)

I then flipped the whole table over so I could staple the fabric to the underside of the top.  I put the plastic tablecloth between the fabric and the padding. 


Once I had secured all of the fabric to the table I covered up the staples and finished it off by hot gluing black cording around the entire table.

I reattached the hardware and TA DAAAAH… FINISHED!!!!  Oh baby… I love it!!!!


All that was left to do was to decorate the top of the table… errrrrr, OTTOMAN!!!  :-)


I LOVE my table.  Not to brag, but people can’t believe that I did it all by myself.  Not only does it look good, but it also gives us a nice cushioned place to prop up our feet after a long hard day!!

I would love to hear what you think… be sure to leave me a comment.  Oh, and while you’re at it, why don’tcha click that little button to your right and follow my blog!!!

Sunday Scoop (I Heart Nap Time)
DIY Project Parade (The DIY Showoff)
Just Something I Whipped Up (The Girl Creative)
Making the World Cuter Monday
Market Yourself Monday (Sumo's Sweet Stuff)
Motivate Me Monday (Keeping It Simple)
Creative Me Monday (The Southern Institute)
Show Off Your Cottage Monday (The House in the Roses)
Nifty Thrifty Tuesday (Coastal Charm)
Get Your Craft On (Today's Creative Blog)
Hoo Are You? (Night Owl Crafting)
Newbies Linkie Party (Debbiedoos Blogging and Blabbing)
http://www.iheartnaptime.net/
Trash to Treasure Tuesday (Kammy's Korner)

Sunday's Best Linky Party!